Cherry Blossom Face Paint Guide
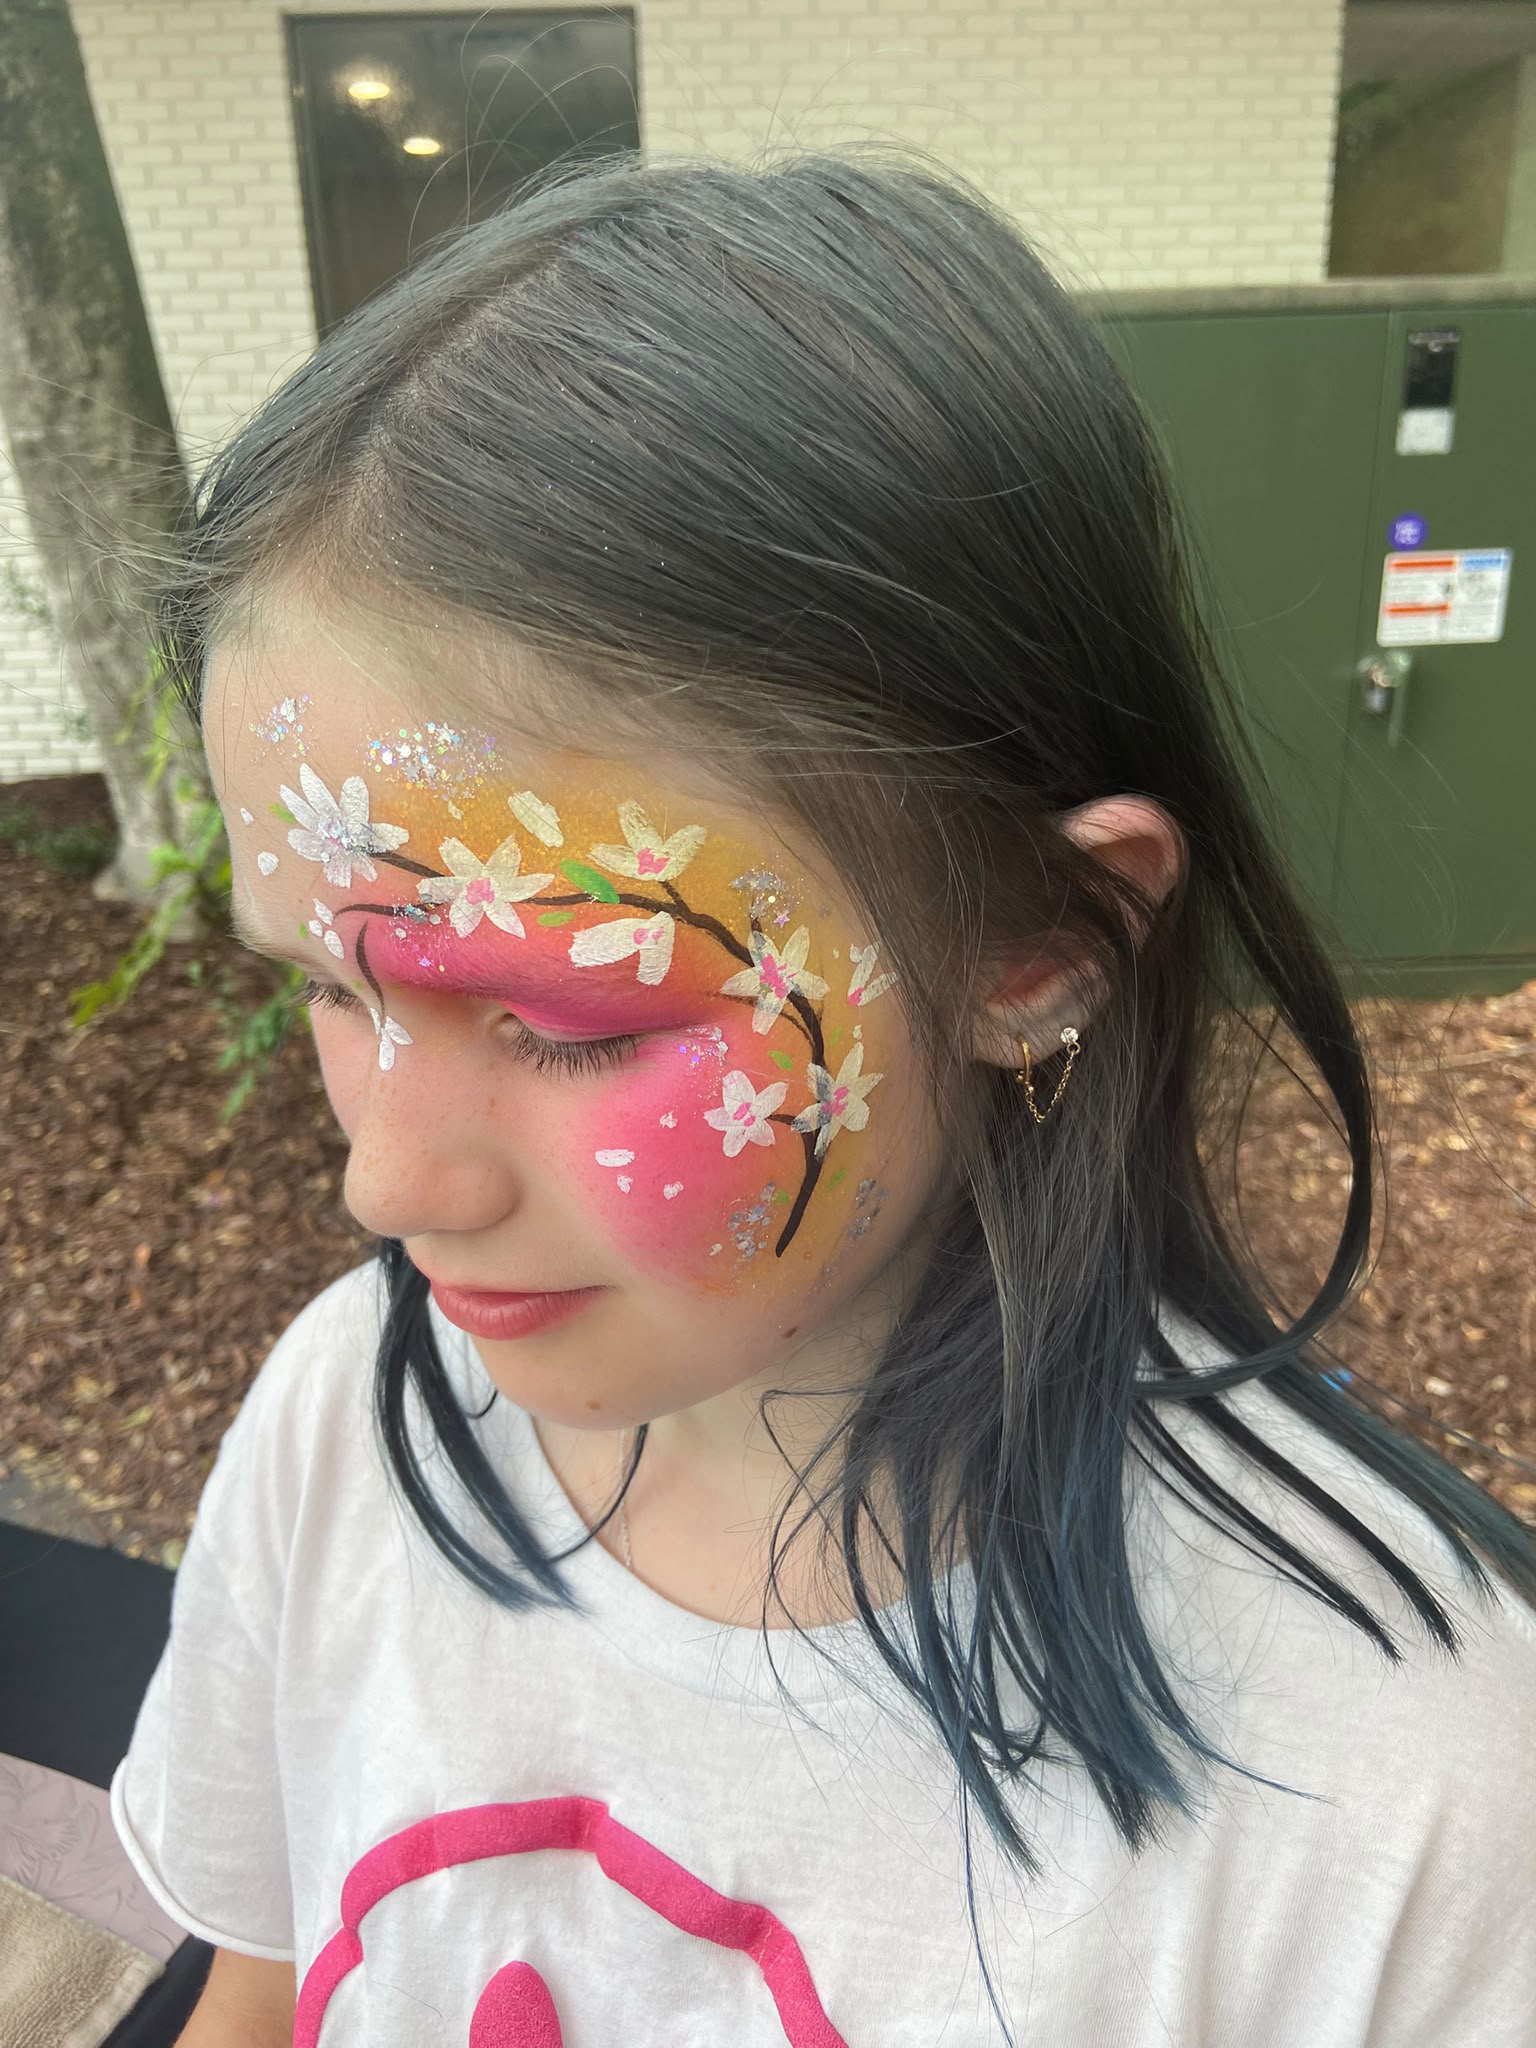
A golden-pink sunset with delicate cherry blossom branches and shimmer glitter.
The cherry blossom design seen in our portfolio uses a warm golden-orange and pink sunset gradient as the background, with dark bare branches painted across it, and delicate white blossoms with pink centers scattered along the branches. Falling petals trail across the lower cheek. This guide recreates that exact design step by step.
Why is this design so popular?
Cherry blossom designs have a universal appeal that crosses cultural boundaries and age groups. They feel simultaneously elegant, delicate, and slightly magical — evoking the Japanese tradition of hanami (flower viewing) while translating perfectly to face painting. The combination of a warm sunset-orange background with white-pink blooms creates a genuinely stunning effect that is one of our most requested adult and teen designs.
Real Portfolio Examples
Tutorial Overview
Step-by-Step Instructions
Sponge the Warm Gradient Background
Using a damp sponge, blend a warm gradient across the eye and cheek: golden orange at the top (forehead side), moving into hot pink at the center and outer corners. The background should feel like a warm golden-hour sunset. Work while wet, overlapping colors so they blend softly.
Add the Eye Color
While the background gradient is still damp, add a bold pink wash directly over the eyelid. This concentrated pink at the eye creates a dramatic focal point and makes the closed-eye look even more striking.
Paint the Main Branch
Using your round brush #4 loaded with dark brown (almost black), paint the main branch sweeping diagonally across the design — typically from the inner eye corner upward to the outer temple. The branch should be irregular, tapering at its outer end, with natural slight curves. Real branches are not perfectly straight.
Add Smaller Branching Twigs
From the main branch, paint smaller twig offshoots extending upward at varied angles. These should be thinner than the main branch and each one should end in a small cluster of two or three even thinner twigs. These are the points where the blossoms will grow.
Paint the Blossoms
Using your round brush #4 and white, paint small 5-petal blossom shapes at the ends and along the branches. For each blossom: paint 5 short push-pull strokes meeting at a center point. Cherry blossoms should look slightly star-shaped with slightly rounded petals. Cluster 3–5 blossoms at each branch terminus.
Add Pink Blossom Centers
Using your fine brush and pink paint, fill the very center of each blossom with a small pink dot, and add tiny pink stamens (hairline strokes extending from the center outward) for botanical realism. While pink, trace the very inner edge of each petal with a light pink wash.
Paint Falling Petals
Cherry blossoms are defined by their falling petals. Using your fine brush and white, paint 4–8 individual petals drifting below and around the main branch cluster. Each falling petal is a simple oval or teardrop shape. Vary their angles — some horizontal, some diagonal — to suggest movement in the wind.
Add Glitter and Final Highlights
Tap silver or pink cosmetic glitter gel onto the blossom clusters and the falling petals. The glitter makes the blossoms appear to shimmer and glow. Add tiny white highlight dots to the very center of each blossom for extra sparkle.
Common Mistakes to Avoid
✕ Branches Too Stiff and Straight
Cherry blossom branches must feel organic. Paint them with a relaxed wrist in a single sweeping motion. Painting slowly and carefully creates stiff, unnatural branches. Speed and confidence produce better results here.
✕ Too Many Blossoms
Less is more with cherry blossoms. Overcrowding the branches with blossoms leaves no negative space for the warm background to show through. This negative space is what makes the design feel airy and beautiful.
✕ Petals That Are Too Perfect
Hand-painted cherry blossoms should look hand-painted, not digitally stamped. Embrace slight variations in petal size and shape. Perfect uniformity looks machine-made and lacks charm.
Professional Tips
🌸 Practice the Blossom Stroke
The five-petal push-pull stroke takes 10–15 repetitions to feel natural. Practice on your hand before painting on a face. Once this stroke is in your muscle memory, cherry blossoms become extremely fast to paint.
✨ Glitter Makes It Magical
This design especially benefits from chunky holographic glitter rather than fine glitter. The chunky pieces catch light at different angles as the person moves, making the blossoms look alive.
⚡ Eye Closed = Better Result
When painting the gradient and the branch that sweeps over the eye area, ask the client to keep their eye gently closed. This allows you to paint over the eyelid cleanly without fear of paint getting into the eye.
Design Variations
- Night Cherry Blossom Replace the warm sunset gradient with a cool night sky: deep navy at the top transitioning to dark purple and teal. The white blossoms glow like lanterns against the dark sky, and silver glitter creates a moonlit effect.
- Full-Face Blossom Crown Expand the branches to form a crown across the forehead, with blossoms clustering at the temples and falling petals scattered across both cheeks. This full-face version is a breathtaking bridal or prom-themed design.
Safety & Skin Care
- The gradient involves working close to the eye — always use professional water-activated face paints.
- Avoid glitter gel directly in the eye area; apply only to cheek and forehead regions.
- Pink and orange colors rarely cause skin reactions, but always do a wrist patch test for clients with sensitive skin.
Frequently Asked Questions
Is cherry blossom a popular design for adults?
Yes! This is one of our most requested designs for adult face painting. Teens and adults appreciate its elegance and how it mimics traditional Japanese botanical art. It photographs beautifully for events where adult photos are important.
How long does this design take?
The full cherry blossom design with gradient background takes 18–22 minutes. It's not a high-speed queue design, but its beauty and complexity make it perfect for premium events where guests expect extraordinary results.
Can I see this design being done at your events?
Yes! We frequently paint cherry blossom designs at spring festivals and garden parties in the Triangle area. Follow our FaceFairy Studio social media or browse our gallery to see examples from recent events.
Design Information
- Sponge (for the golden-pink gradient background)
- Round brush #4 (for branches and blossoms)
- Fine detail brush #1 (for petal details and falling petals)
- Cosmetic glitter gel (silver or pink)
Available for parties across the Triangle.
Related Design Guides
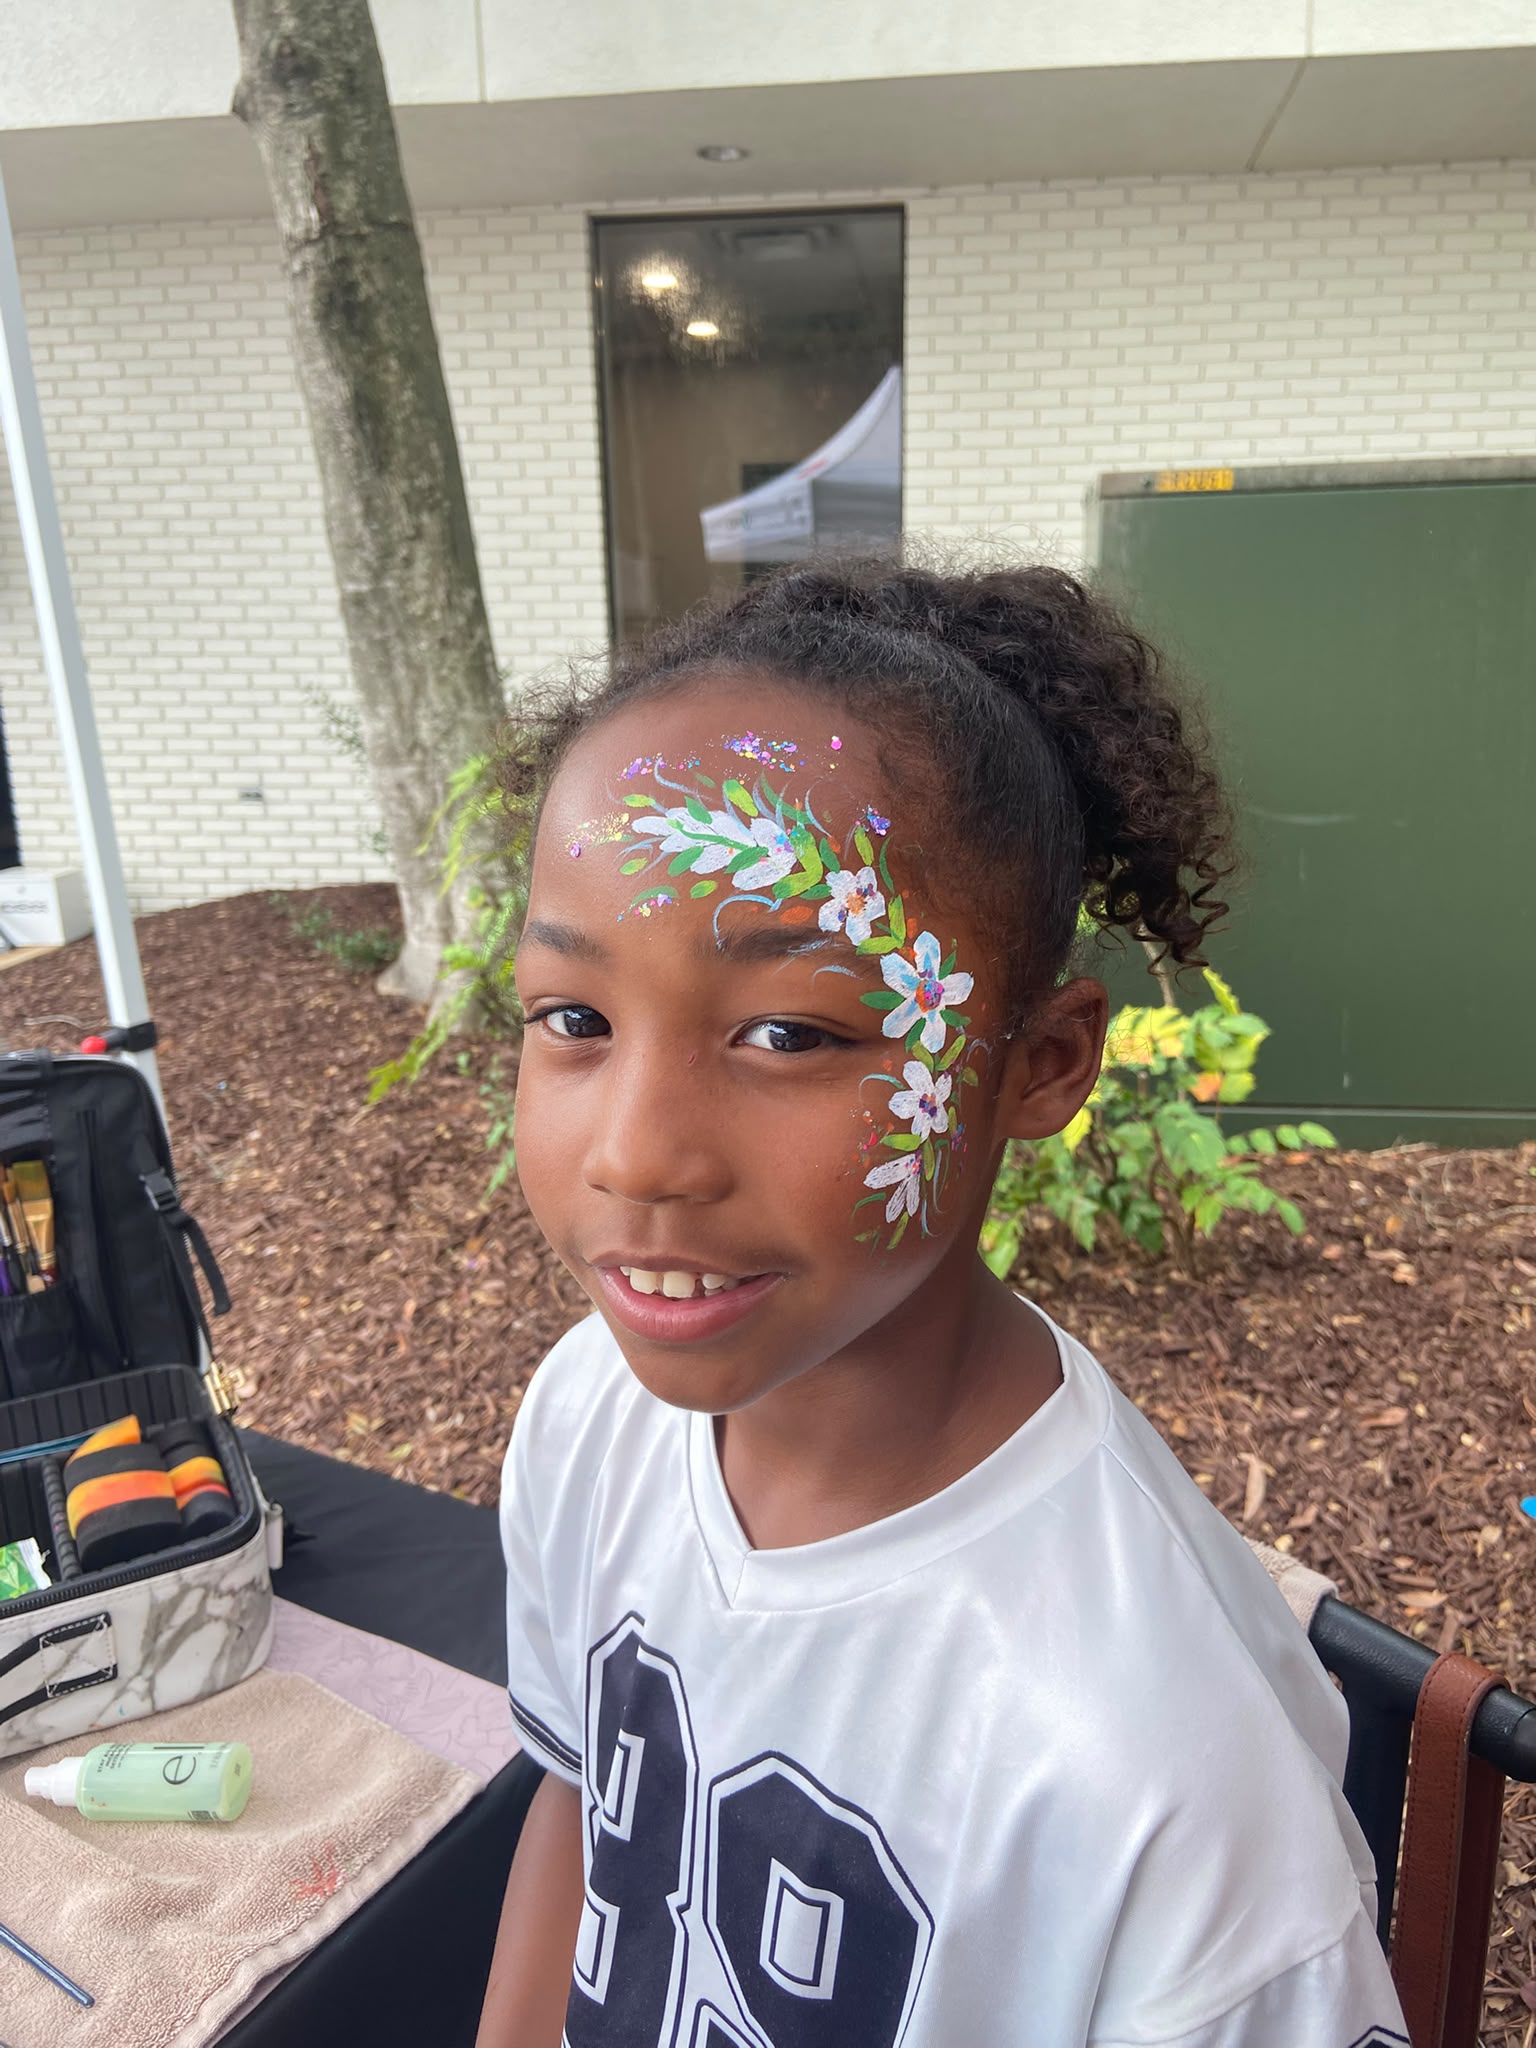
Floral Vines Face Paint Guide
Delicate blooms and sweeping vines for an enchanted garden look.
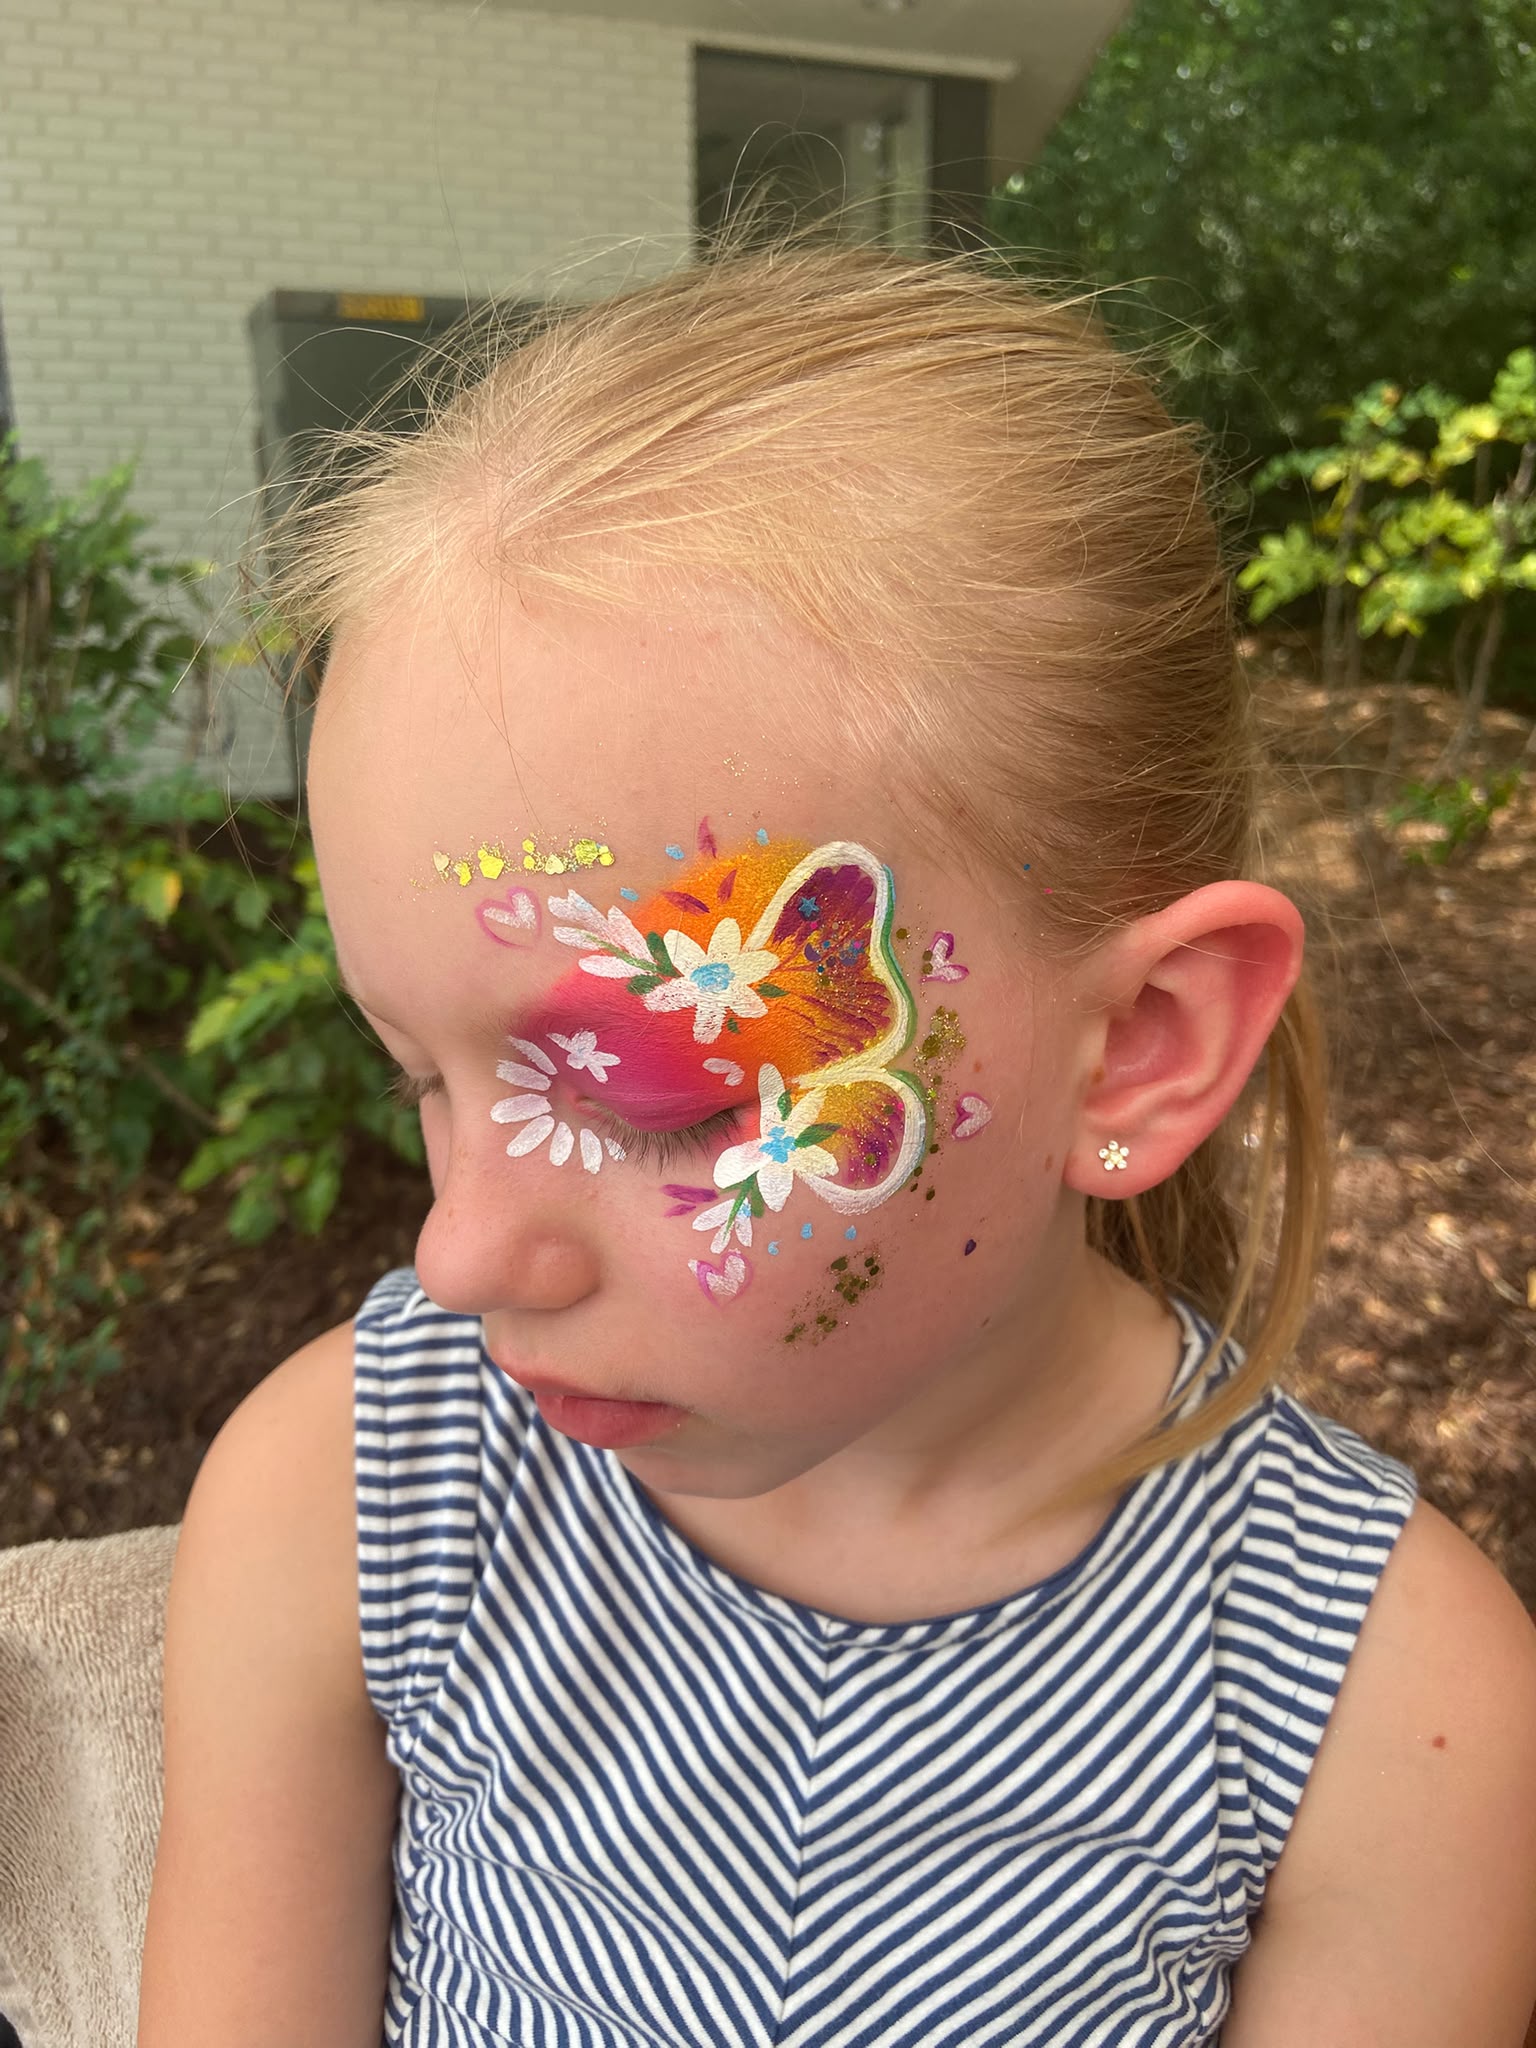
Butterfly Face Paint Guide
The most-requested design at every party — here's exactly how it's done.
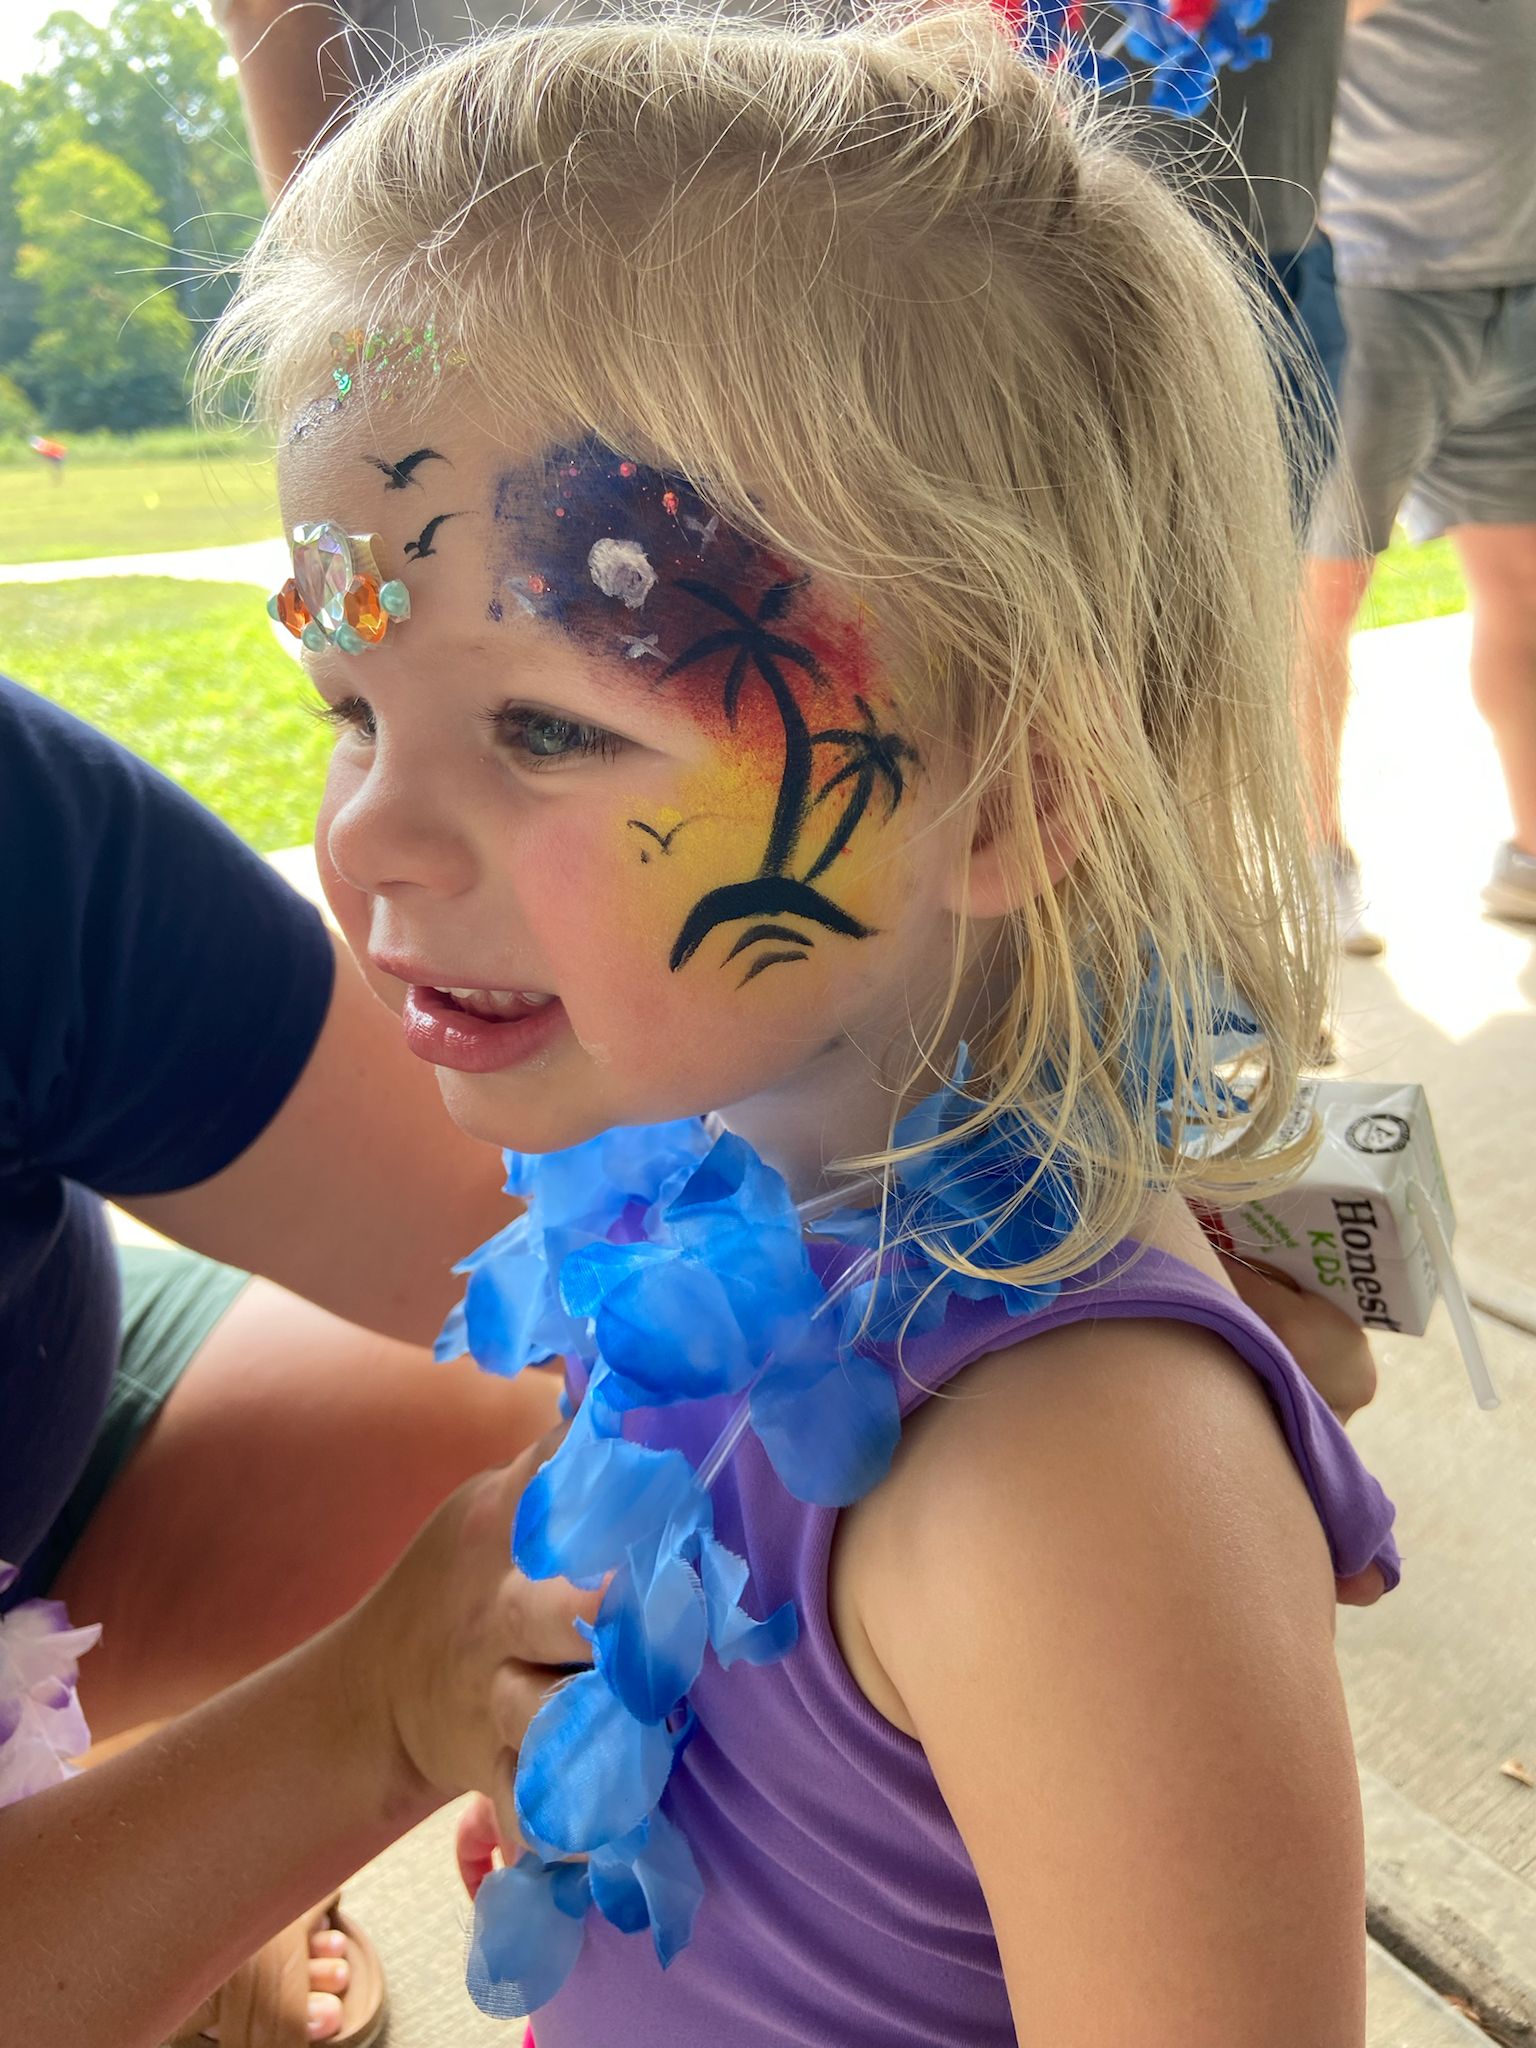
Tropical Sunset Face Paint Guide
A golden beach sunset with palm trees, flying birds, and sparkling gems.