Butterfly Face Paint Guide
The most-requested design at every party — here's exactly how it's done.
The butterfly face paint design is a staple in every professional face painter's repertoire for good reason. It's versatile, timeless, and always gets a reaction. Whether you're painting at a birthday party for a 5-year-old or a festival for hundreds, this guide walks you through everything — from the tools and colours you'll need, to step-by-step instructions, common beginner mistakes, and pro-level finishing touches.
Why is this design so popular?
The butterfly is our single most-requested design. Kids love it because it feels magical and grown-up at the same time. Parents love it because it works on every skin tone and age group. Artists love it because a confident butterfly can be painted beautifully in under 15 minutes — making it the perfect design for high-volume events like festivals and school fairs.
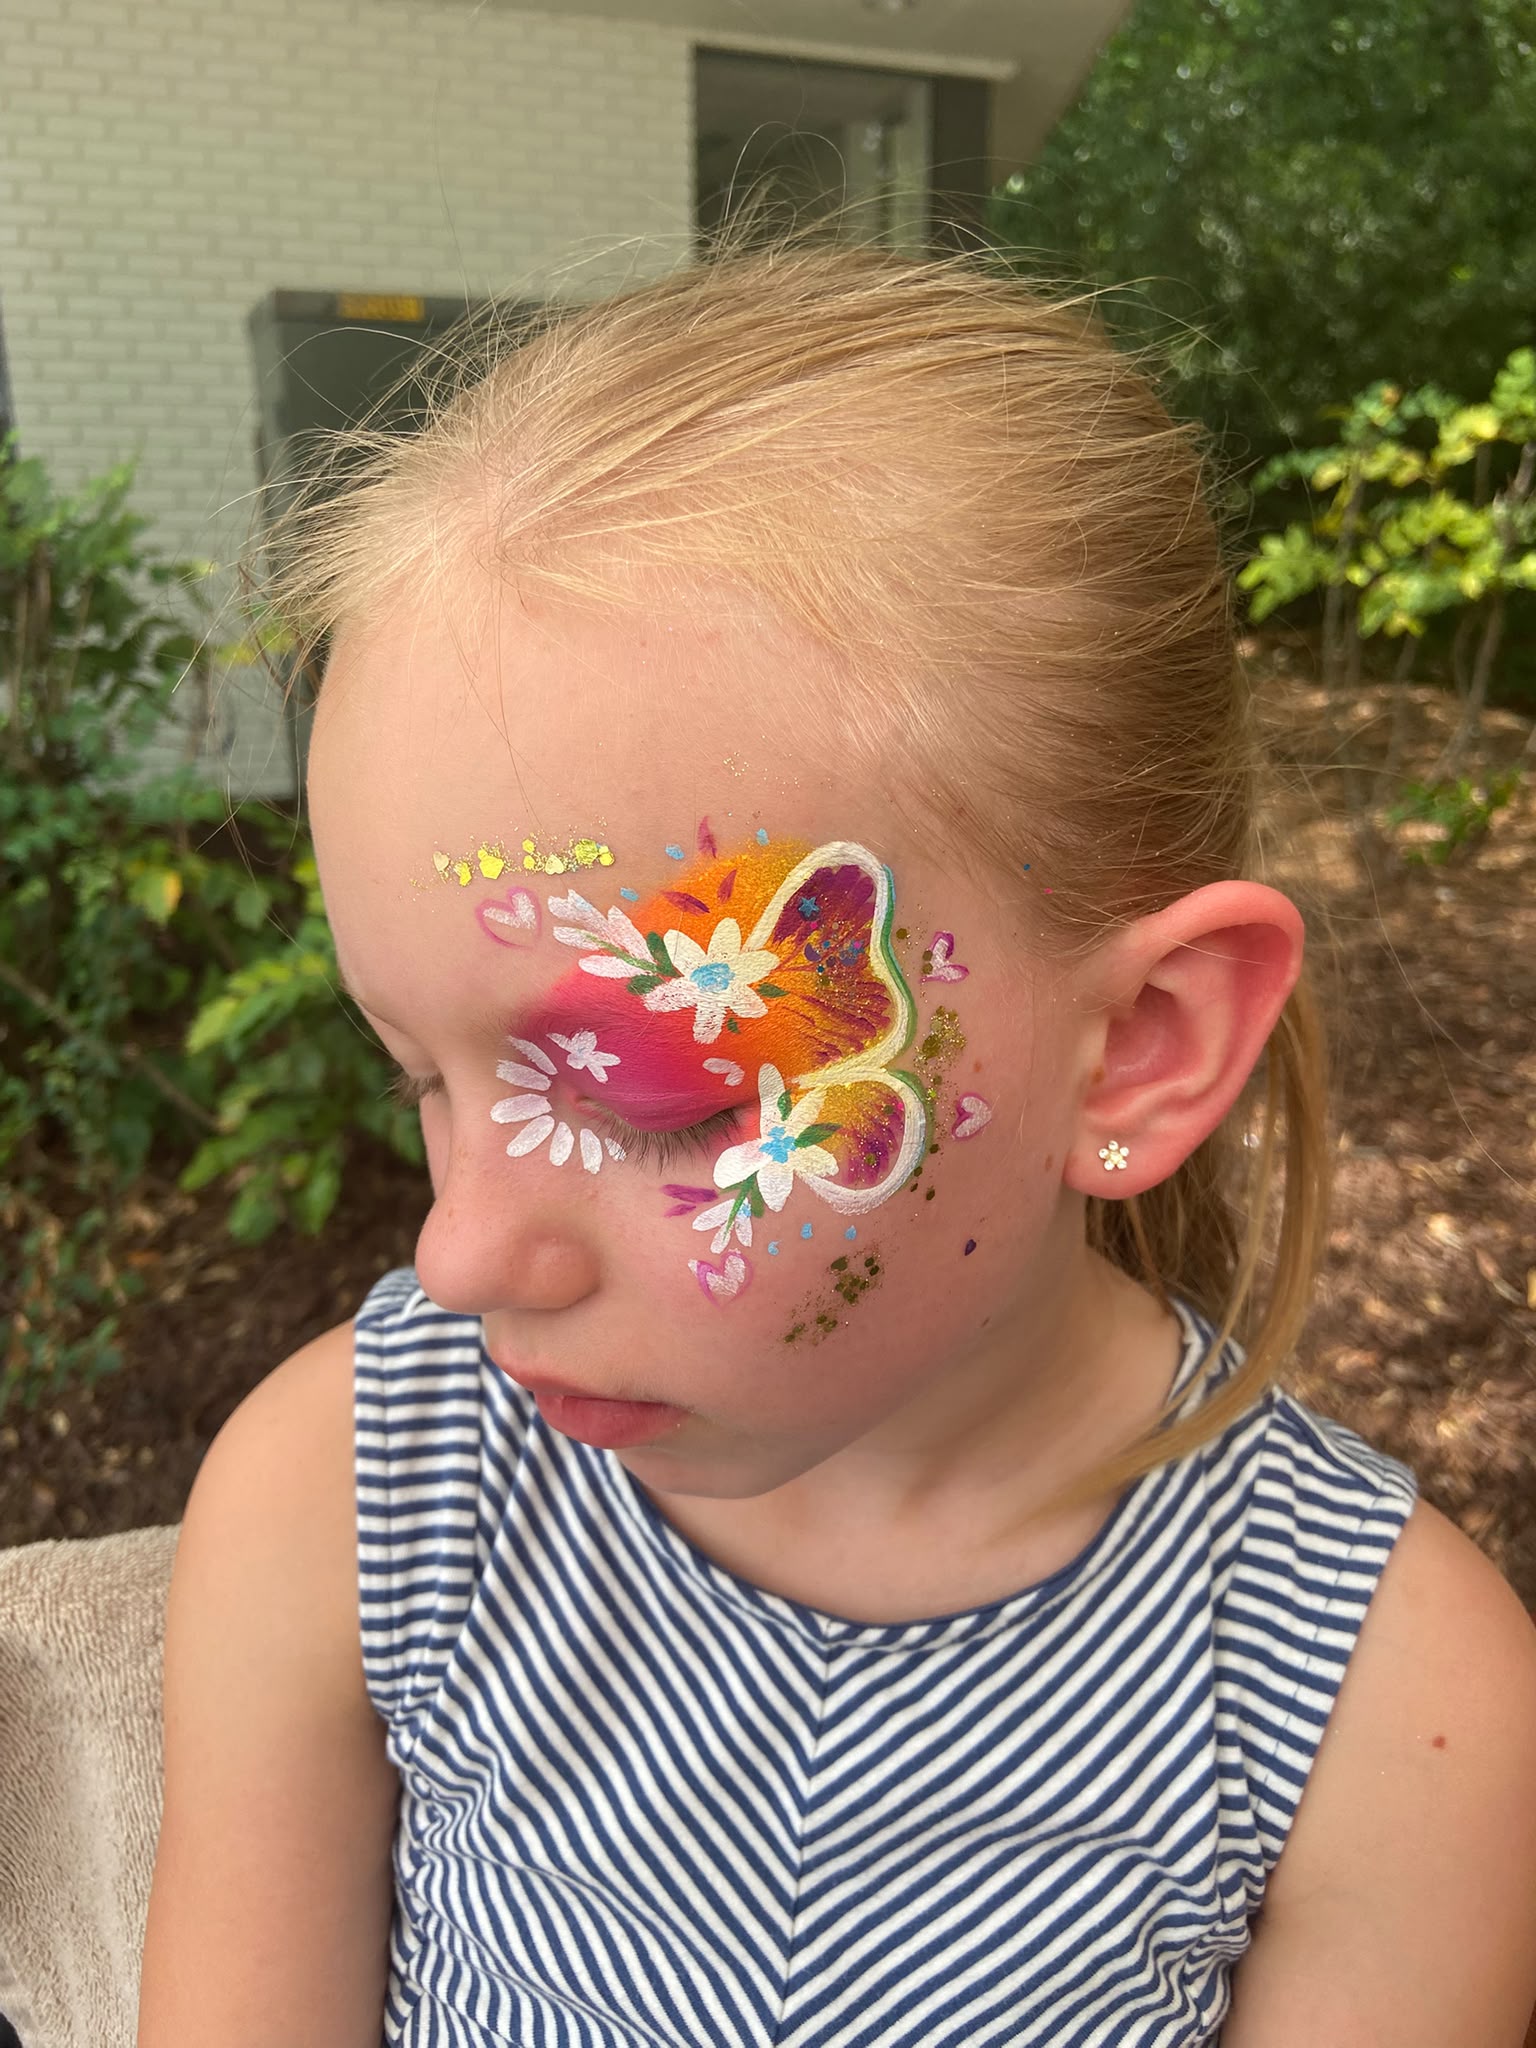
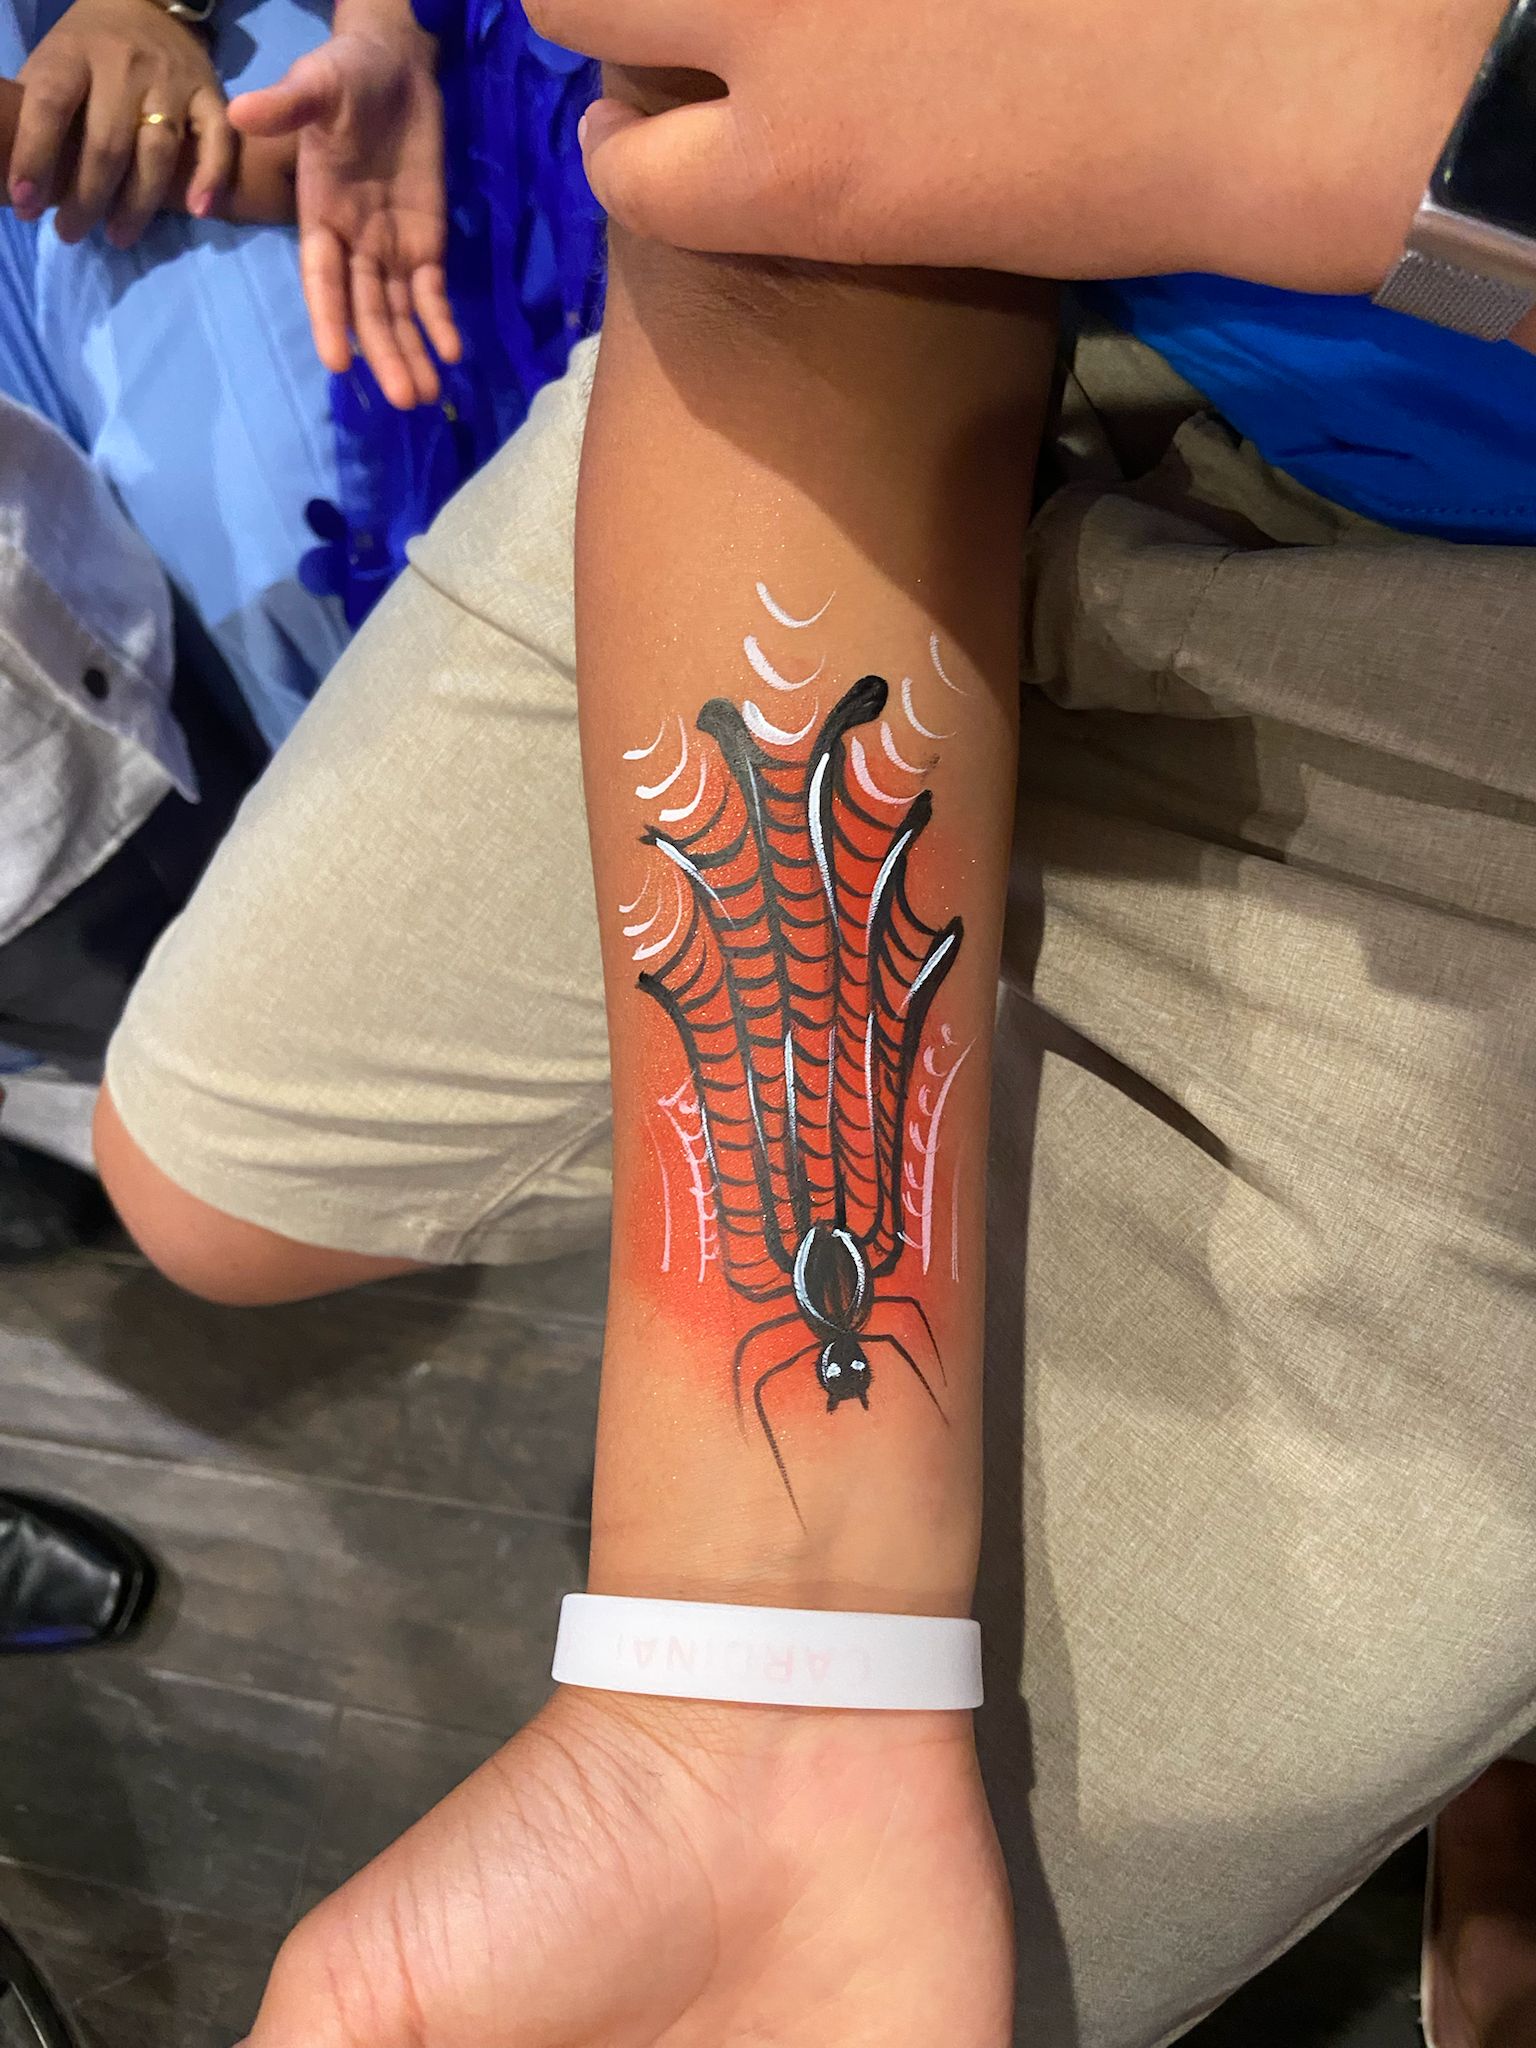
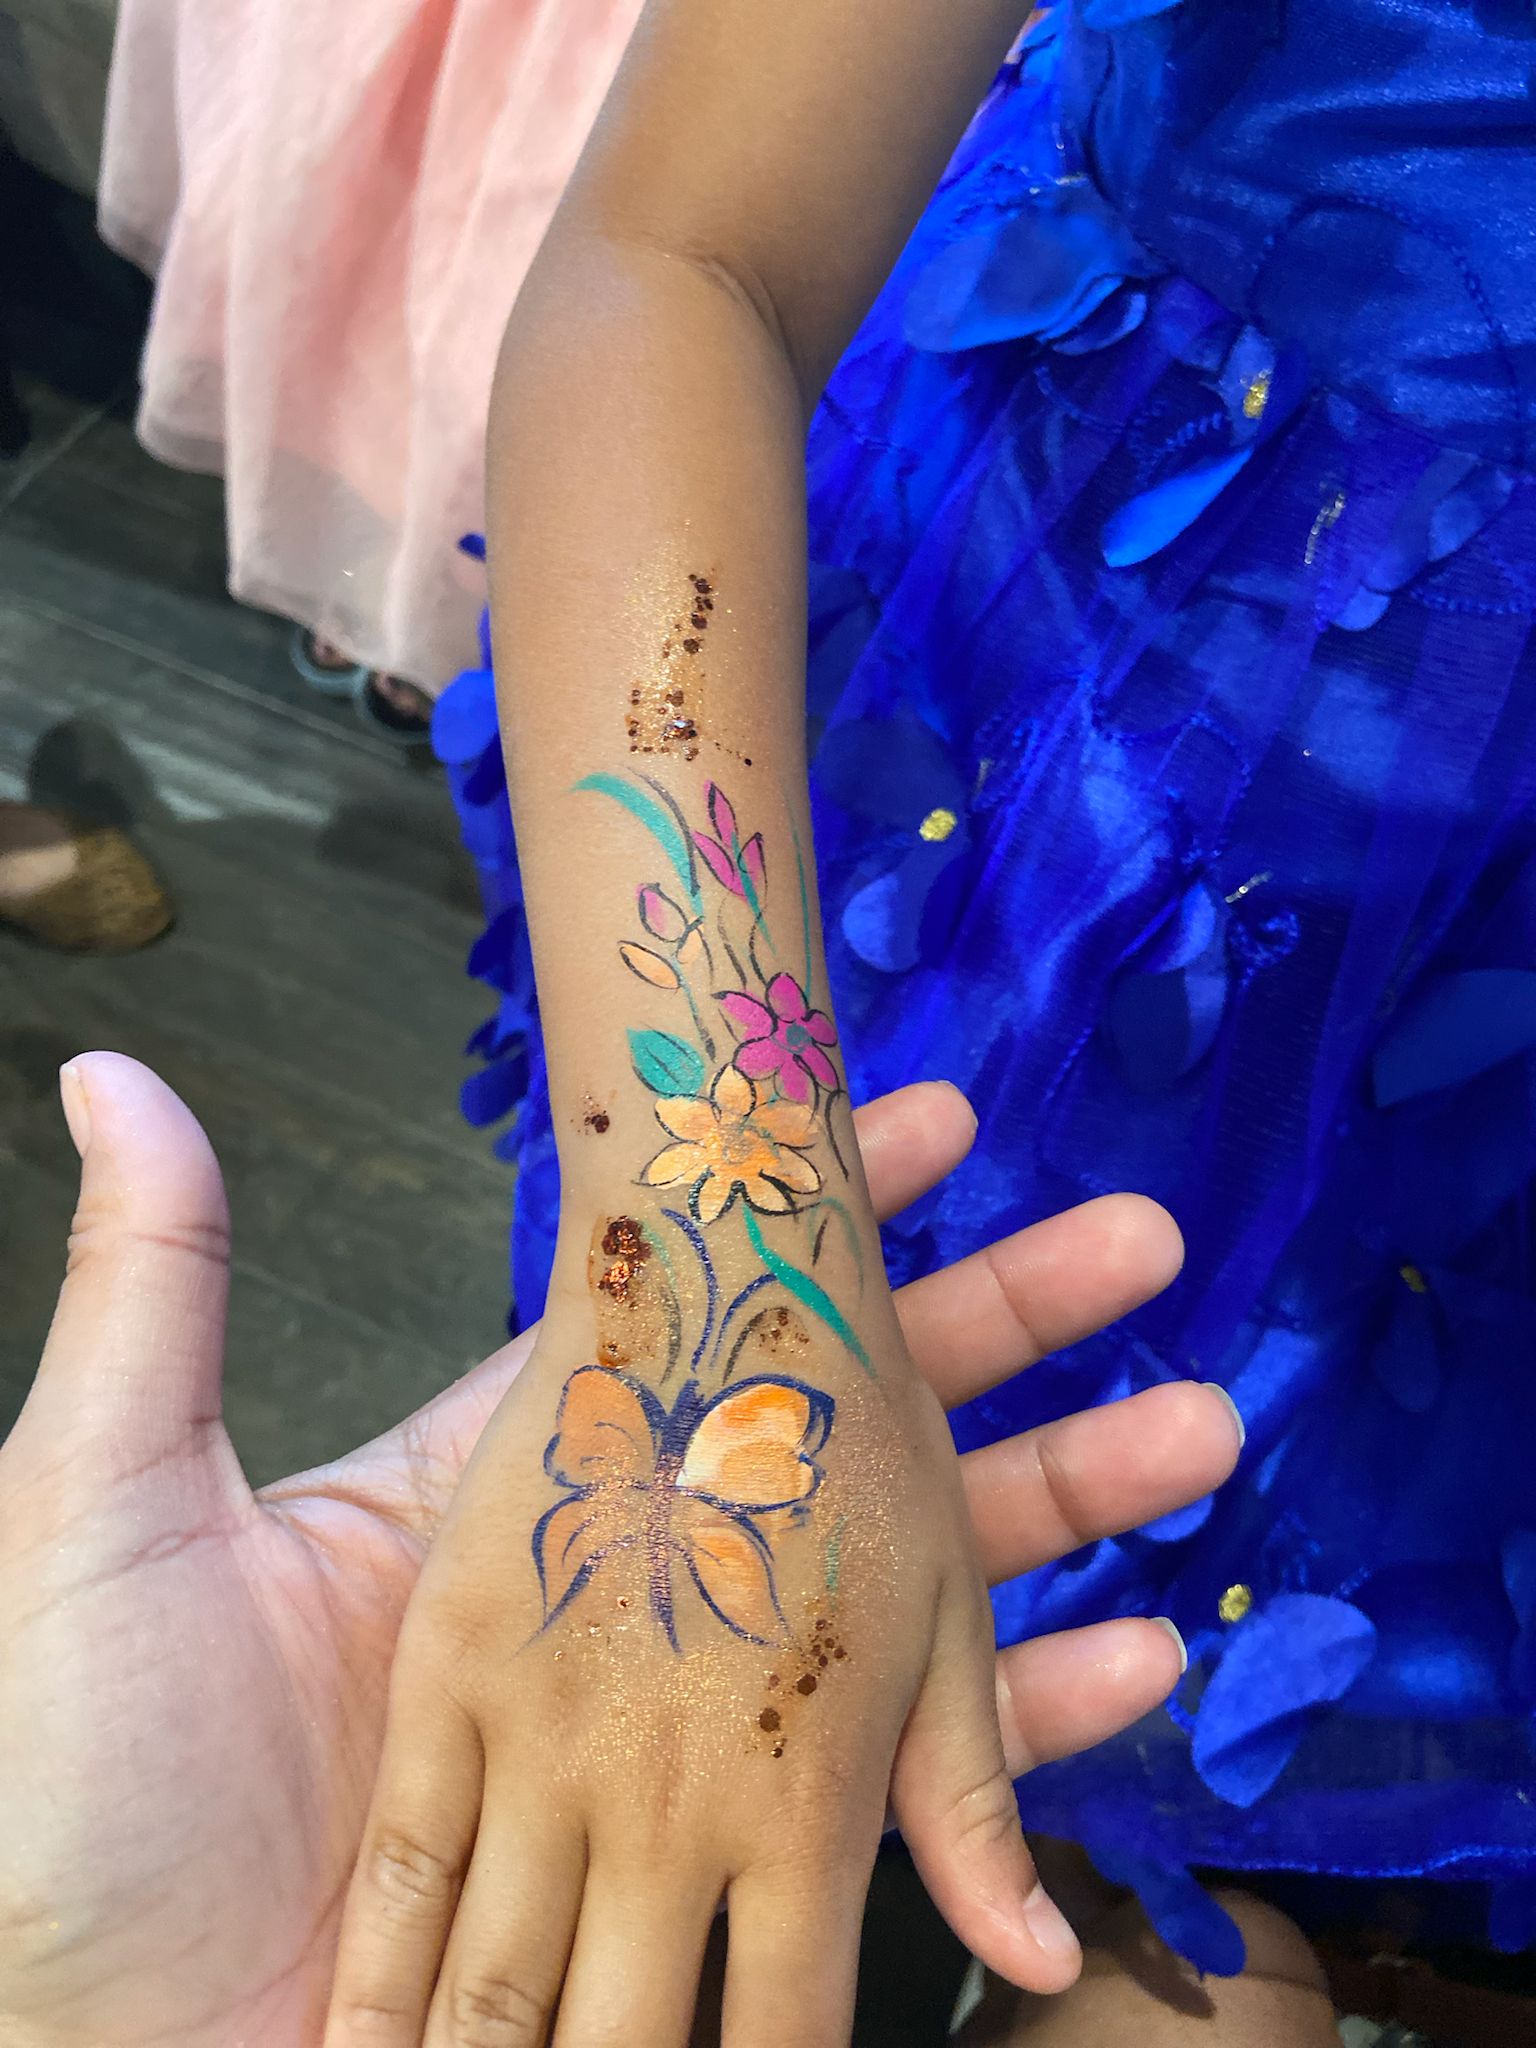
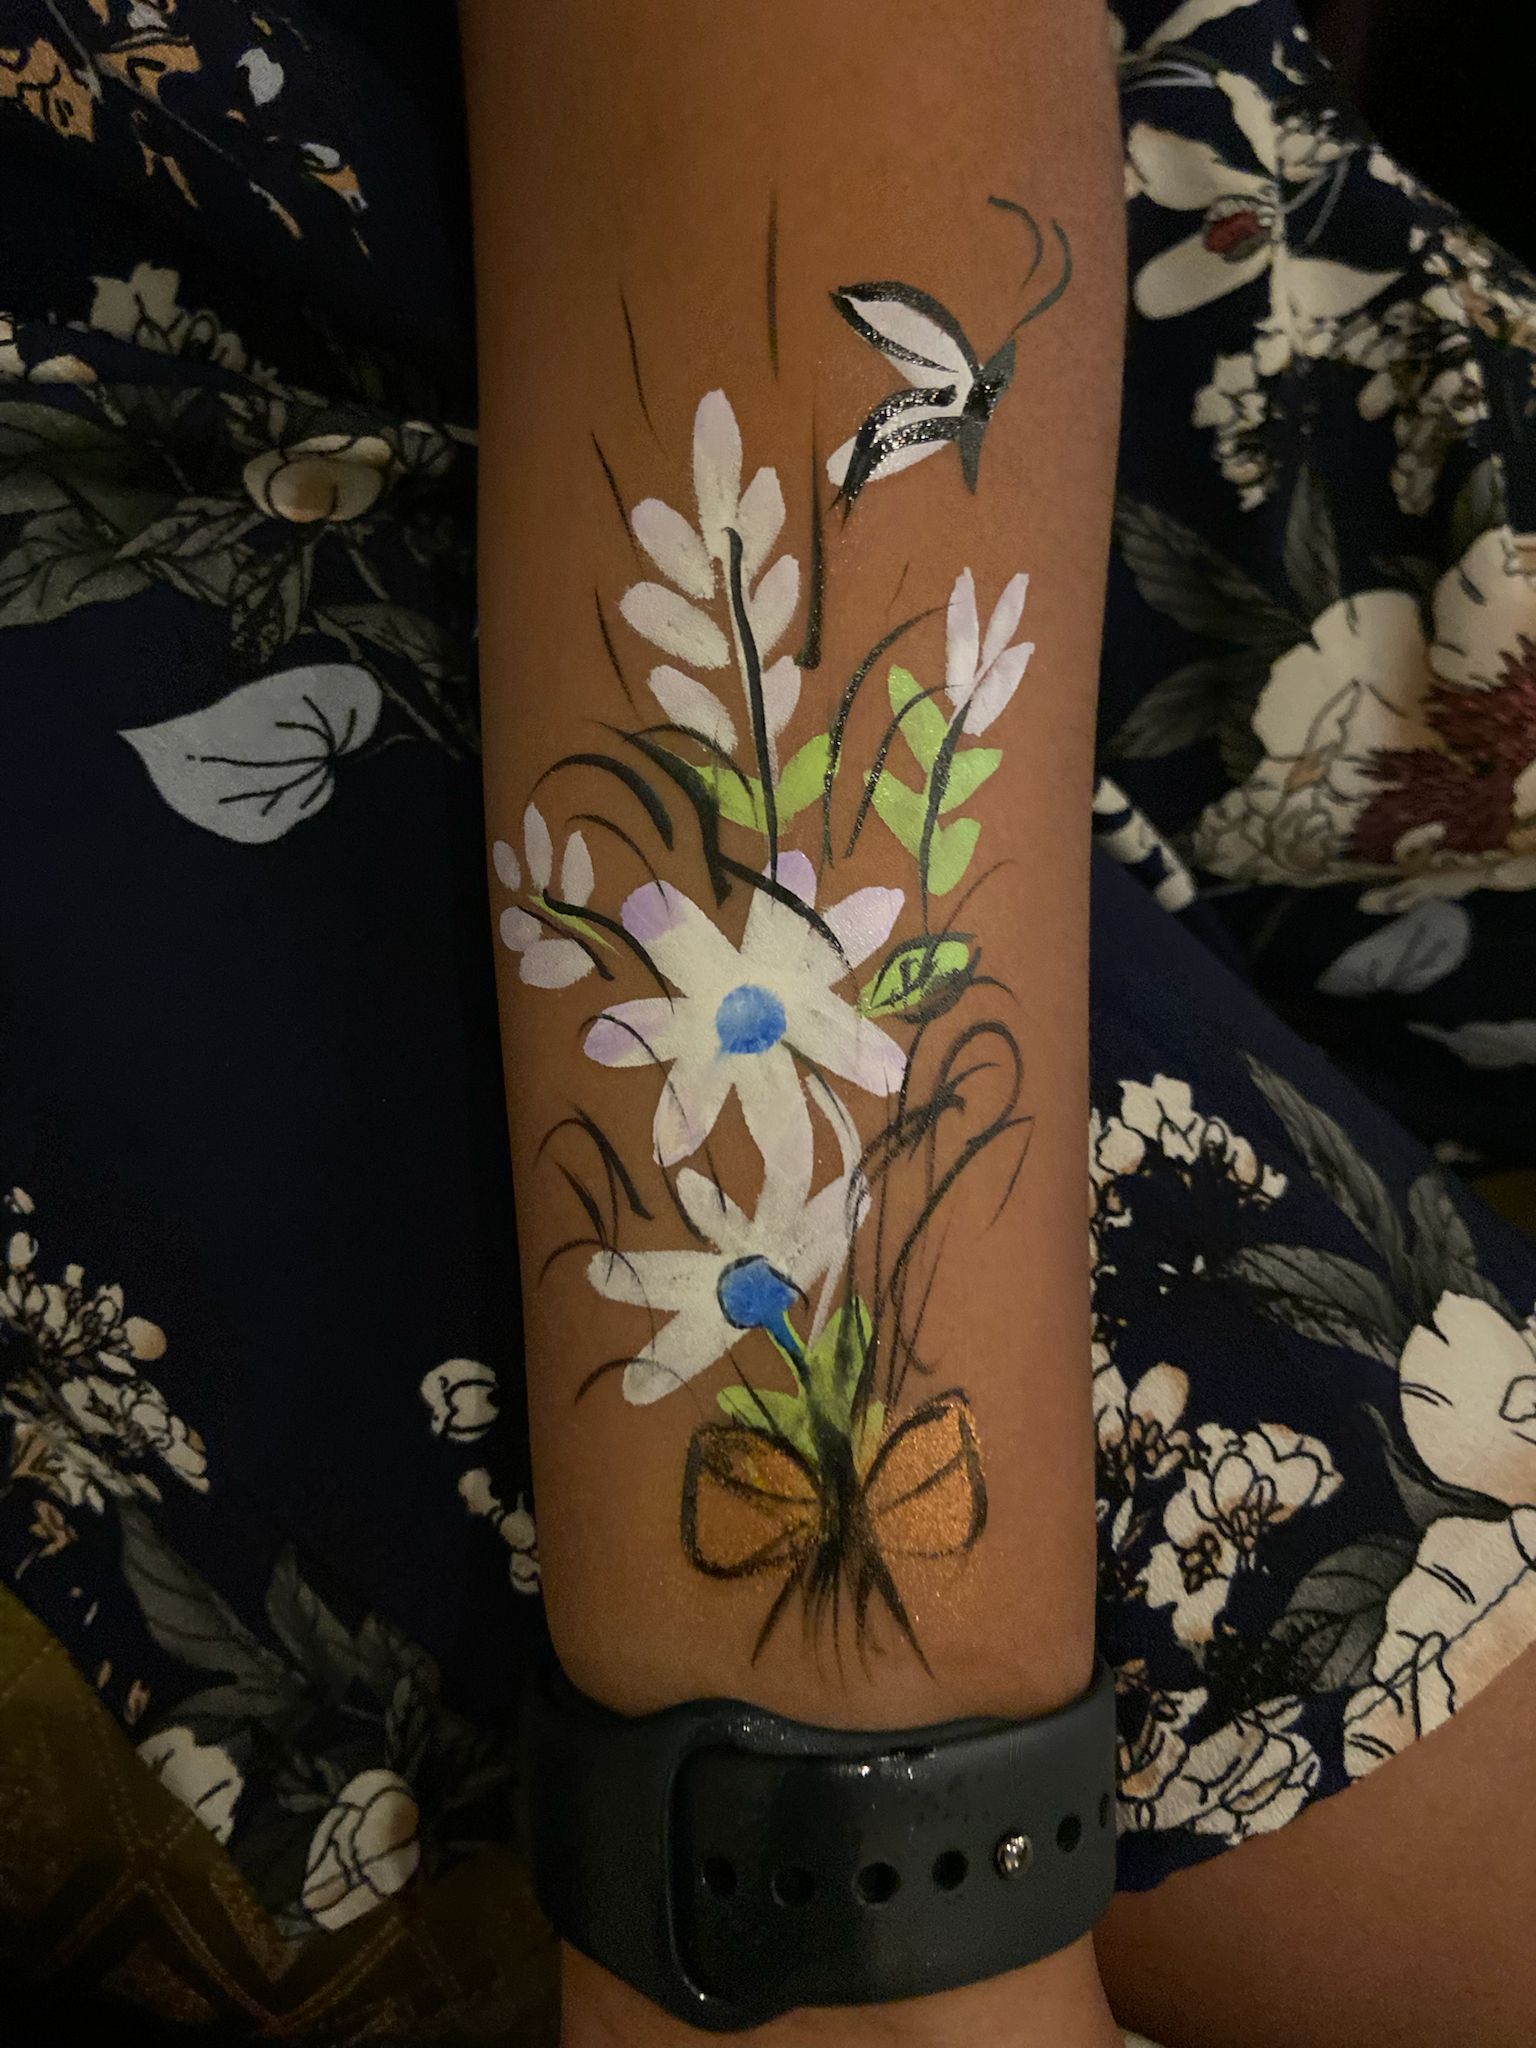
Real Portfolio Examples
Tutorial Overview
Step-by-Step Instructions
Prepare Your Palette
Activate your face paints with a few drops of water. You want a creamy, smooth consistency — not watery and not too thick. Load your sponge with the base wing colour (purple or pink) and your round brush with white and black.
Map the Wing Shape
Ask the child to close their eyes and look down slightly. Using your flat brush or sponge, lightly map the upper wing shape from the bridge of the nose, sweeping outward over the eyelid and up toward the temple. Mirror both sides before adding any detail.
Fill the Upper Wings
Using a loaded sponge, fill in the upper wings with your primary colour (violet or hot pink). Apply in a single smooth stroke, working from the nose outward. Keep the inner edge crisp near the nose bridge.
Add the Lower Wings
With a smaller flat brush, paint the lower wing sections below the cheekbone. These are typically smaller and rounder than the upper wings. Use a slightly lighter shade or blended second colour to create dimension.
Create Depth with Blending
While the base is still slightly damp, use a clean sponge corner to blend a darker tone at the outer edges of the wings and a lighter highlight near the nose. This gives the wings a natural, three-dimensional appearance.
Paint the Wing Details
Switch to your round brush #4 and white paint. Add small oval dots along the wing edges — these represent the natural markings on real butterfly wings and are the detail that transforms a basic design into something special.
Outline with Black
Using your fine detail brush and black paint, carefully outline the outer edges of all four wings. Keep your hand steady and use your little finger as a brace against the child's cheek. Thin, confident strokes beat wobbly thick lines every time.
Paint the Body & Antennae
Draw a small teardrop or oval body shape at the bridge of the nose using black paint. Then paint two antennae curving upward from the body toward the forehead, finishing each with a small dot or swirl at the tip.
Add Finishing Highlights
Using white paint and your finest brush, add tiny star dots or sparkle marks on the wing surface. A small white highlight on each antenna dot makes the whole design pop. Optional: a touch of cosmetic glitter gel over the upper wings while still slightly damp.
Common Mistakes to Avoid
✕ Wings aren't symmetrical
Always map both wings lightly before committing to fill. Step back and check balance before adding detail.
✕ Paint is too watery
Over-activated paint bleeds and won't hold crisp edges. The paint should feel like smooth cream cheese — not runny.
✕ Skipping the base blend
Filling with solid flat colour without any shading looks amateur. Even a simple light-to-dark gradient within the wing changes everything.
✕ Outlining too early
If you outline with black before the base colour dries, the black will bleed into the base. Wait 30–60 seconds or use a dry brush technique.
✕ Antenna lines too thick
Antennae should be fine and elegant — they're the finishing touch, not a bold stroke. Use the very tip of your liner brush and a light hand.
Professional Tips
⚡ Speed tip for busy events
At festivals and high-volume parties, skip the full lower wing and replace it with 3–4 white dots below the cheekbone. The eye reads it as a complete butterfly and you halve your painting time.
🎨 Colour theory shortcut
Purple + pink is the crowd-pleaser combination. For boys who want a butterfly, try electric blue + black + neon yellow — it reads as a morpho butterfly and feels adventurous rather than princess-y.
✨ The glitter upgrade
A thin brush of cosmetic-grade glitter gel over dried wings elevates the design instantly. Use iridescent or holographic glitter — it catches the light in photos and the kids love it.
📐 Symmetry trick
Hold your brush or a pencil vertically down the centre of the face between designs. If your wing tips both touch the same points relative to the pencil, you're balanced.
Design Variations
- Galaxy Butterfly Deep navy base, purple and teal blends, silver star dots, and iridescent glitter for a cosmic night-sky effect.
- Monarch Butterfly Classic orange base with thick black outlines and white dot markings to recreate the iconic monarch colouring.
- Mini Butterfly (Half-Face) A single wing design that sits on one side of the face — great for queues where time is short or for kids who want something subtle.
- Butterfly & Flowers Add small five-petal flowers in the corner of the forehead or on the cheekbone opposite the wing. Pairs beautifully with pastel butterfly colourways.
Safety & Skin Care
- Always use professional, cosmetic-grade, water-activated face paints (e.g., Kryolan Aquacolor, Snazaroo, TAG Body Art). Never use acrylic craft paint.
- Perform a patch test on the inner wrist if a child has known skin sensitivities or eczema.
- Ask parents about allergies — especially to latex (some sponges contain latex) and lanolin.
- Never paint over open cuts, cold sores, active rashes, or broken skin.
- FaceFairy Studio uses professional face paints labeled for cosmetic use and follows product instructions. Tell the artist about known allergies or sensitivities before painting.
- Removal: wash off gently with warm water and a mild soap or baby wipe. Never scrub.
Frequently Asked Questions
How long does a butterfly face paint last?
A professionally applied butterfly face paint typically lasts 4–8 hours with normal activity. Heat, humidity, and rubbing will reduce longevity. Avoid touching the design and it will hold beautifully through any party.
Is butterfly face paint safe for toddlers?
Yes, when professional cosmetic-grade paints are used. We recommend age 3+ and always check with parents about skin sensitivities. We never paint near the mouth or eyes of children under 3.
How do I remove butterfly face paint?
Warm water, gentle soap, and a soft cloth are all you need. Baby wipes work perfectly too. Never scrub — just let water loosen the paint and wipe gently.
What paints are best for butterfly face painting?
We use and recommend water-activated professional face paints formulated for cosmetic use, such as established face-paint brands. Check each product label and ingredients for your needs, and follow its removal instructions.
Can I book a butterfly face painter for my event?
Absolutely! Butterfly is our signature design at FaceFairy Studio. We serve Raleigh, Cary, Garner, Apex, and the wider Triangle area. Use the booking form below to check availability.
Design Information
- Round brush #4 (for outlines and details)
- Flat brush #8 or #10 (for wing fills)
- Makeup sponge (for blending base)
- Fine liner brush #1 (for antenna)
- Small spray bottle with water
Available for parties across the Triangle.
📚 Pair with Learning
Related Design Guides
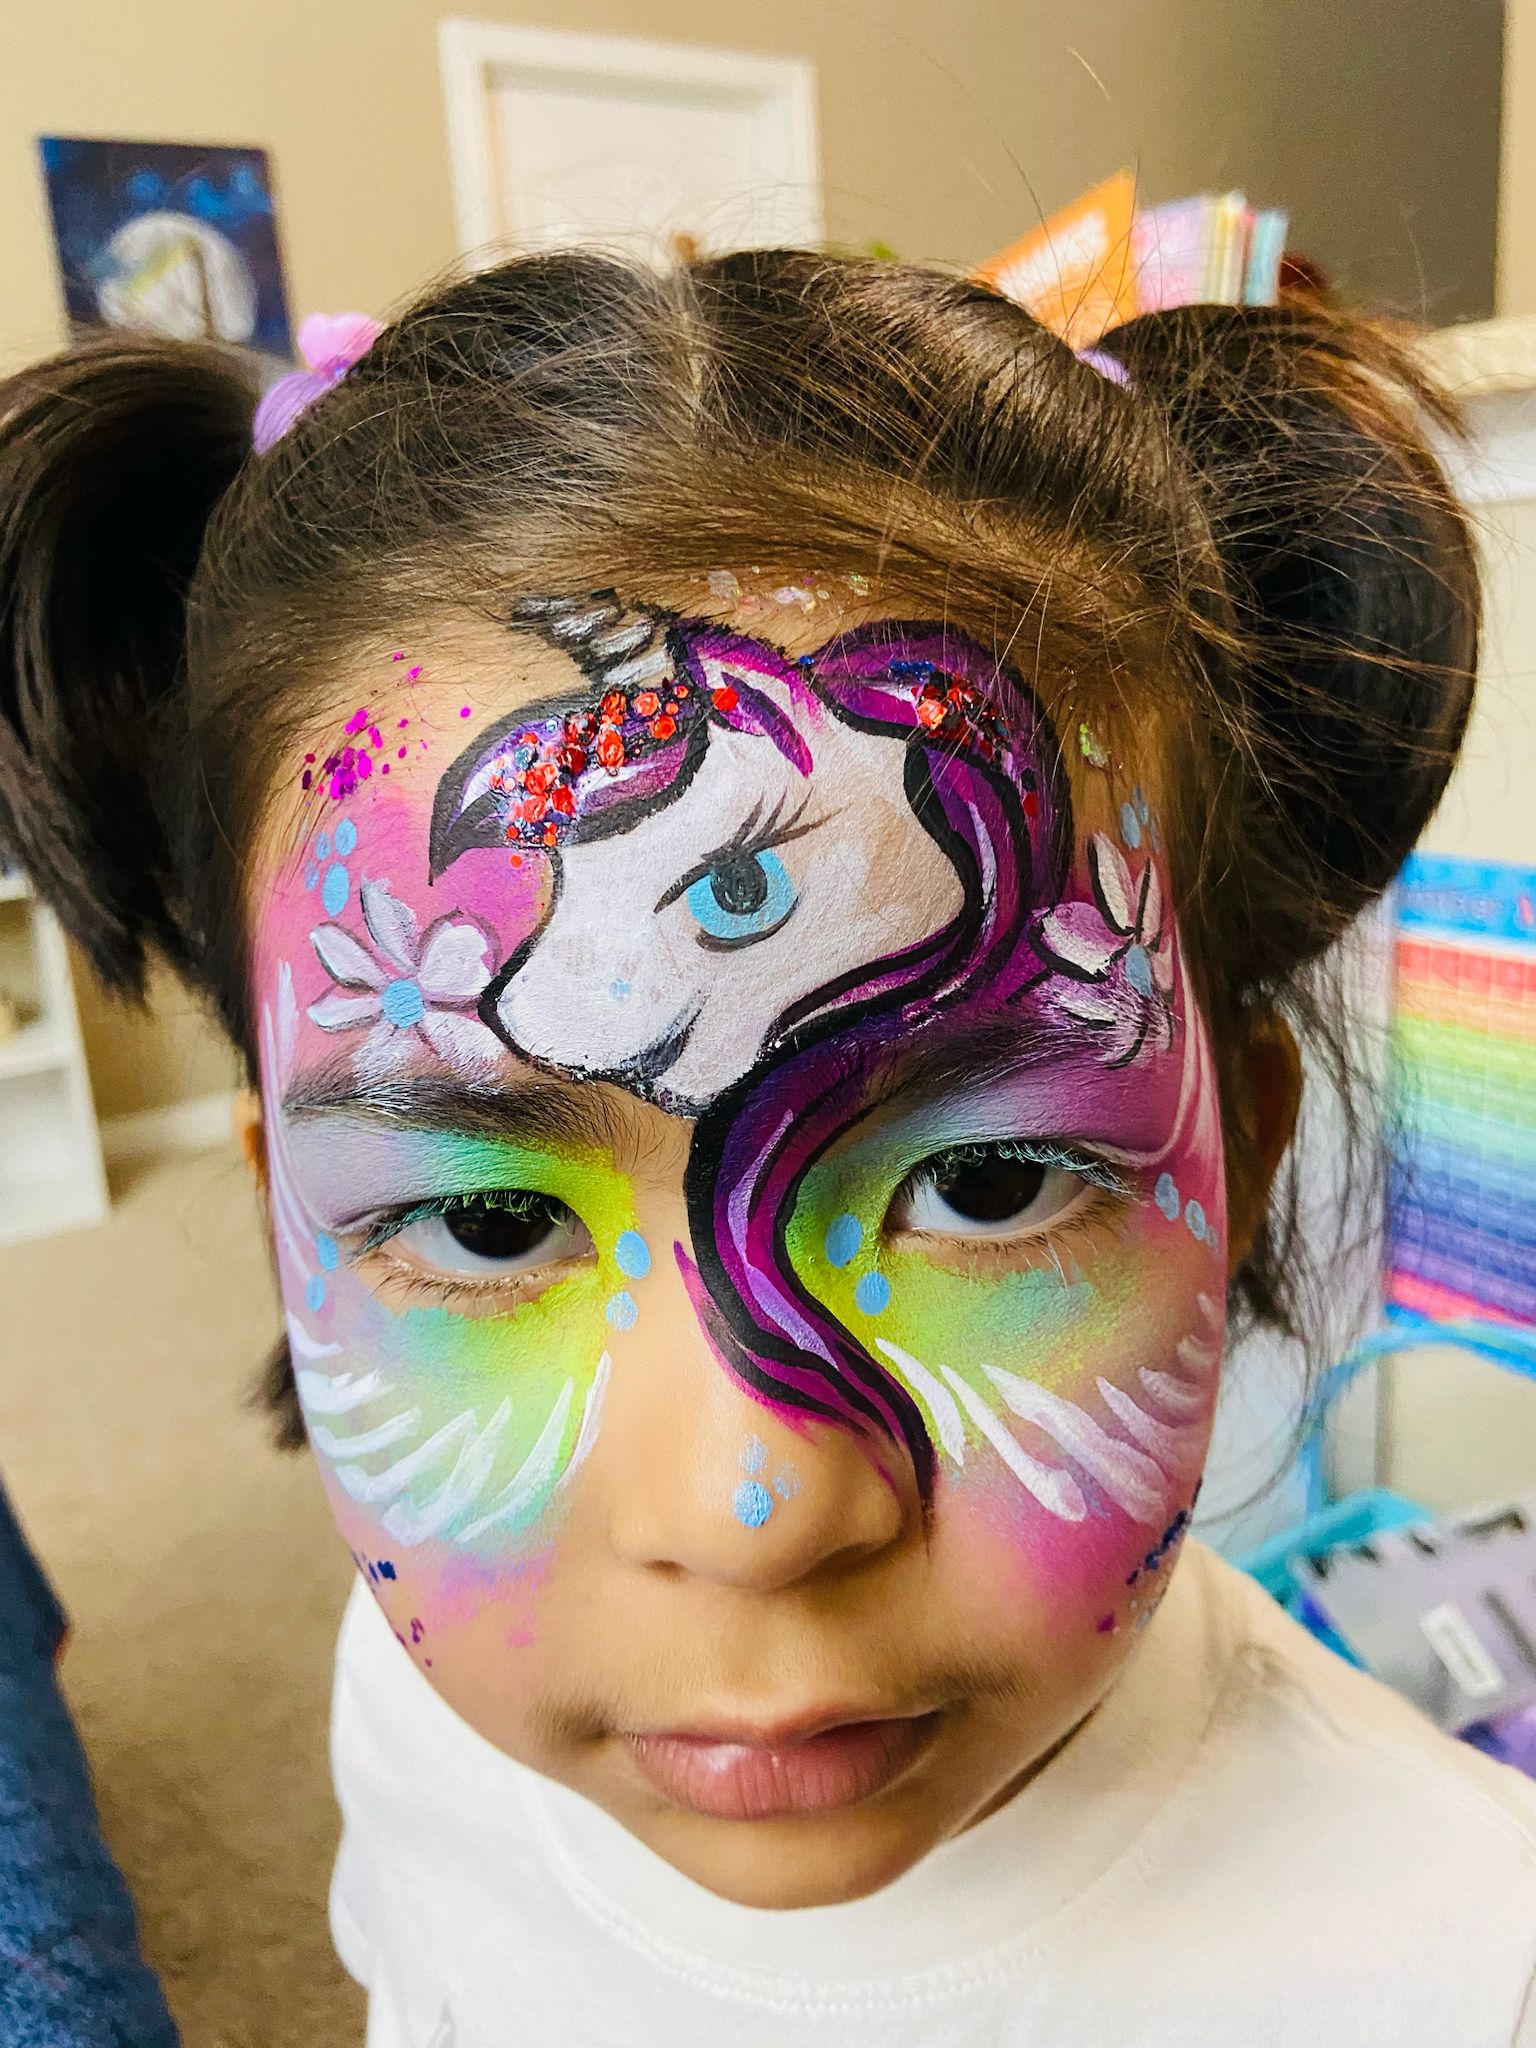
Unicorn Face Paint Guide
Sparkling horns, dreamy pastels, and rainbow shimmer — all in one magical design.
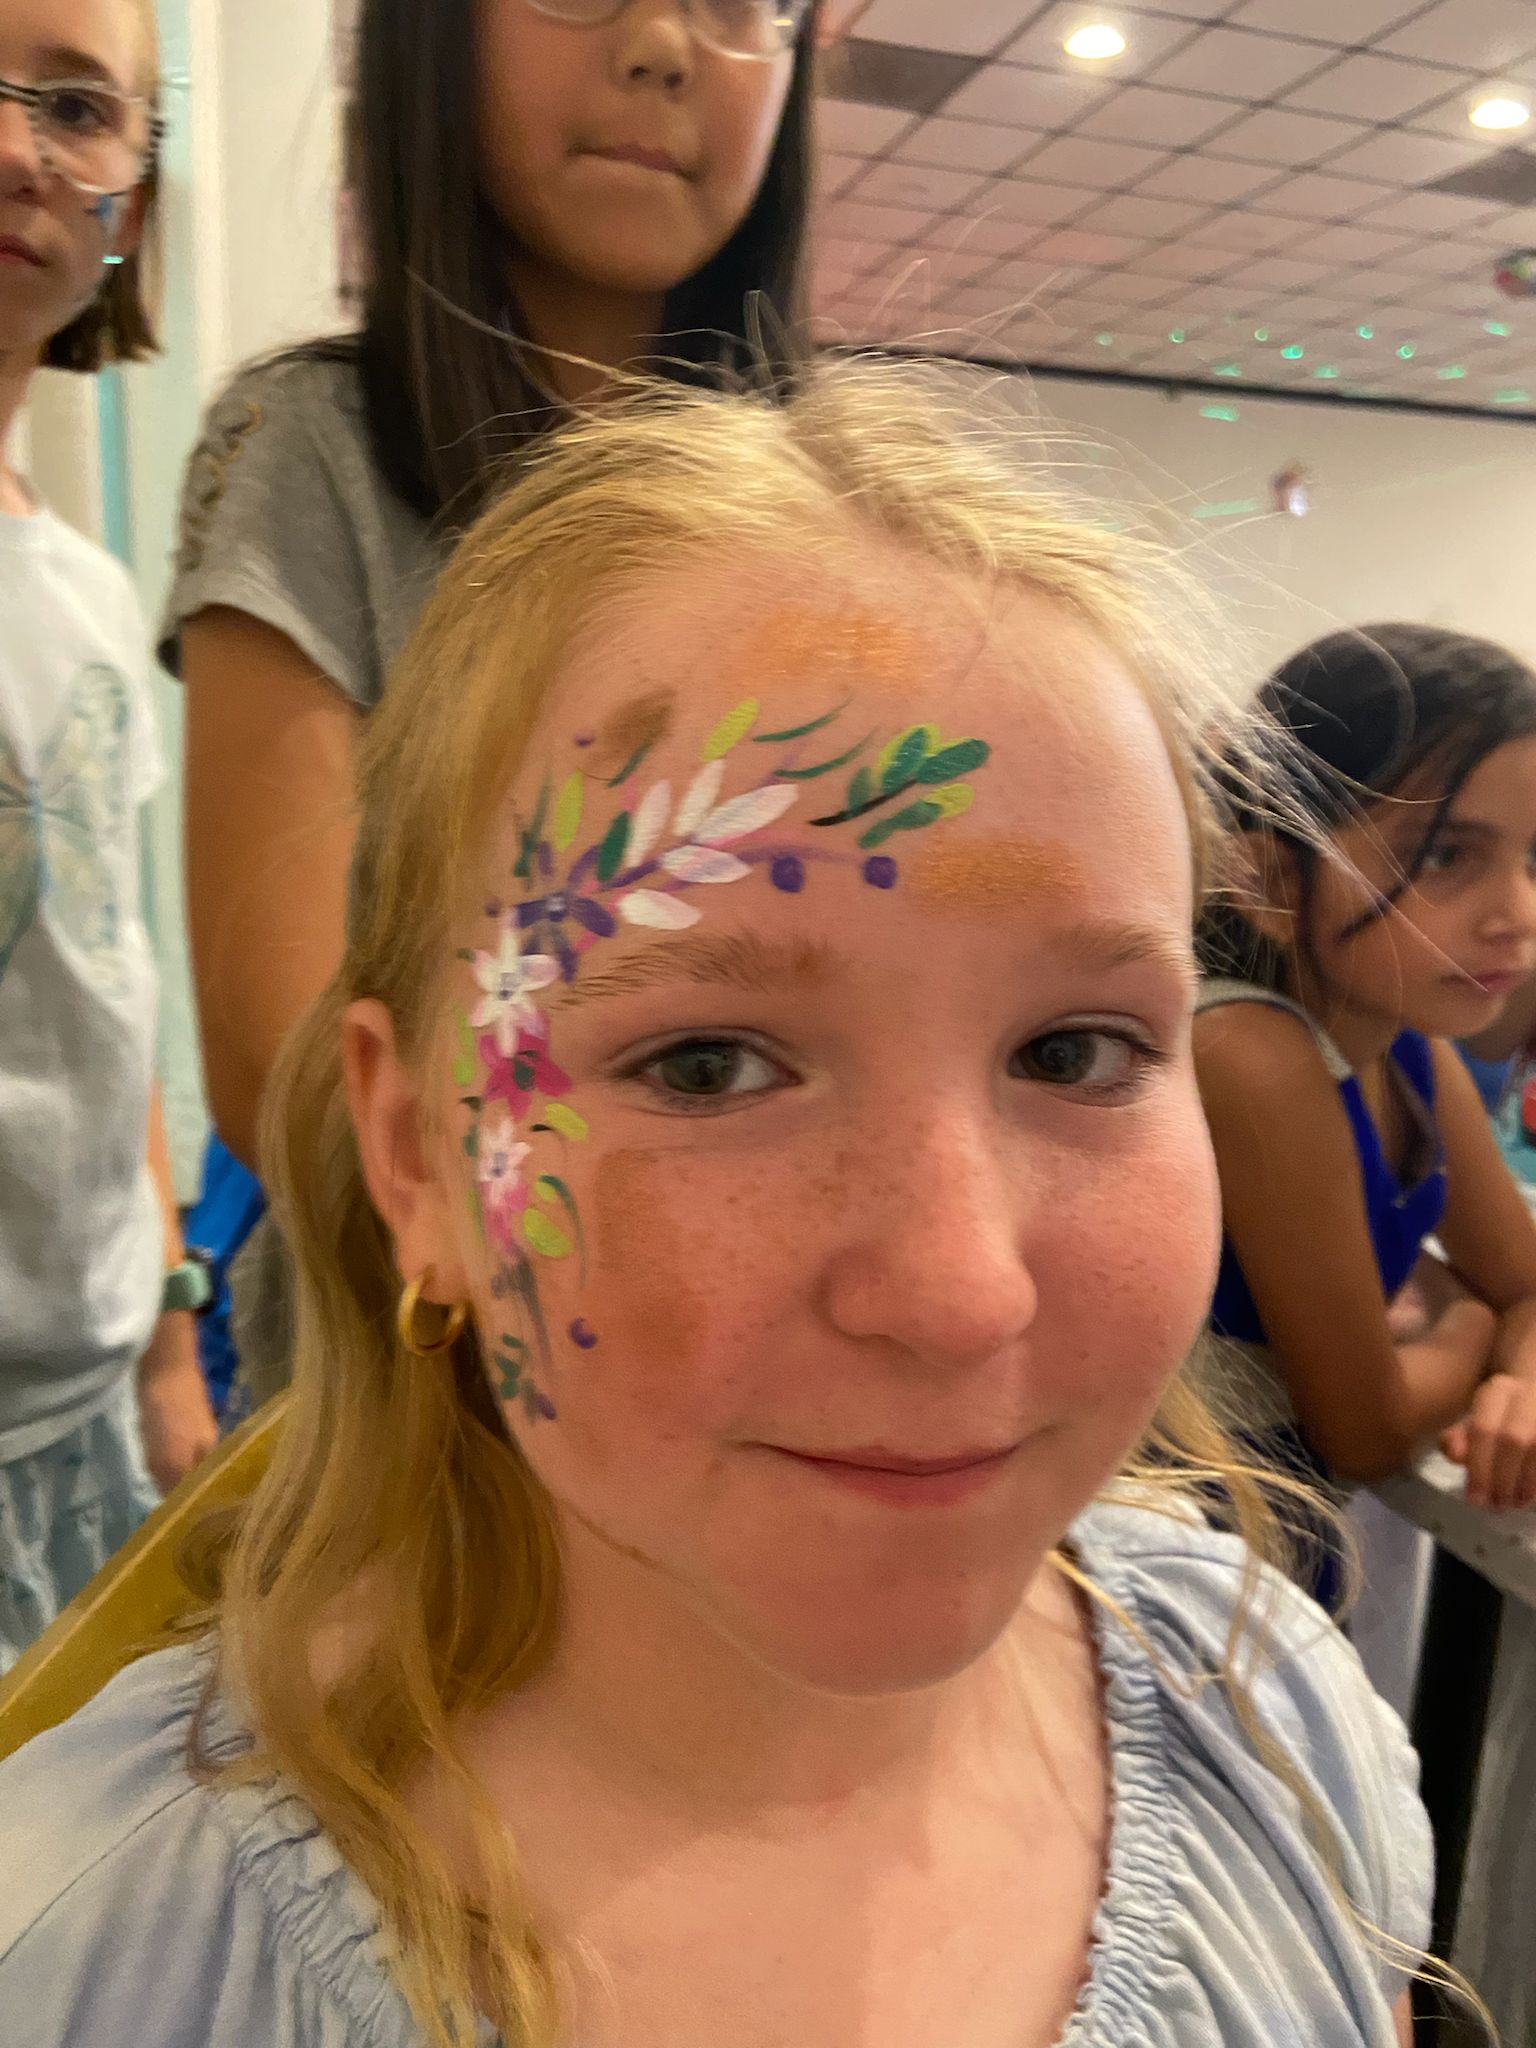
Princess Face Paint Guide
Sparkling crowns, rosy cheeks, and fairy-tale elegance.
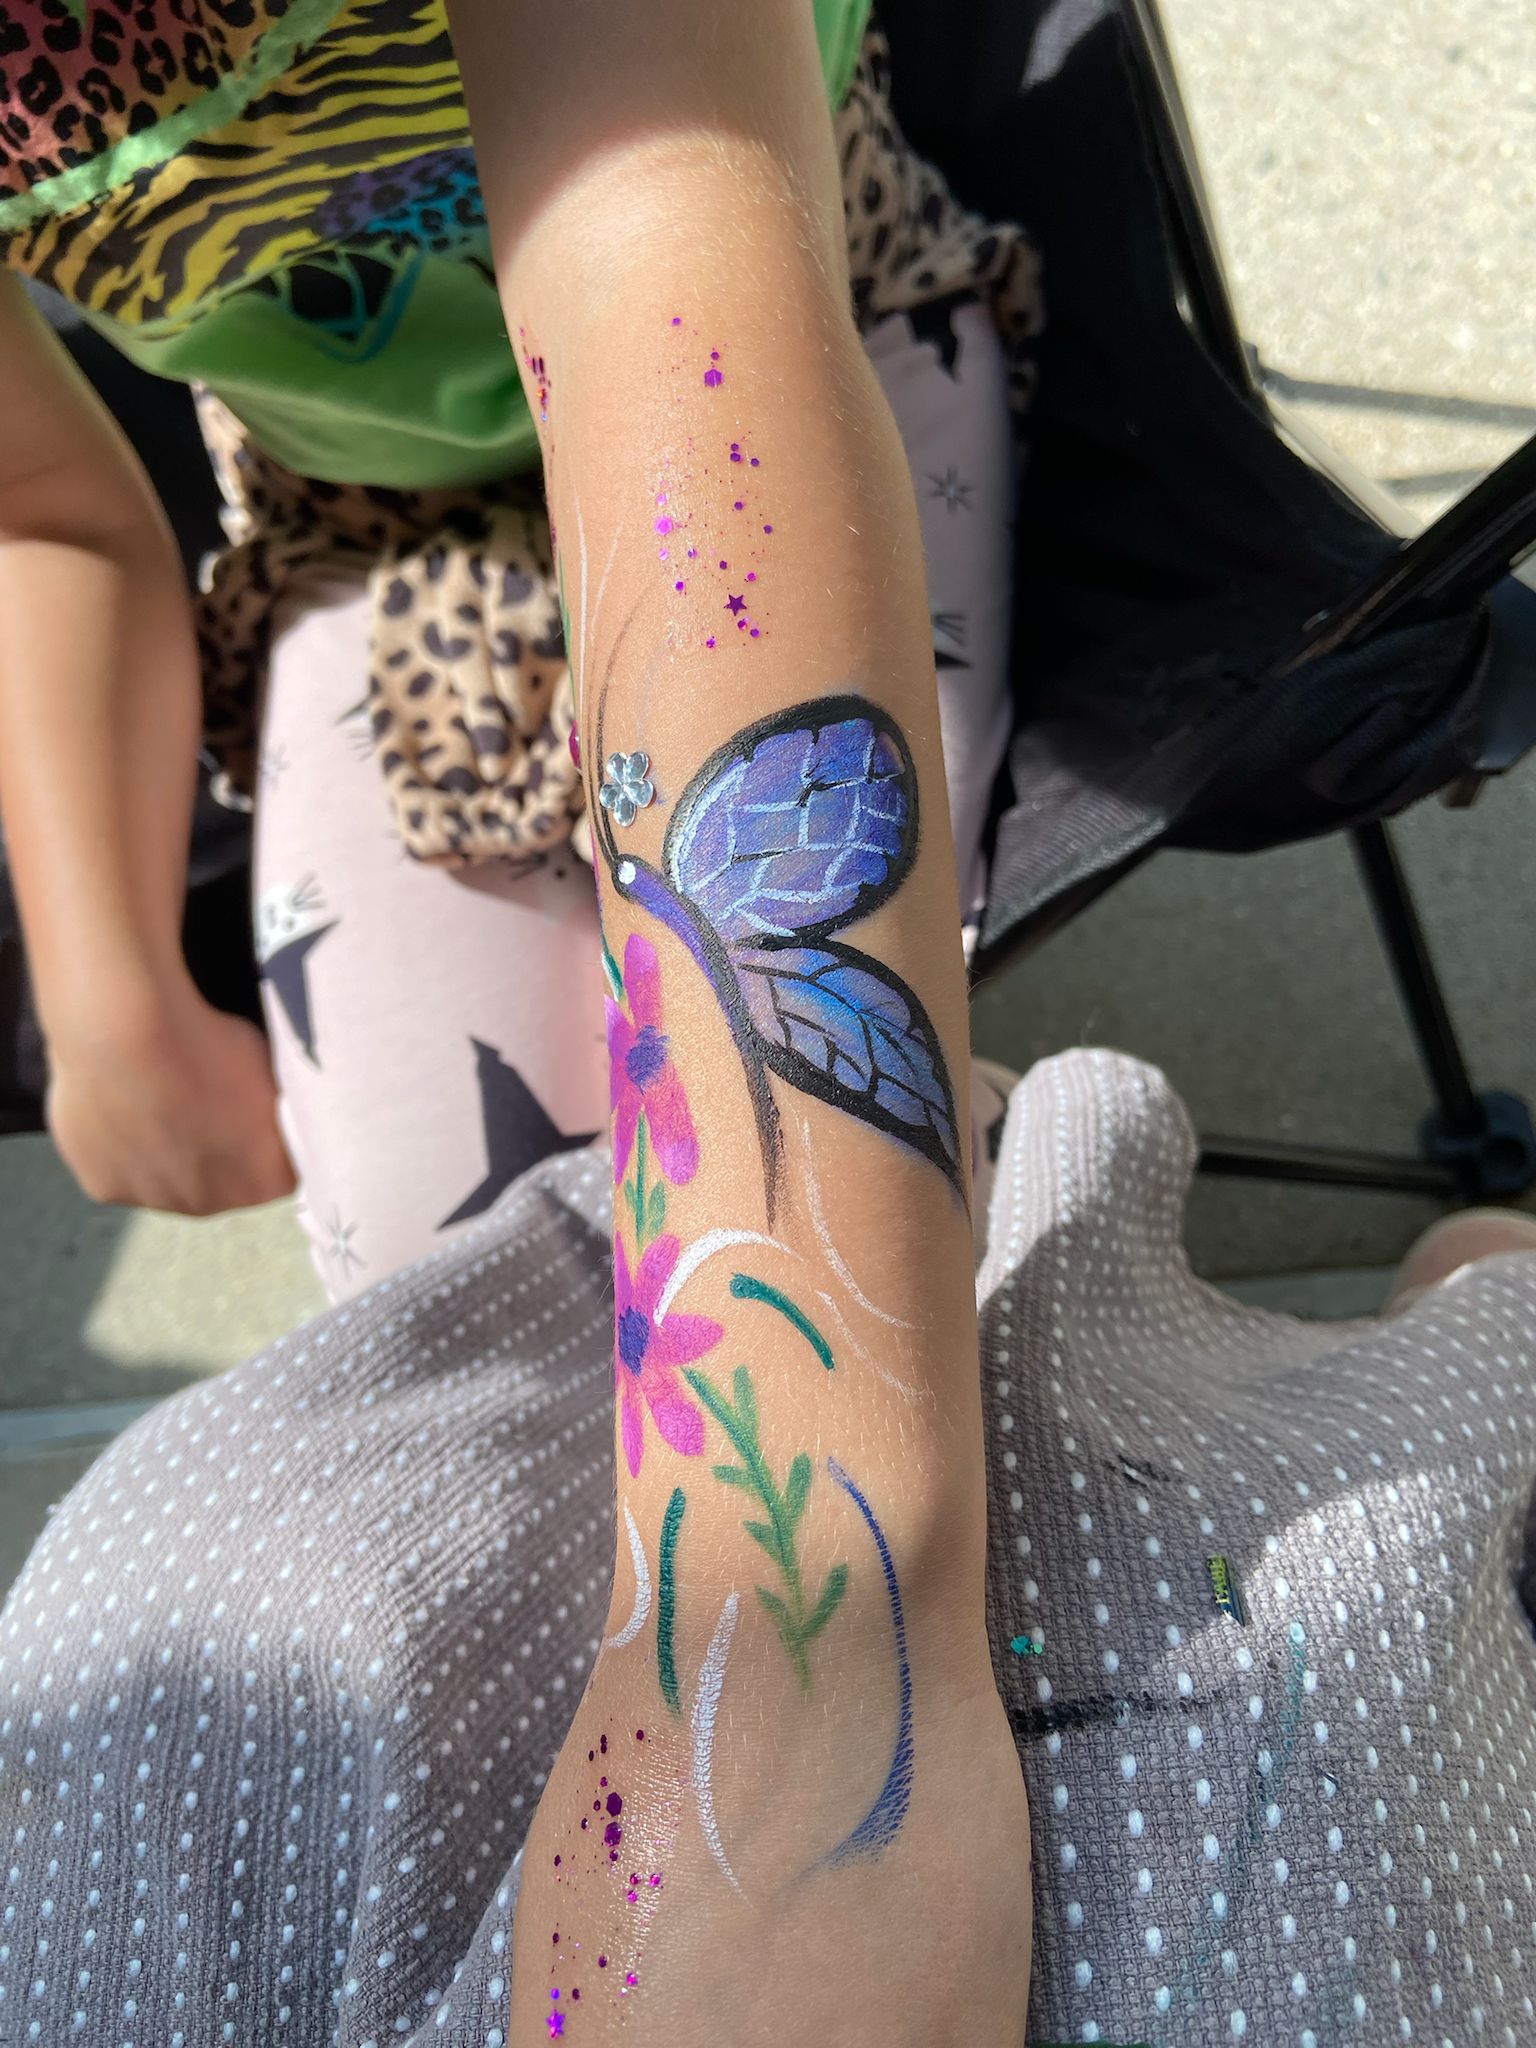
Rainbow Face Paint Guide
Seven colours, endless smiles — paint the perfect rainbow design.