Tropical Sunset Face Paint Guide
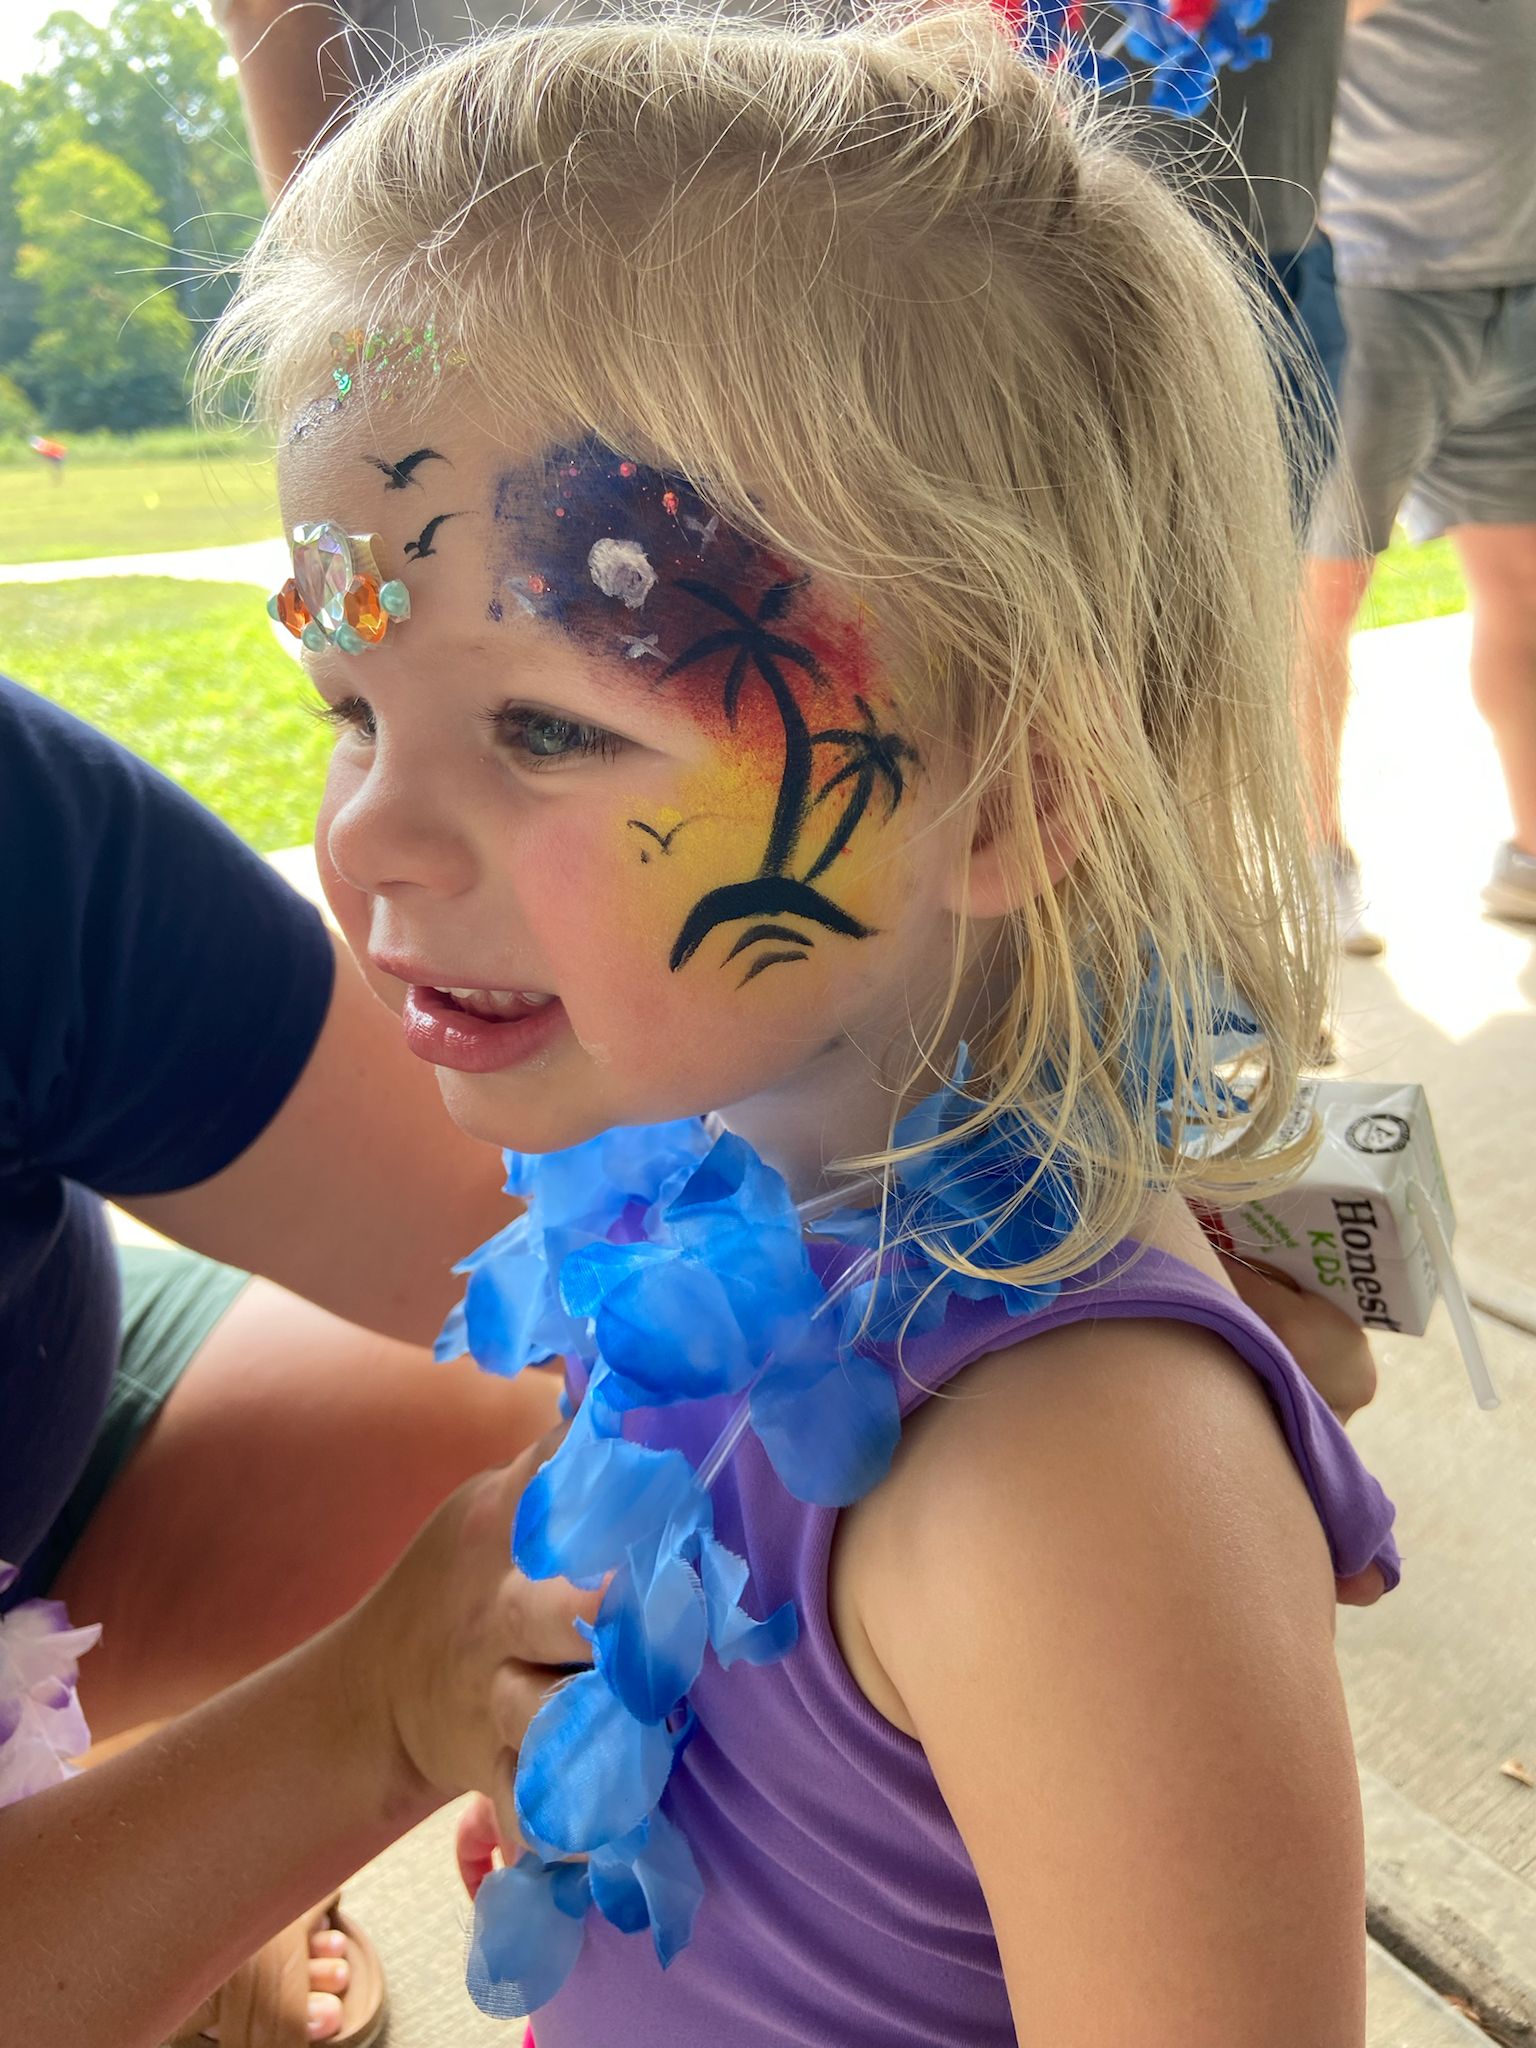
A golden beach sunset with palm trees, flying birds, and sparkling gems.
The technical challenge of this design is the multi-layered sunset gradient — a smooth blend of deep navy at the top, through purple, red, orange, and golden yellow at the horizon. Once the gradient is set, the dark palm tree silhouettes are painted on top, creating the dramatic contrast. Finally, small details (birds, gems, island outline) complete the scene. This guide walks you through every step.
Why is this design so popular?
The tropical sunset is one of those designs that stops people in their tracks at outdoor summer events. It's a full mini-painting on a face — a real landscape with sky, horizon, island, and silhouetted palm trees. Kids who get this design instantly become the star of the event, turning around to show everyone their face. It's photographed more than almost any other design we paint.
Real Portfolio Examples
Tutorial Overview
Step-by-Step Instructions
Sponge the Sky Gradient (Top to Bottom)
This is the most critical step. Using a clean sponge, start at the forehead with deep navy or purple. Without rinsing, quickly pick up red from a different section of the sponge and blend it into the middle of the eye area. Pick up orange and blend from the bottom of the eye down, then golden yellow at the very bottom (cheekbone). Work while wet — the colors should blend into each other, not create hard lines.
Add the Horizon "Glow"
While the gradient is slightly damp, use a clean sponge corner loaded with bright yellow-orange to dab a light, diffused glow right at the horizon line (across the middle of the eye area). This simulates the intense brightness of the actual sun at the horizon line.
Add the Sun Circle (Optional)
Using a round brush and bright orange-gold, paint a small circle directly at the horizon line in the center of the eye area. This represents the setting sun just at the water's edge. Add a tiny white highlight at the top of the sun circle.
Paint the Horizon Line
Using your round brush and black, paint a slightly irregular horizontal line across the lower eye area. This represents the waterline/beach horizon. It doesn't need to be perfectly straight — a gently curved, organic line looks more natural.
Paint the Island and Shoreline
Using your round brush and black, paint a small curved mound just above the horizon line in the center. This is the island — keep it low and wide. Extend the shoreline from both sides of the island as a thin curved line meeting the horizon.
Paint the Palm Tree Silhouettes
Using your round brush loaded with black, paint 2–3 palm tree trunks rising from the island. Trunks should curve slightly — real palms lean. Using your fine brush, add palm fronds at the top of each trunk: a series of curved stroke-lines fanning outward from the top of each trunk. Keep fronds thin and graceful.
Paint Flying Birds
Using your fine brush and black, add 3–5 tiny bird silhouettes in the sky area. Each bird is simply a tiny curved "M" shape or a flat V-stroke. Scatter them at different heights in the sky portion of the gradient. These tiny details add tremendous life and scale to the landscape.
Add Gems and Glitter Finishing
Using cosmetic gem stickers, place 2–3 gems along the brow bone or at the temple to simulate brilliant stars. Add a few dots of cosmetic glitter near the gem placement. The gems catch light beautifully and make the night sky portion of the design sparkle.
Common Mistakes to Avoid
✕ Hard Lines Between Gradient Colors
The sunset gradient must be blended while wet. If you let each color dry before adding the next, you'll get obvious stripes. Work fast and keep the sponge slightly damp to allow colors to merge.
✕ Palm Fronds That Are Too Heavy
Palm fronds should be elegant and thin. If they're painted with too much paint on the brush, they look like solid black blobs rather than feathery fronds. Use very little paint and your finest brush for the frond strokes.
✕ Placing the Horizon Too High
The horizon line should cross roughly across the middle of the eye area. If it's placed too high (on the forehead), there's not enough sky. Too low (on the cheek) and there's no room for the palm trees. The eye socket is the natural sweet spot.
Professional Tips
🌅 Pre-Load Your Sponge
Before painting the gradient on the face, practice on your arm. Load the sponge with all three colors simultaneously — navy, red, and orange at different spots — and practice the single blending stroke until the gradient flows naturally.
✨ Glitter Gems as Stars
Use a dotting tool or toothpick to place tiny dots of white body glitter in the navy sky area for a star effect. Combined with gem stickers, this creates a genuine "first-star-of-the-evening" atmosphere.
⚡ Simpler Version for Queues
For high-volume events, skip the island and birds and paint only the gradient background with two palm tree silhouettes. This fast version takes 8–10 minutes and still delivers the essential "wow".
Design Variations
- Sunrise Version Reverse the color order — lighter yellow-pink at the top and deepen to orange below. Add a different landscape feature like a mountain range silhouette instead of palm trees for a morning mountain sunrise look.
- Galaxy Night Sky Replace the warm sunset colors with cool purples, deep blues, and dark navy. Add the palm tree silhouettes over the night sky and use chunky glitter heavily for a "night on a tropical island" effect.
Safety & Skin Care
- The sunset gradient requires working near the eye area — always use professional face paints, never craft paints or acrylics.
- Gem stickers must be cosmetic-grade with skin-safe adhesive.
- Avoid applying glitter directly into the eye area, especially for children.
Frequently Asked Questions
How hard is the sunset gradient to paint?
The gradient is the most technically challenging part. It requires a multi-loaded sponge and confident, overlapping strokes. Practicing on your own arm 5–10 times before painting it on a customer will build the muscle memory needed for a clean blend.
Can I do this design on arms instead of the face?
Absolutely! A sunset arm painting (the length of the forearm) is a popular adult design at summer festivals. The larger canvas makes the gradient easier to blend and allows for more detailed palm trees.
What makes this design different from a regular face paint?
This is a landscape painting — it tells a story. Unlike mask designs that transform the face into an animal or character, the sunset design turns the face into a window into a tropical world. It's genuinely wearable art.
Design Information
- Sponge (for the multi-color sunset gradient — critical)
- Round brush #4 (for palm tree trunks and horizon line)
- Fine detail brush #1 (for birds, palm fronds, and stars)
- Gem stickers (cosmetic-grade, optional)
Available for parties across the Triangle.
Related Design Guides
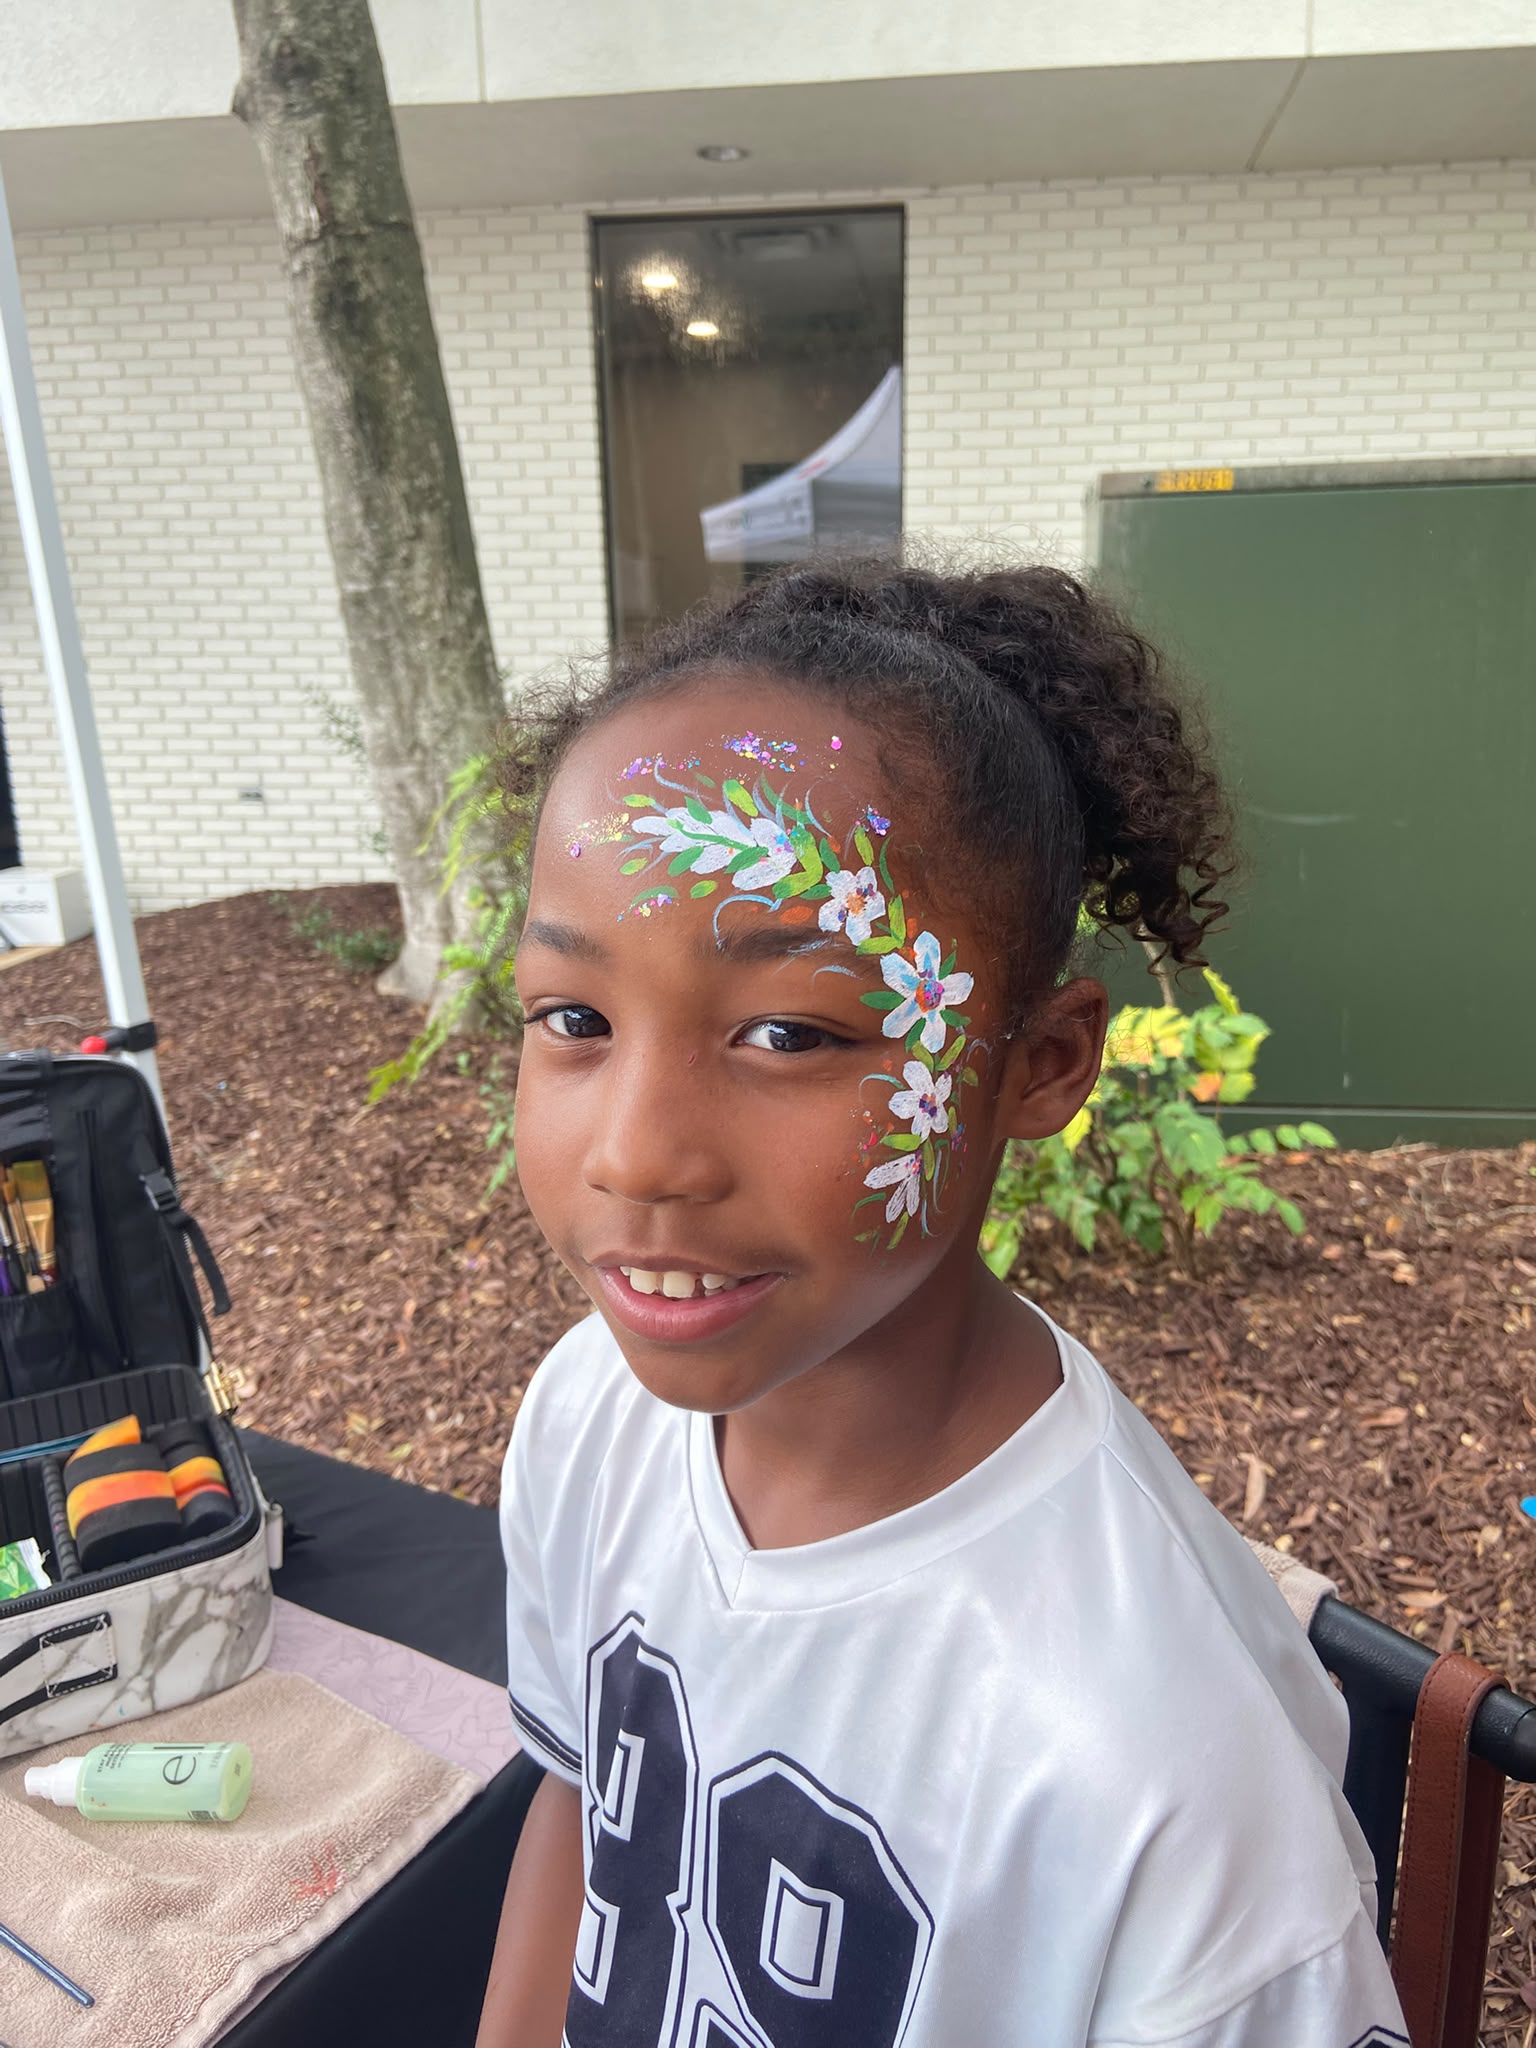
Floral Vines Face Paint Guide
Delicate blooms and sweeping vines for an enchanted garden look.
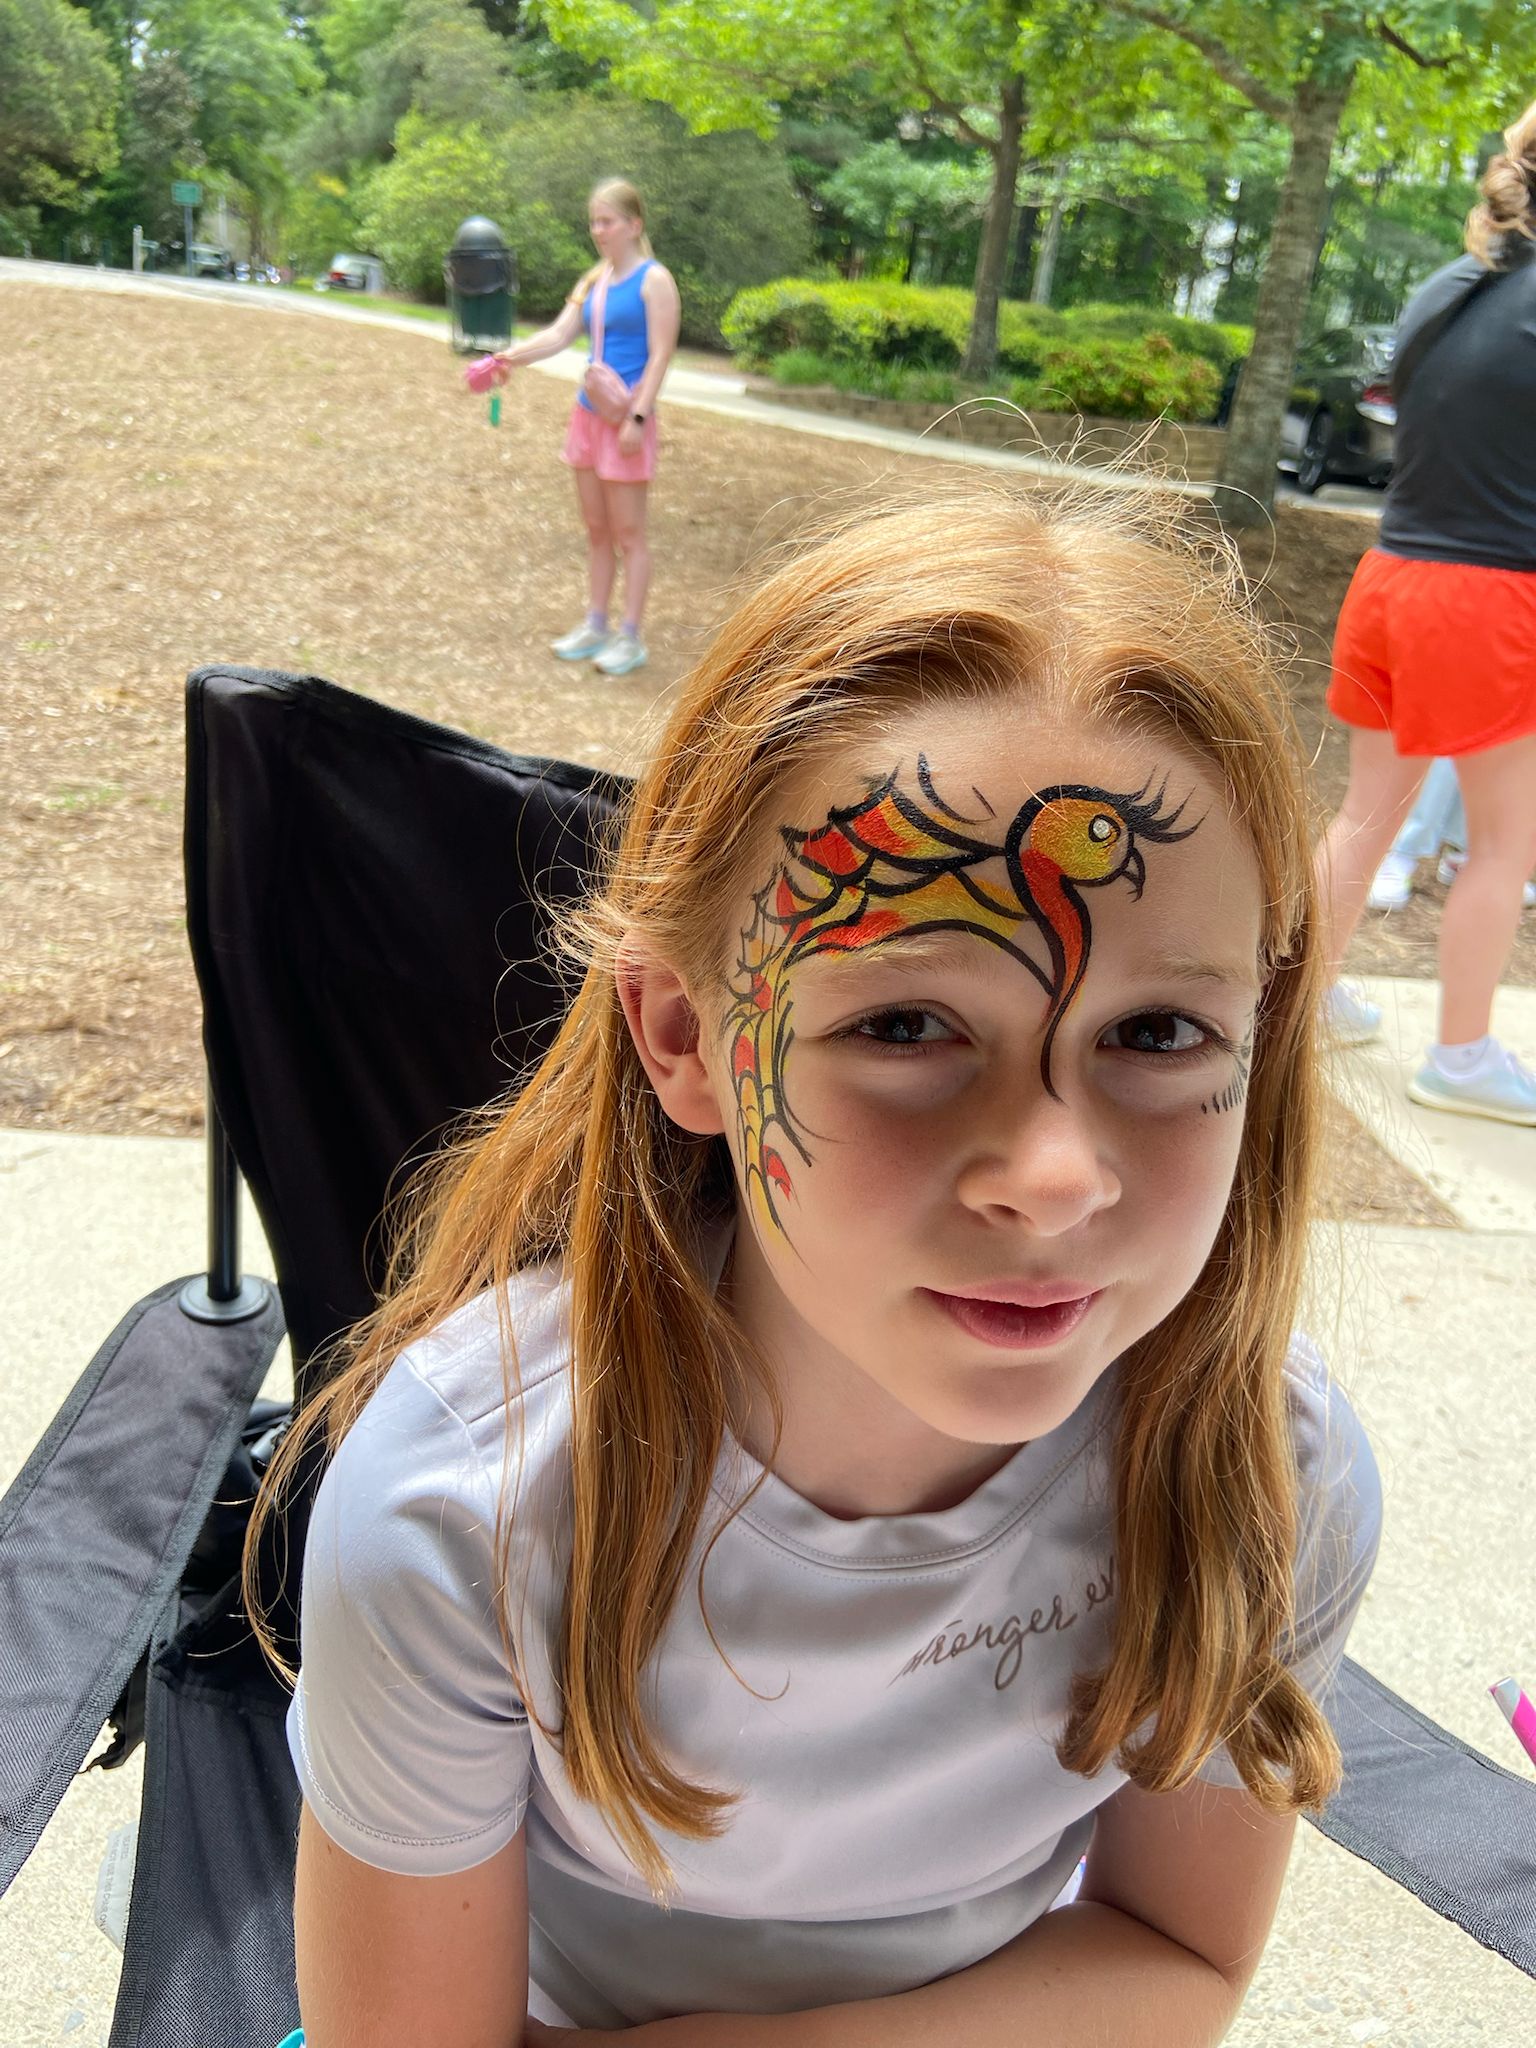
Phoenix Face Paint Guide
A fire bird rising — bold golds, flaming reds, and fierce black details.
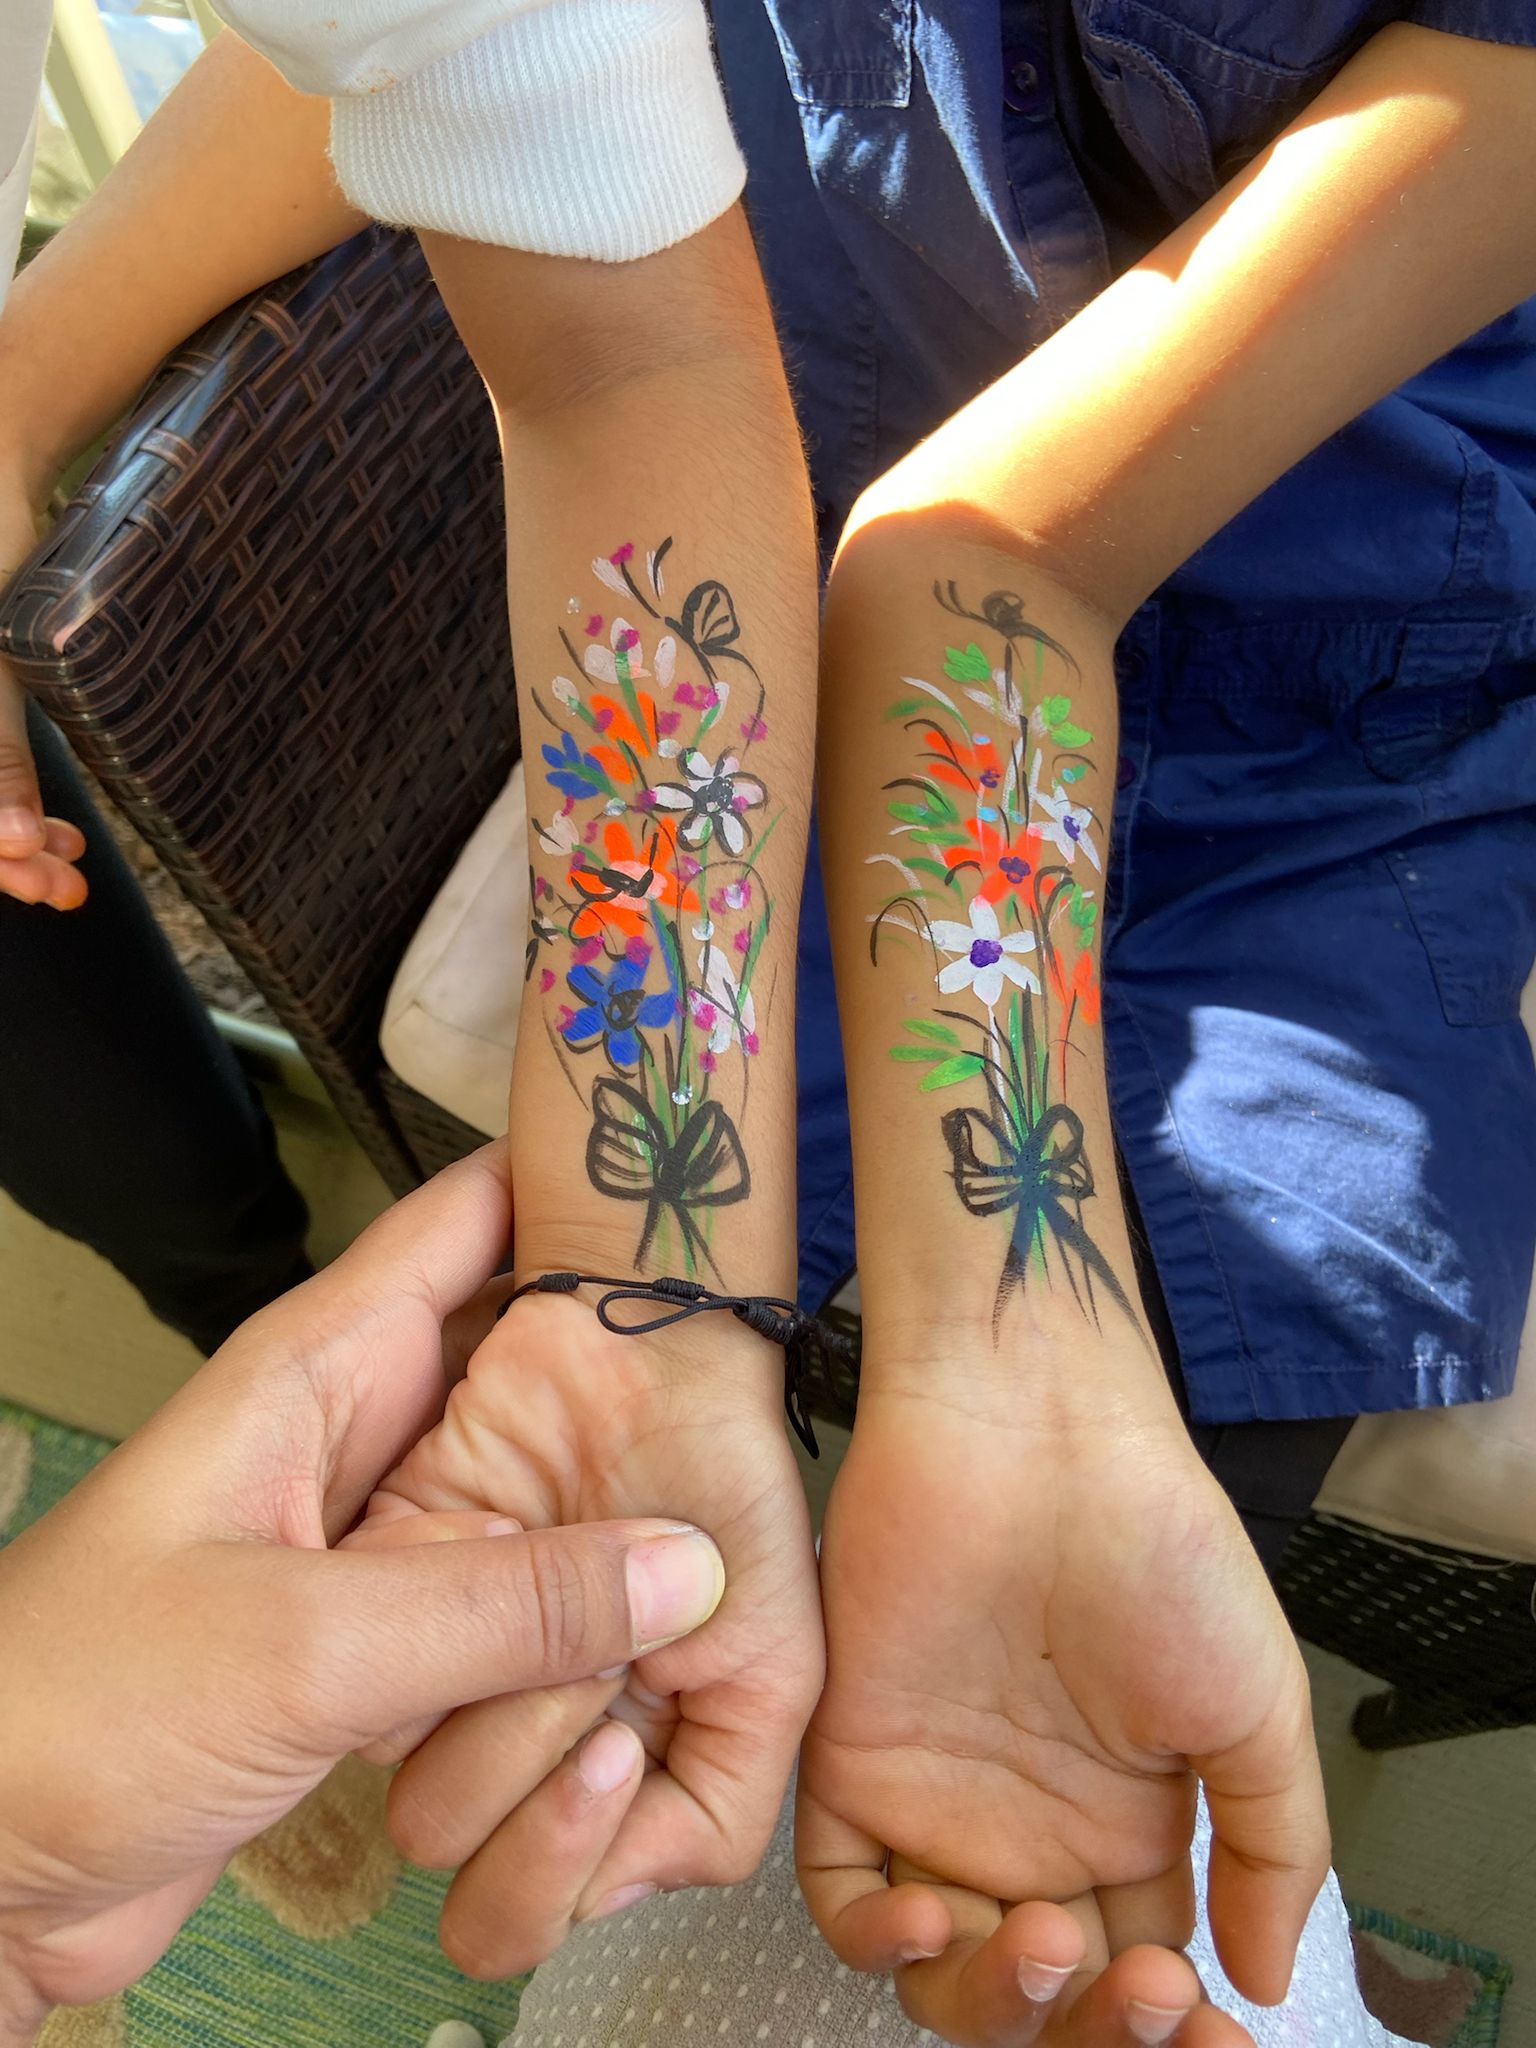
Festival Face Paint Guide
Bold, eye-catching designs built for crowds, sun, and celebration.