Phoenix Face Paint Guide
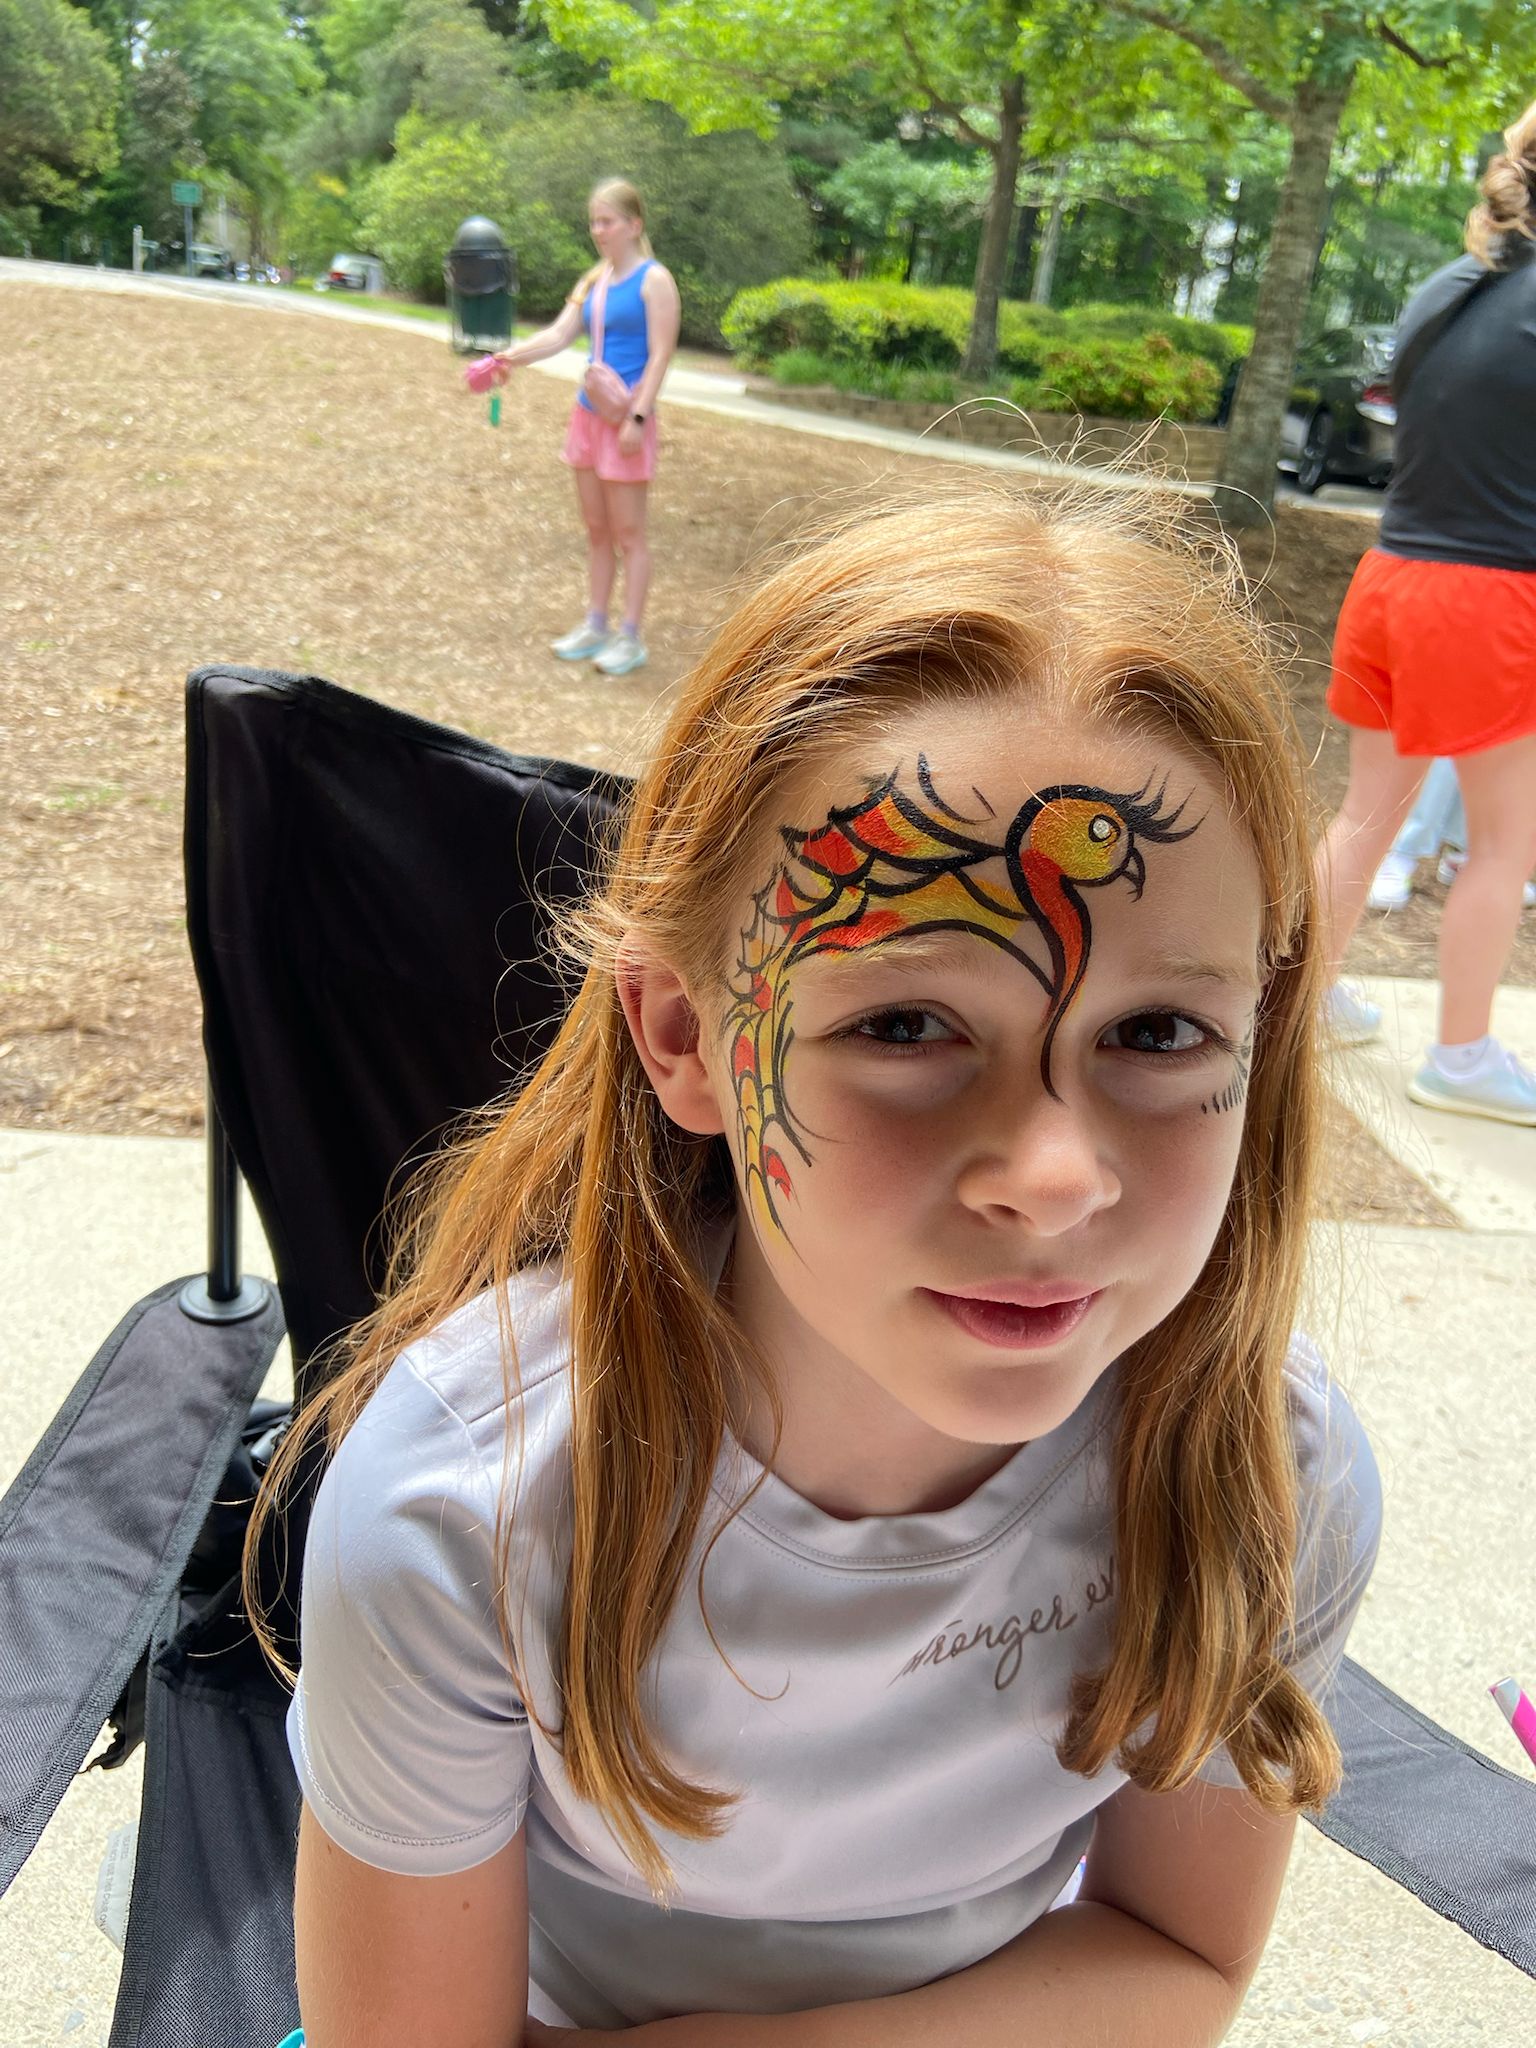
A fire bird rising — bold golds, flaming reds, and fierce black details.
Unlike a butterfly, which is largely symmetric, the phoenix is deliberately wild and asymmetric — it erupts from over one eye, with wings and tail feathers sweeping outward. This guide covers the version from our portfolio: a phoenix bird perched over the eye with dramatic sweeping wings and trailing fire feather details across the forehead. The key techniques are the gradient base, the pull-stroke feathers, and precise black detailing.
Why is this design so popular?
The phoenix design is the most requested advanced eye design at our events, especially for girls aged 8 and up who want something more dramatic and artistic than a standard butterfly. The phoenix bird rising from the eye socket is deeply striking — the warm gold-to-red gradient catches light beautifully, and the black outlining gives it the look of high-end editorial makeup art.
Real Portfolio Examples
Tutorial Overview
Step-by-Step Instructions
Sponge the Warm Gradient
Using a damp sponge, blend a warm gradient over the eye and upper cheek: deep gold at the inner corner of the eye, orange at the center of the eye socket, and a hint of red at the outer edge. This gradient becomes the "fire" from which the phoenix rises.
Establish the Bird Body Position
Using your round brush #4 loaded with a medium orange, loosely sketch the body of the phoenix just above the eye. The bird body is teardrop-shaped, pointing toward the brow with the tail sweeping outward. The head should be above the inner corner of the eye, looking outward.
Paint the Wing Feathers
Load your flat brush with a two-tone split (red and gold). Starting from the body, sweep the brush outward and upward to create individual wing feathers. Each feather is a single press-pull stroke. Paint 5–7 large wing feathers fanning outward from the body toward the temple. Vary the pressure to create feathers that taper at the tip.
Add Tail Feathers
The tail feathers sweep down from the body across the cheekbone. Using your flat brush, paint 3–5 longer, thinner feather strokes flowing downward and outward from beneath the bird. These should be more elongated than the wing feathers to suggest graceful movement.
Paint the Head and Beak
Using your round brush and gold paint, paint a small rounded head at the top of the bird body. Add a small pointed beak extending outward. For the crest, paint 2–3 small upward-pointing feathers on top of the head using bright orange or red.
Add the Eye of the Phoenix
Using your fine brush and black, paint a small almond-shaped eye on the bird's head. Add a tiny white highlight dot inside the eye to bring it to life. This single detail transforms the painting from a shape into a living creature.
Outline with Black for Dramatic Effect
This is the step that makes the phoenix look professional. Using your finest brush and black paint, carefully outline the outer edge of the wings and trace individual feather divisions with thin black lines. Also outline the head and tail feathers. The black outlines add tremendous depth and make the warm colors pop.
Add Flame Details and White Highlights
Using your fine brush and bright orange or red, add small flame-shaped strokes emanating from the trailing edges of the tail feathers. Then using white, add sharp highlight lines along the top edge of each major wing feather to create shine and dimension.
Common Mistakes to Avoid
✕ Making it Too Symmetrical
A phoenix should feel wild and dynamic, not balanced. If you try to make both wings mirror each other, it will look more like a butterfly. Embrace the asymmetry — the bird should burst from the eye in one dominant direction.
✕ Mud-Colored Feathers
When using a split cake, painting back and forth on the same feather will blend the colors to brown. Each feather should be one single, confident stroke. Never go back over a feather stroke once it's been placed.
✕ Outlining Too Early
Always let the colored feathers dry for 30–60 seconds before adding black outlines. Outlining wet paint will smear the colors and make lines look ragged.
Professional Tips
🔥 The Split Cake Trick
Load your flat brush with both red and gold from a split cake simultaneously. When you press and sweep the brush, it automatically creates a two-toned feather with the colors blending at the tip. This is the fastest way to create believable flame-colored feathers.
✨ Gold Glitter for Fire Effect
After outlining, dab gold cosmetic glitter gel on the tips of the tail feathers. It catches light like actual flame embers and creates a genuinely magical finish.
⚡ Speed Version
For busy events, simplify the phoenix to a large bird head with 3 wing sweeps and skip the detailed tail. This fast version takes 8–10 minutes and still delivers the wow factor of a Phoenix design.
Design Variations
- Ice Phoenix (Cool Colors) Replace the red/gold palette with cool blues, silvers, and icy white. The resulting "Ice Phoenix" has an ethereal, Frozen-inspired quality that's very popular with fans of ice-theme characters.
- Full-Face Phoenix Mask Expand the design to cover both eye areas, with the bird's body bridging the nose and wings extending to both temples. This full-face version takes 25+ minutes but is absolutely breathtaking.
Safety & Skin Care
- Always use professional water-activated face paints, especially for the deep red and black which require high pigmentation.
- For children under 8, keep the design on the forehead and upper cheek, away from the delicate eye area.
- Test for allergies if using glitter gel products on sensitive skin.
Frequently Asked Questions
How is a phoenix different from a butterfly face paint?
A butterfly face paint is symmetric and soft, with rounded wing shapes. A phoenix is deliberately asymmetric and fierce, with elongated feather strokes and warm fire colors. The phoenix typically features a bird head and beak, while a butterfly does not.
Is this design suitable for younger kids?
The phoenix works best for ages 6+. For younger children, consider the butterfly or unicorn which have simpler, more familiar shapes. For older kids and teens, the phoenix is one of the most requested designs at our events.
How long does this design take?
The full phoenix including gradient base, feather painting, and outlining takes 18–22 minutes. An experienced painter can simplify it to under 12 minutes with practice. It's not a high-volume queue design, but it creates lasting impressions.
Design Information
- Sponge (for the warm gradient base)
- Flat brush 3/4-inch (for feather body of the phoenix)
- Round brush #4 (for outlines and wing details)
- Fine detail brush #1 (for fine feather tips and highlights)
Available for parties across the Triangle.
Related Design Guides
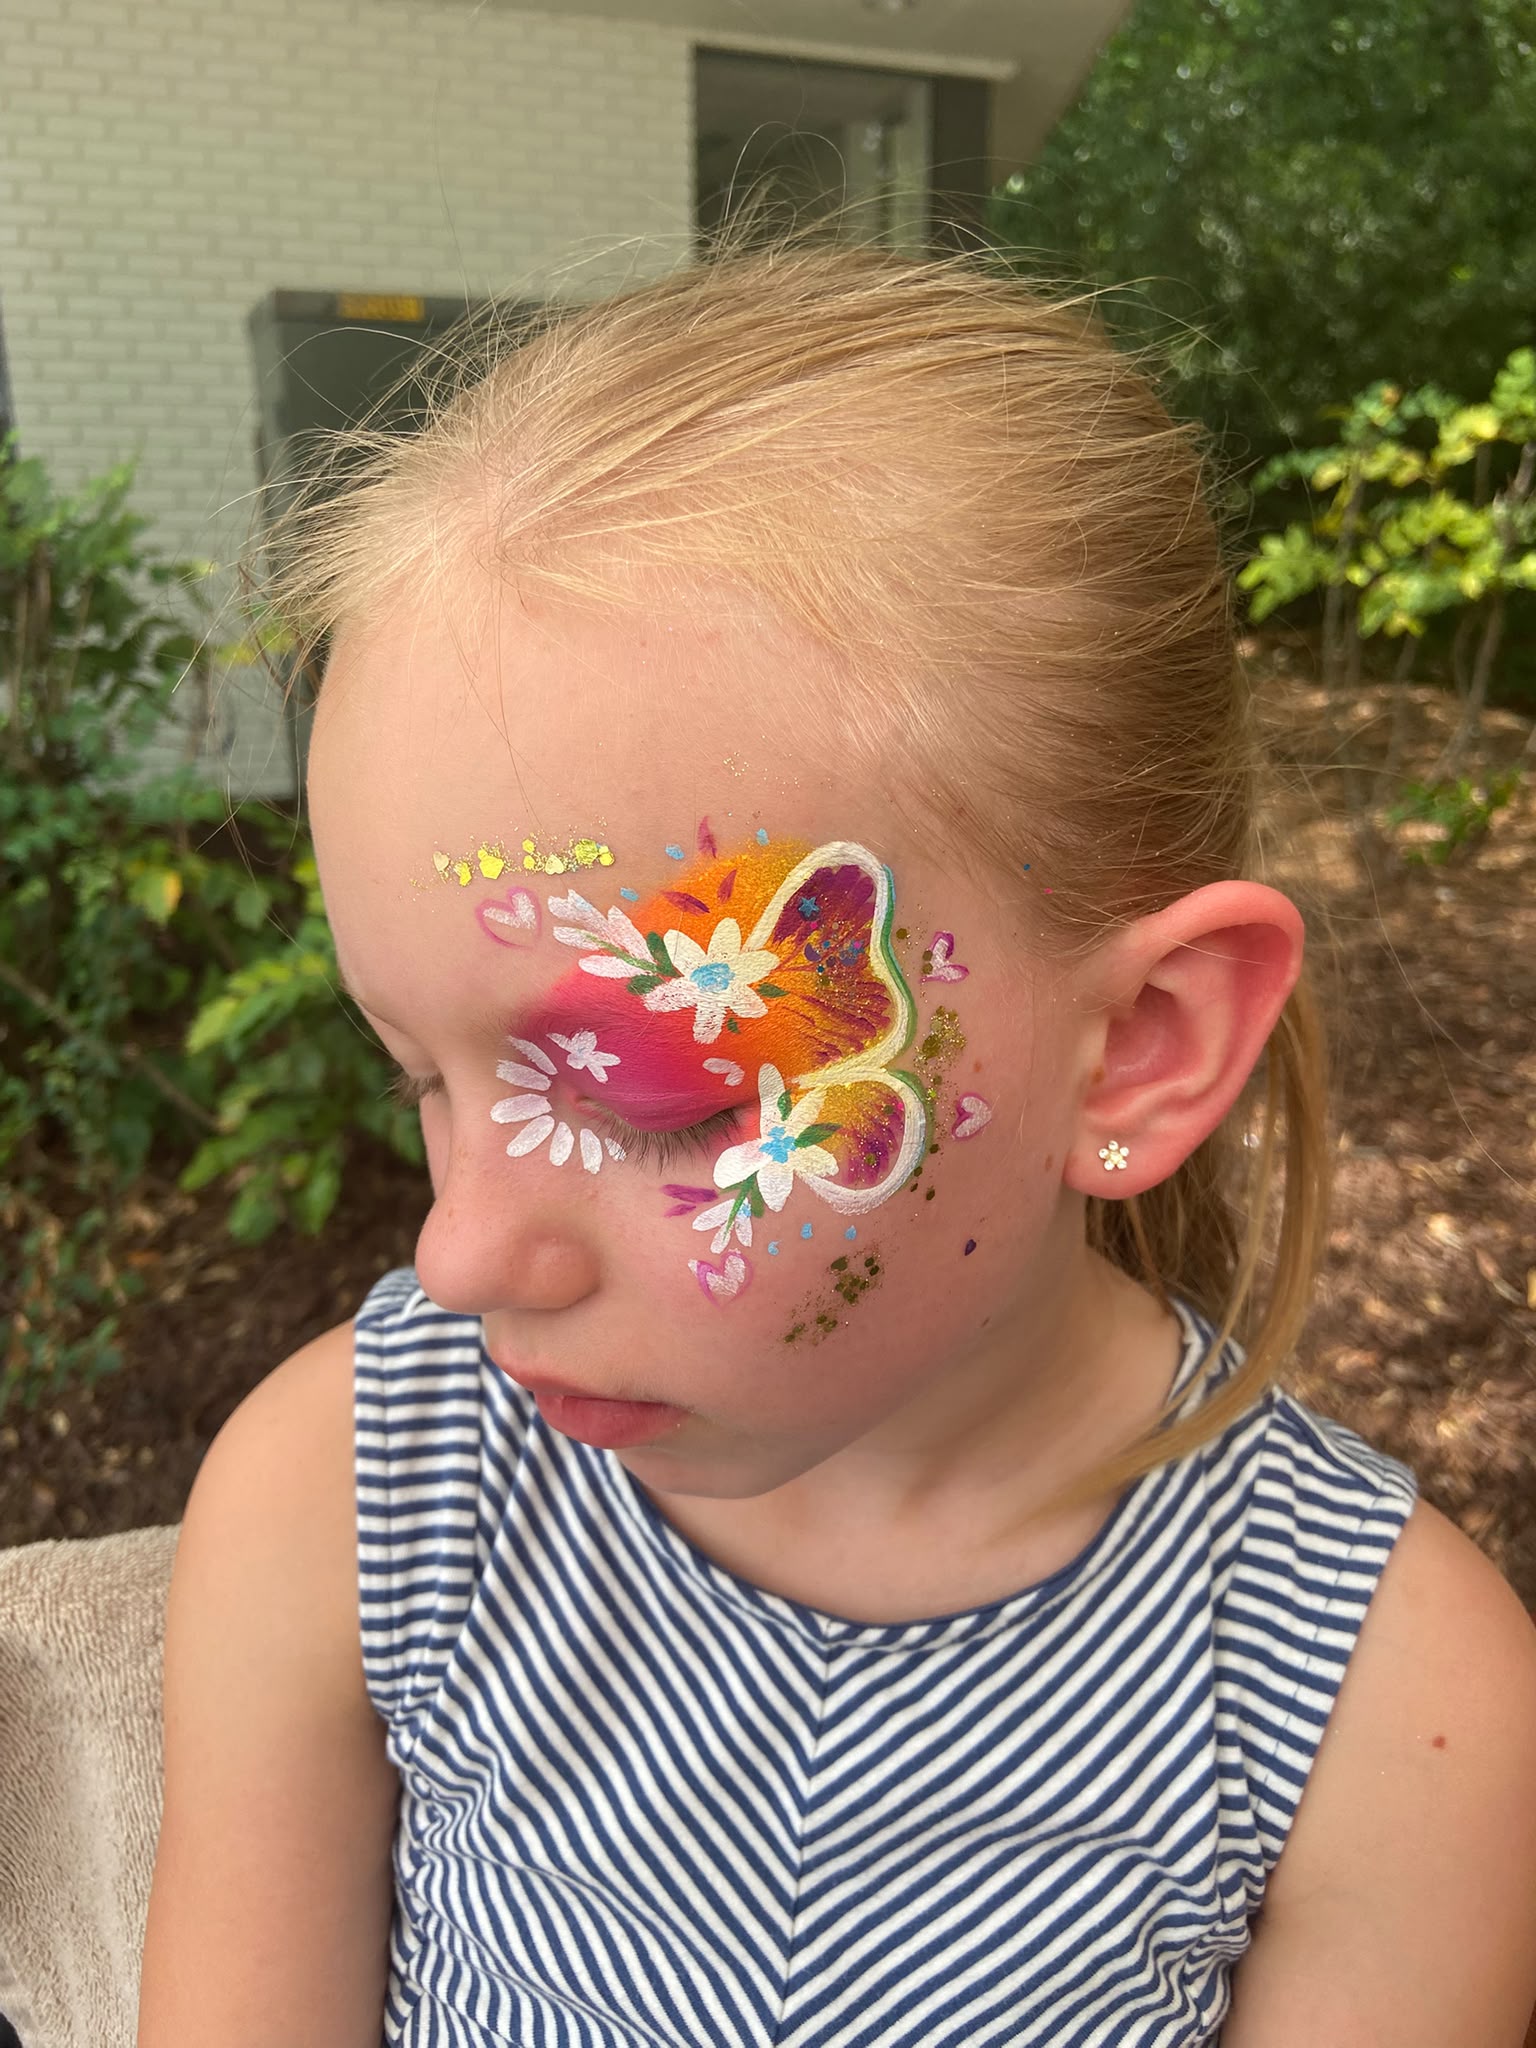
Butterfly Face Paint Guide
The most-requested design at every party — here's exactly how it's done.
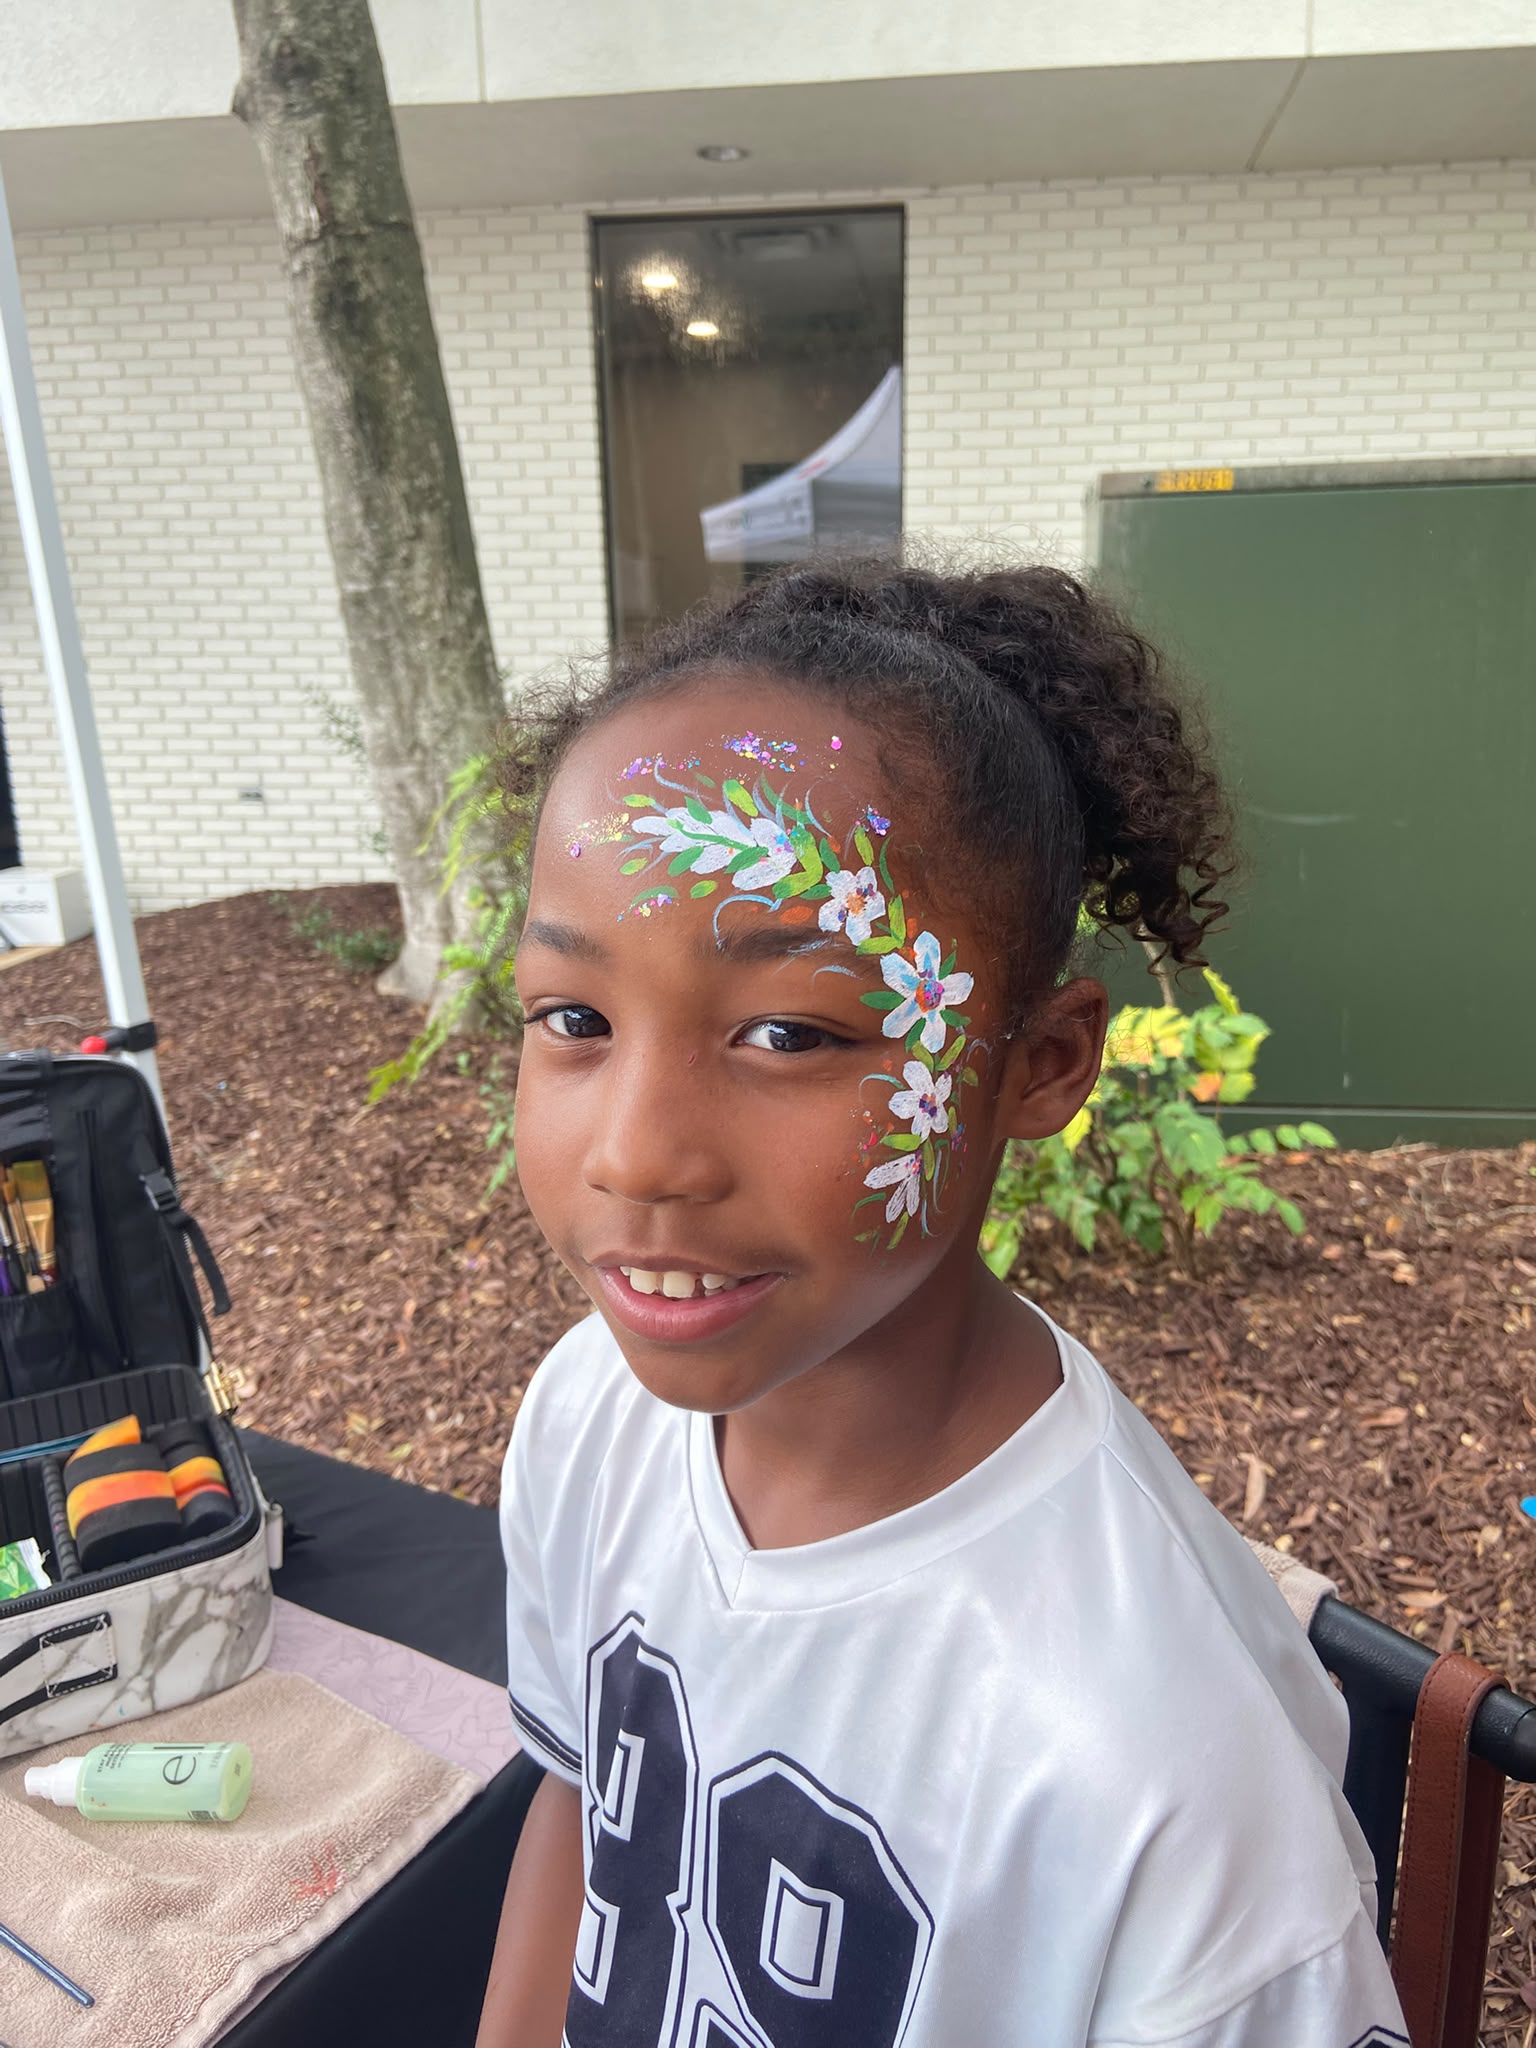
Floral Vines Face Paint Guide
Delicate blooms and sweeping vines for an enchanted garden look.
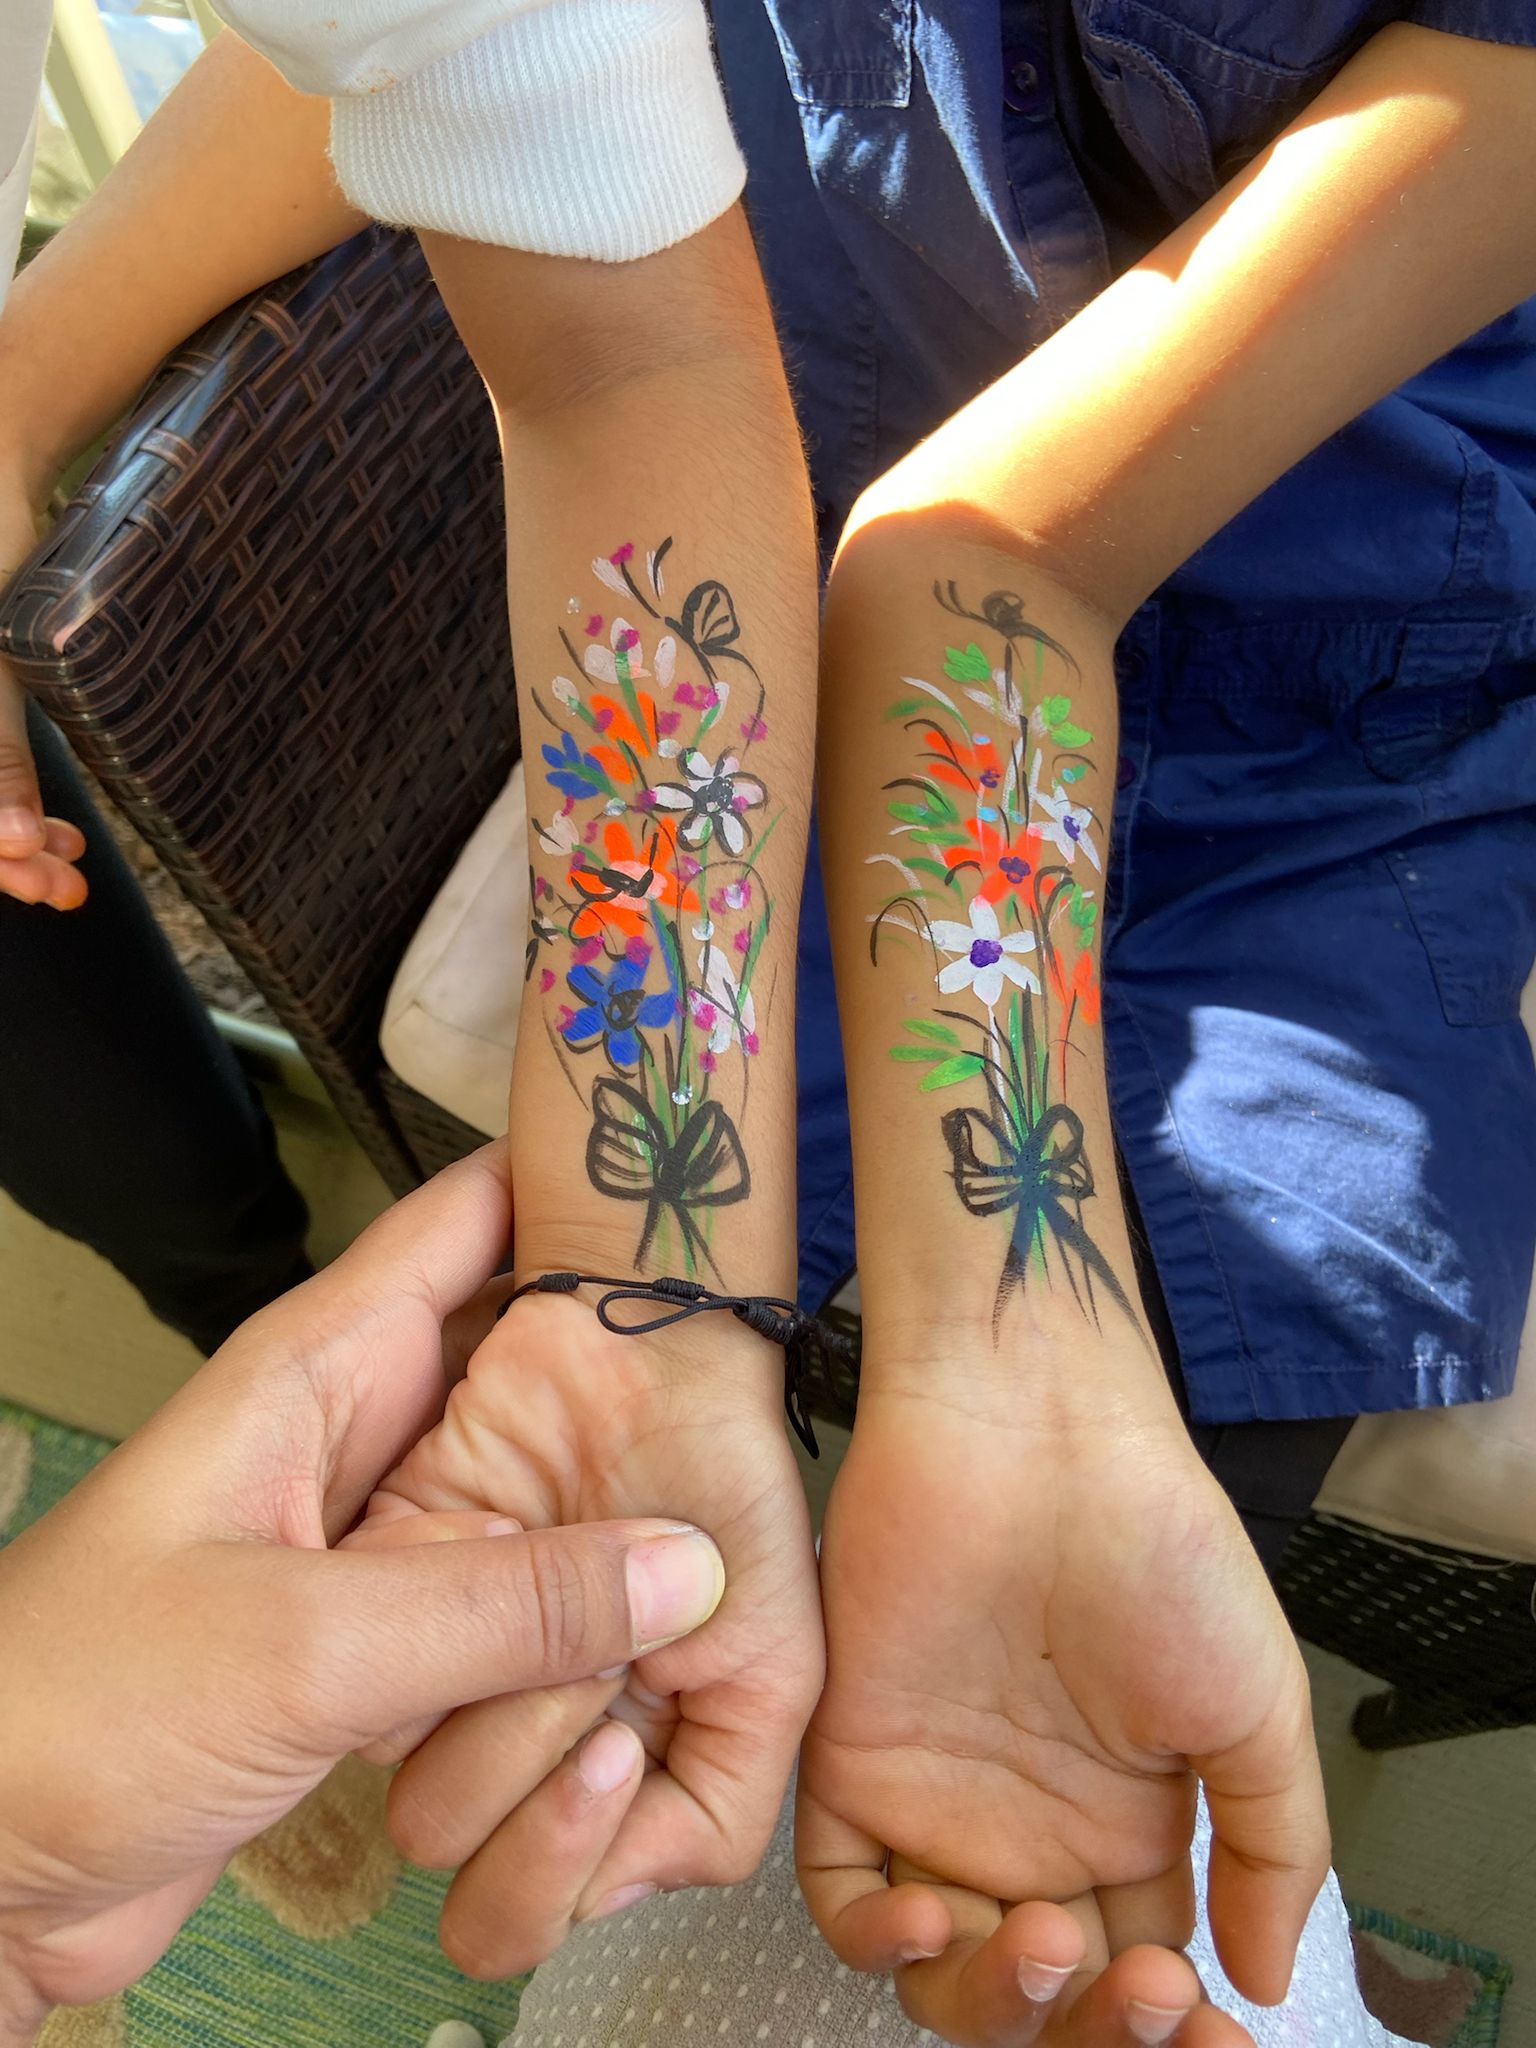
Festival Face Paint Guide
Bold, eye-catching designs built for crowds, sun, and celebration.