Christmas Face Paint Guide
Reindeer, Santa, snowflakes, and festive cheer for the holiday season.
This guide covers the two most requested holiday designs: The Cute Reindeer and The Winter Princess (Snowflakes). These designs are fast, use high-contrast seasonal colors, and rely heavily on white highlights and glitter to simulate snow and frost. They are perfect for high-volume corporate holiday parties or local winter markets.
Why is this design so popular?
Christmas events are joyous, busy, and full of photo opportunities. Parents love classic, cute designs like rudolph noses and delicate snowflakes because they look fantastic in holiday photos without being overwhelmingly messy or covering the entire face.
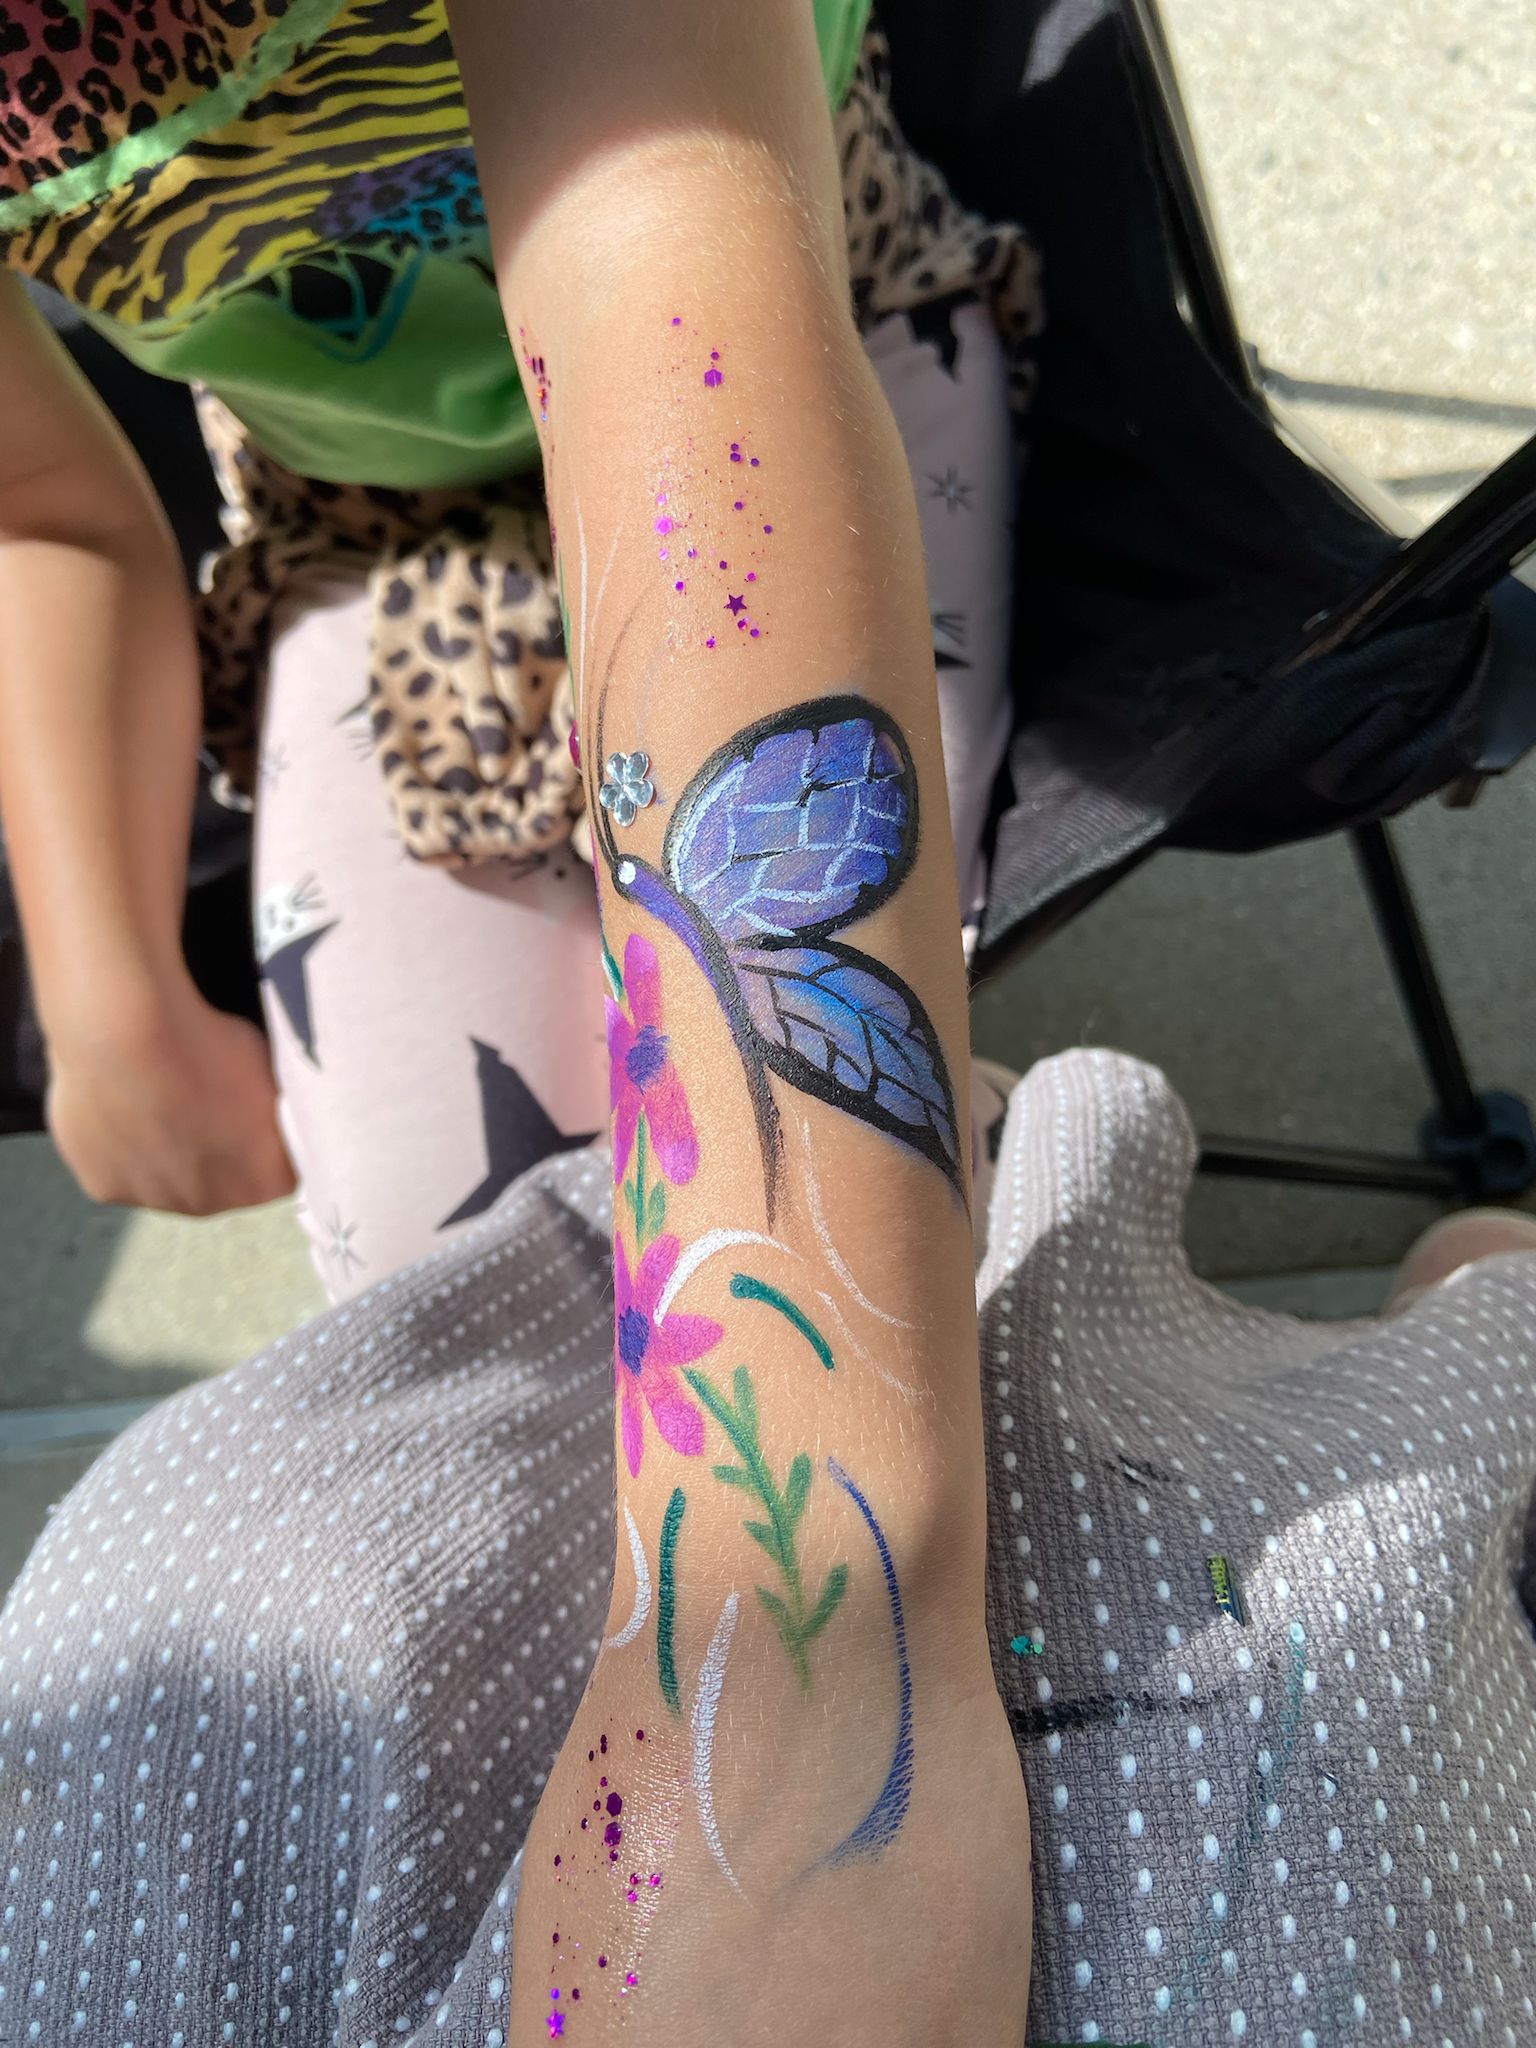
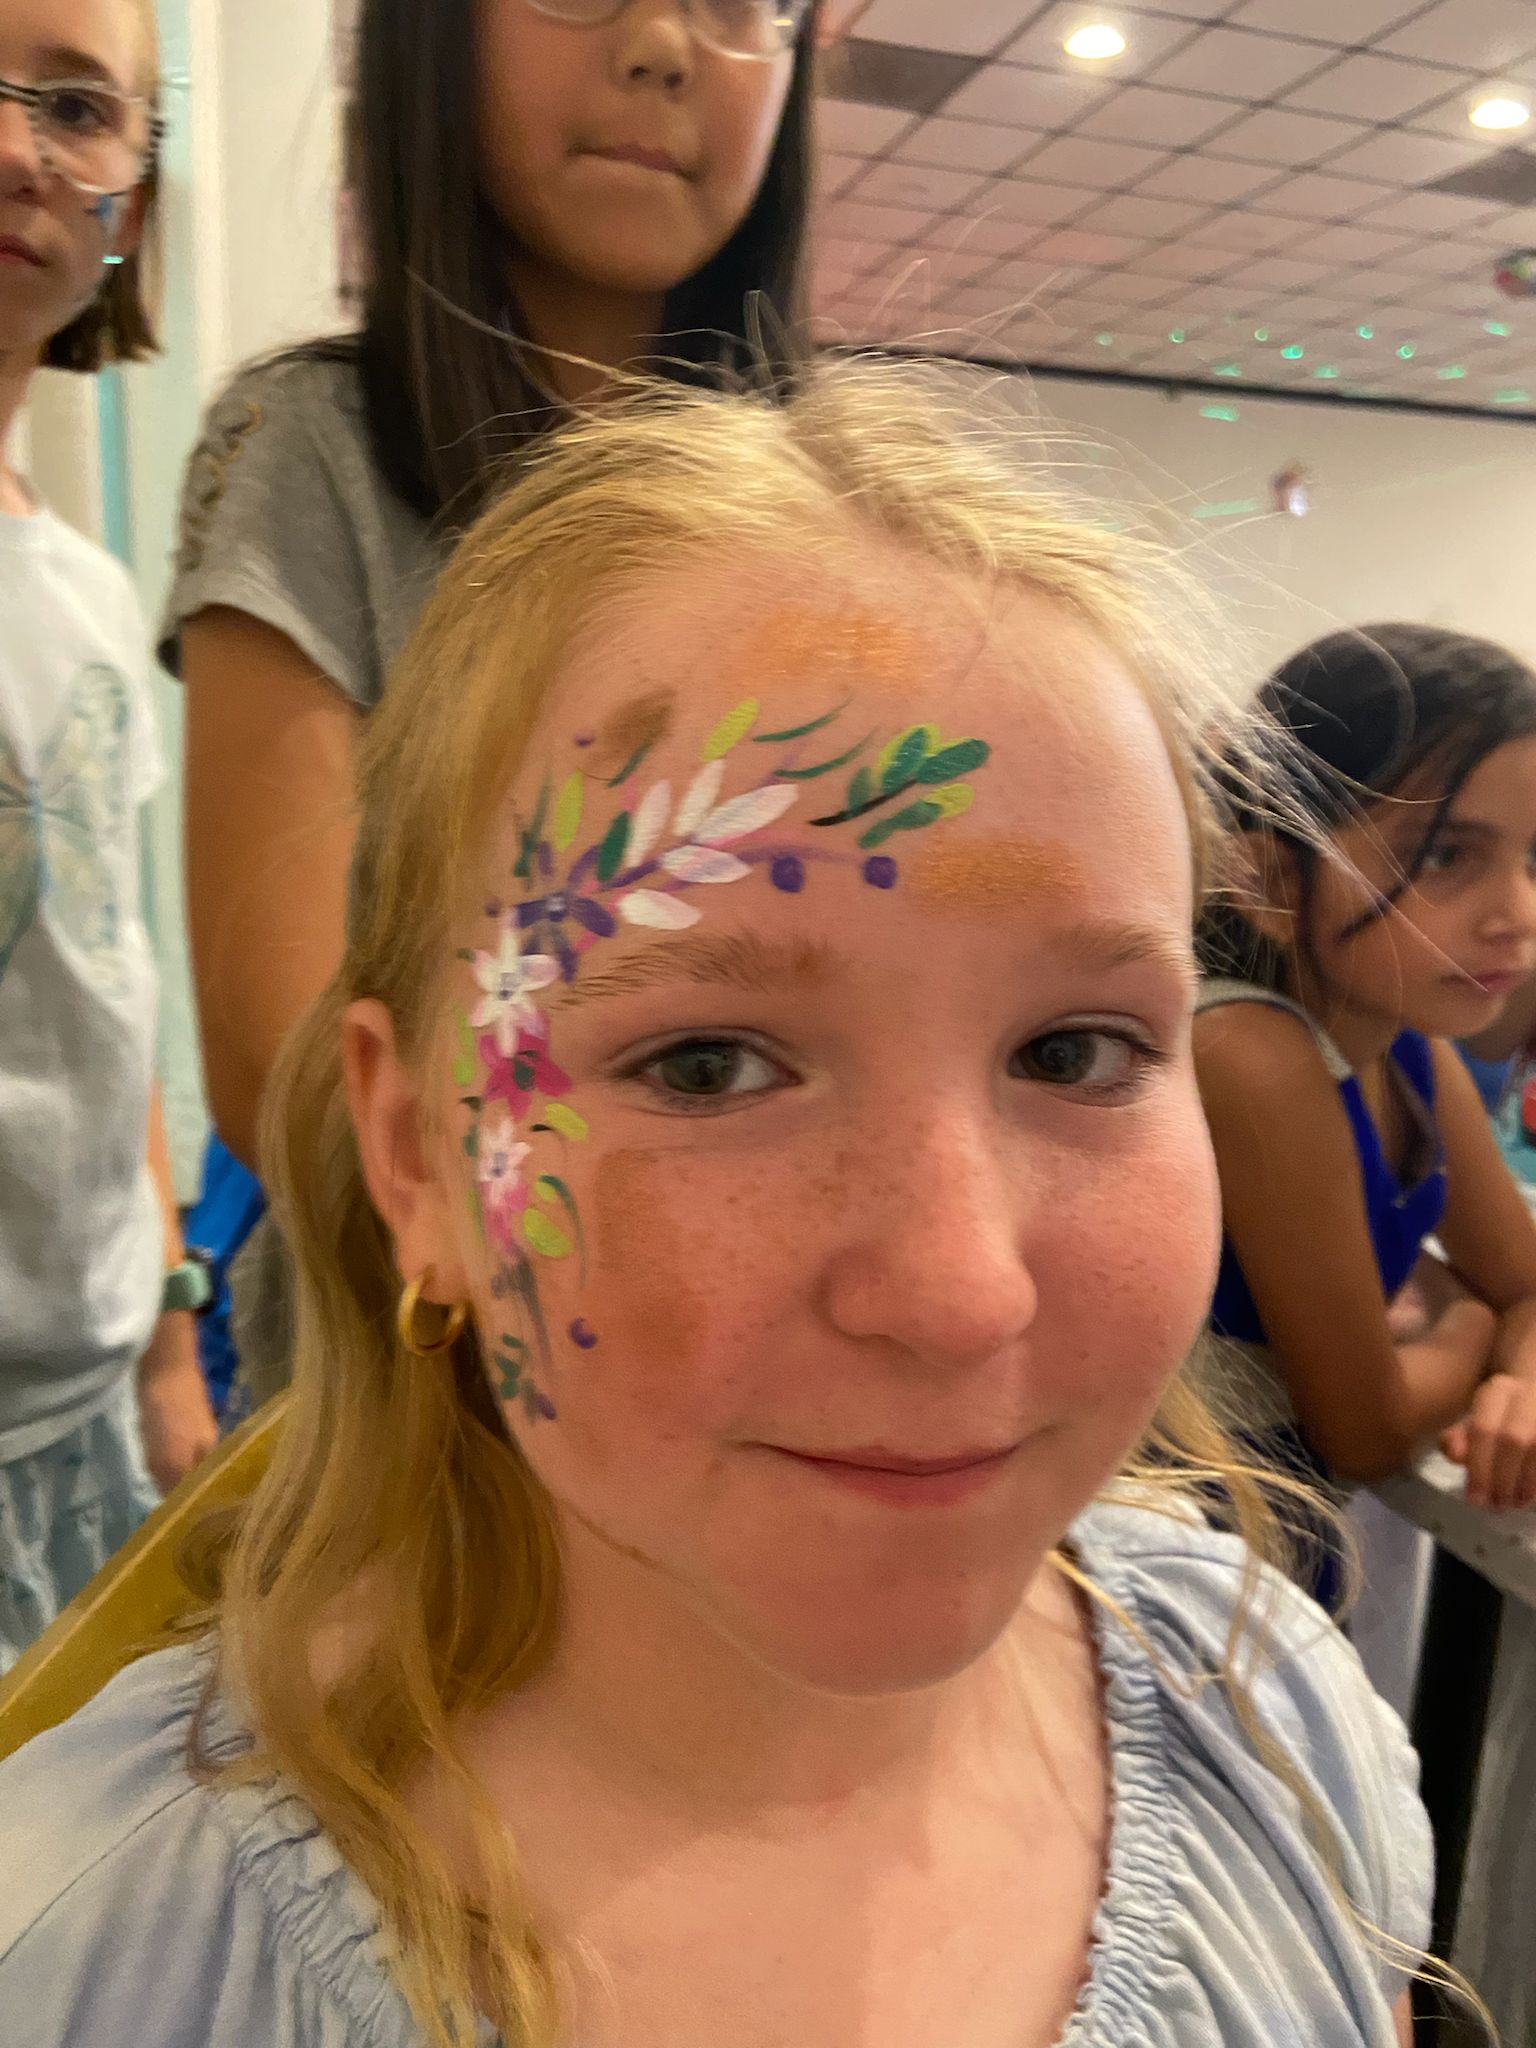
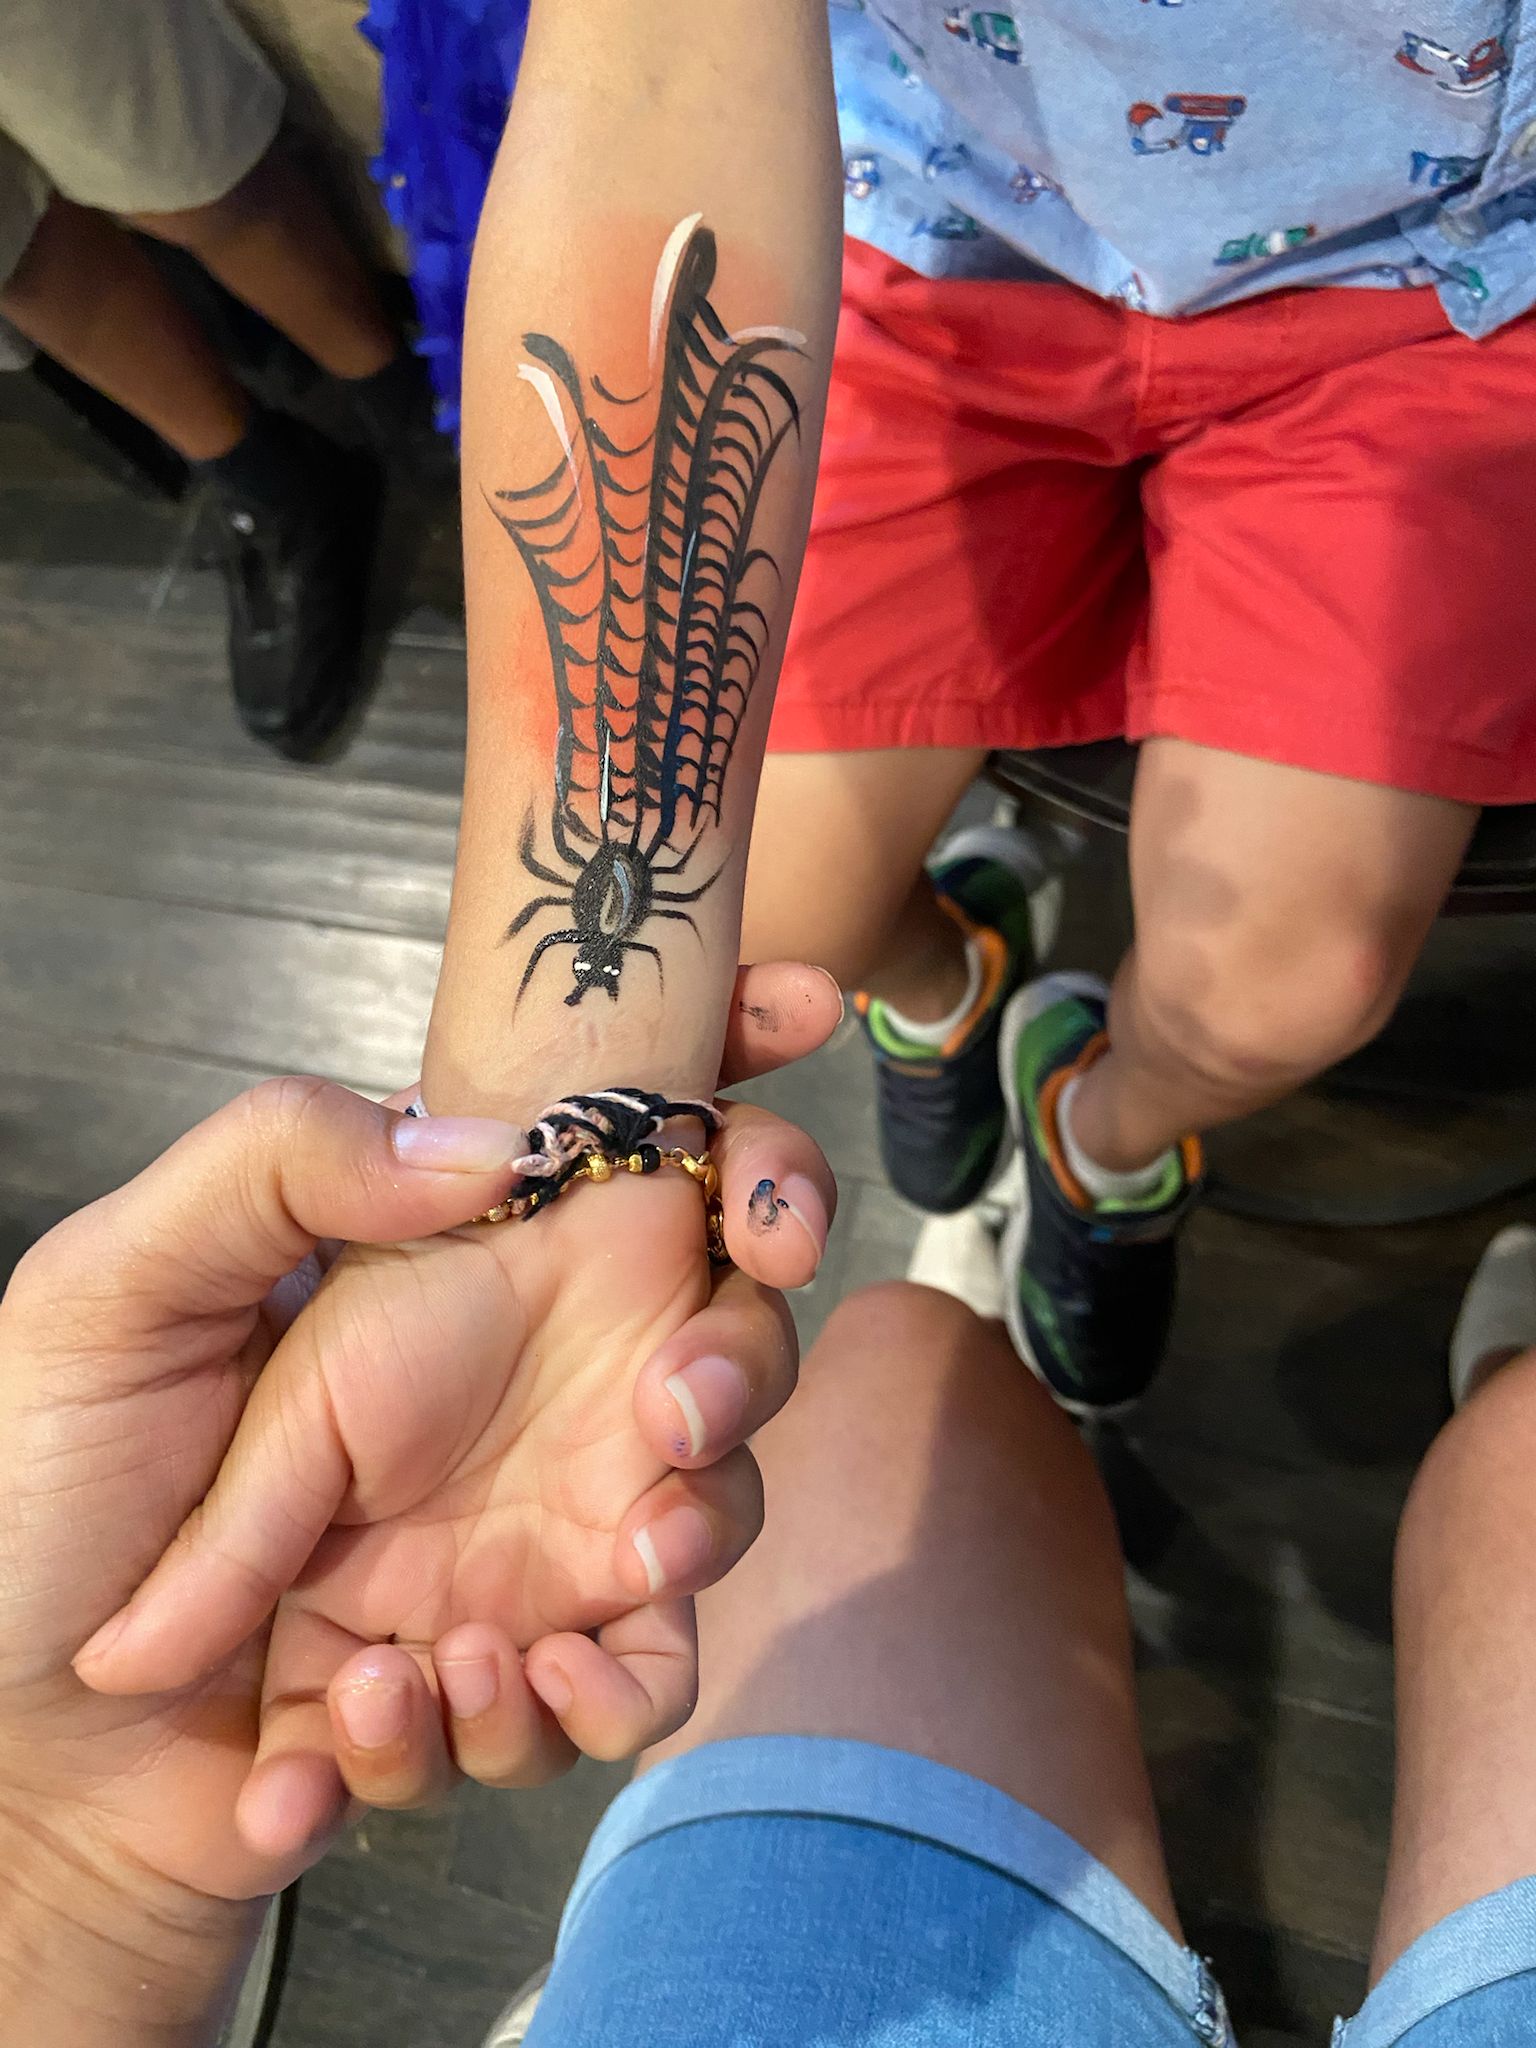
Real Portfolio Examples
Tutorial Overview
Step-by-Step Instructions
The Reindeer: Base and Muzzle
For the reindeer, lightly sponge a warm brown across the forehead and cheekbones. Use white to sponge a soft muzzle around the nose and upper lip. Blend the edges softly.
The Reindeer: Rudolph's Nose
Using a round brush and bright red paint, paint a large, solid circle right on the tip of the child's nose. Add a crisp white comma-shaped highlight to the top left of the red circle to make it look shiny and round.
The Reindeer: Antlers
Using dark brown or black on a round brush #4, draw two branching antlers extending up from the eyebrows onto the forehead. Add a few small white dots falling around the antlers for snow.
The Snowflakes: Base Glow
For a snowflake design, sponge a soft gradient of metallic silver and ice blue across the forehead and temple, curving around the eye like a mask.
The Snowflakes: Core Structure
Using a fine liner brush and crisp white paint, draw the core of your snowflake: a cross (➕), overlaid with an X (❌). Ensure all lines intersect at exactly the same central point.
The Snowflakes: Delicate Details
Add small V-shapes or dots along the arms of the snowflake. Add smaller starbursts and floating snow dots (using the back of your brush) cascading down the cheek. Finish with iridescent white chunky glitter while wet.
Common Mistakes to Avoid
✕ Clunky Snowflakes
Thick, wobbly lines ruin snowflakes. Your white paint must be perfectly activated (like ink) and your brush must have a sharp point. Use light pressure.
✕ Smudged Red Noses
Kids love to touch their noses. Paint the red nose as a slightly smaller circle than you think, and ensure the paint is applied thinly so it dries quickly and doesn’t smear easily.
✕ Over-complicating
At busy holiday events, a single perfect snowflake with a sweep of glitter is much better than three messy, rushed snowflakes.
Professional Tips
❄️ Snowflake Stencils
If you struggle with line work, invest in a good snowflake stencil. Sponge white paint through the stencil over a blue base, then add a few hand-painted starbursts around it for a flawless, 10-second design.
🎄 Holly Accents
To make any design instantly Christmassy (even a butterfly or unicorn), add a cluster of three red dots (berries) and two green teardrops (leaves) in the corner of the design.
Design Variations
- Candy Cane Swirl Paint a swooping red and white striped candy cane curving from the temple down the cheek, surrounded by green holly and gold glitter.
- The Grinch Mask For the boys, a green half-mask with angry, exaggerated black eyebrows and a yellow/red eye outline is a huge hit.
Safety & Skin Care
- Red paint on the nose can sometimes leave a faint pink stain. Remind parents to wash with soap before water.
- Winter weather means dry, sensitive skin. Be gentle when sponging and use high-quality, moisturizing face paints.
Frequently Asked Questions
How do I paint a perfect snowflake?
Start with the central cross (+), then add the X. Then, paint tiny V-shapes pointing outward on the tips of each line. Always use a very fine liner brush and highly pigmented white paint.
What is the fastest Christmas design?
A holly cluster on the cheek or a quick red Rudolph nose with three black dots on each cheek for whiskers. Both take under 60 seconds.
Design Information
- Sponge (for base blush and shading)
- Round brush #4 (for snowflakes and outlines)
- Fine detail brush #1 (for intricate snowflake details)
- Dotting tool or brush handle (for snow dots)
Available for parties across the Triangle.